Ground Tile: Mounting Features Tile,Construction
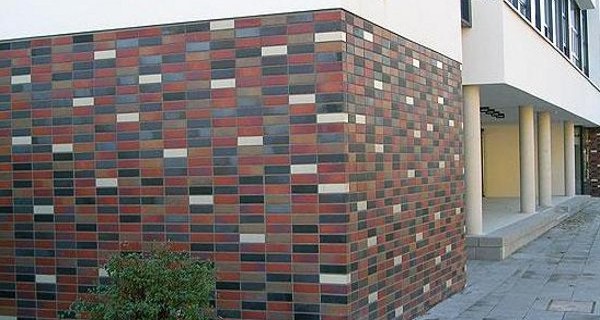
The base of any building accounts for an increased load from adverse external environmental conditions. It is for this reason that it is necessary to approach the choice of finishing material, so that in the year-another base the house did not begin to collapse. The modern version of the solution of such a problem is the laying of a special base tile. What it happens and what to use mounting methods, you will learn from this article.
Content
Criteria for selection of base tiles
So that the base tile fully corresponded to all technical characteristics and resistant withstanding any weather differences, pre-define their material requirements. At the same time, it is based not only on the recommendation of construction professionals, but also on a personal analysis of the climatic conditions of your region.
Typically, when choosing a basement facing tiles, such criteria are followed:
- Good wear resistance and frost resistance.
- Durability (preferably at least 25 years).
- Minimum moisture absorption. Even better if the material has a moisture-repellent property.
- Resistance to mechanical shock loads.
- Inertia to chemical reagents - alkalis, acids. It will not only simplify the care of the finished coating, but also will not allow the destruction of the base when the natural sediments fall out with aggressive substances.
- Resistance to ultraviolet radiation - compliance with this requirement will allow you to preserve the externally attractive kind of home.
- The possibility of mounting the base tile with their own hands is the easier the fastening technology, the higher the likelihood of completing the entire work cycle without attracting profile craftsmen.
- A wide range of model range so that it is possible to choose the appropriate material.
- Low price.
- Lightweight weight - the smaller the material weighs, the easier it will be all the coating, it means it will reduce the load on the foundation and walls.
Important! Additionally, the properties of noise and thermal insulation can be taken into account. If they are high enough, it will be possible to save a little on the installation and maintenance of the building. But such a base facade tile itself is usually worth an order of magnitude more expensive. Therefore, to make a full-fledged cake with thermal insulation or use more expensive decorative finish with similar properties - to solve only you.
Types of base tile
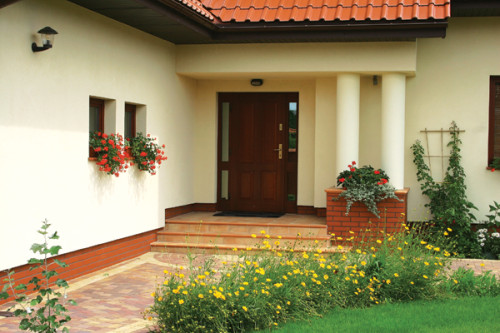
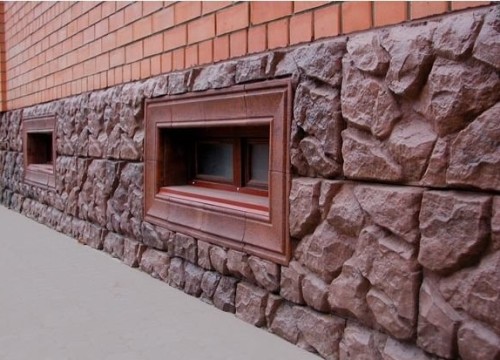
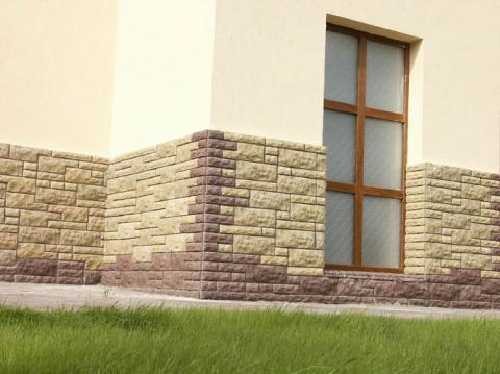
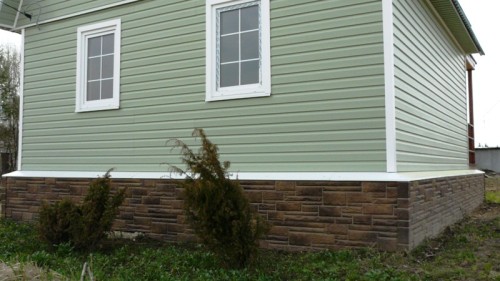
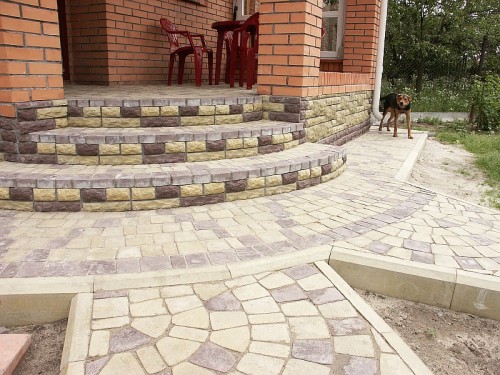
The ground facing tile is represented on the modern building market with a huge assortment. To understand how interesting you can be a model, it is not necessary to immediately go to the construction store. You can at home or at any convenient place to view the photo of the most relevant offers for the sale of the base tile and pre-determine for yourself what exactly pay attention to when choosing.
Of all the varieties, such materials are most popular.
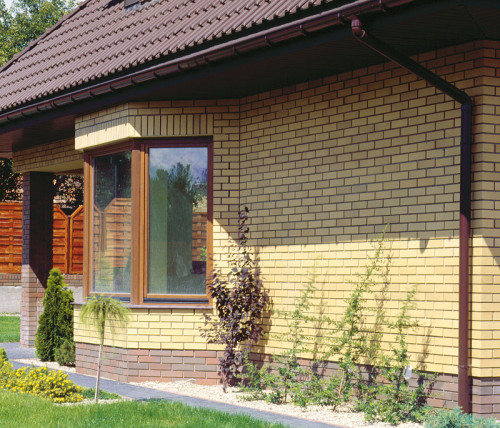
- Concrete pressed base tile. It is usually present on sale in the design "under the brick", but there are other models. As a result of the use of unique production technology, it turns out light, durable, environmentally friendly and durable, externally attractive material. To distinguish the visual effect of decorative and natural bricks can only a narrow specialist. Coloring can be performed if necessary in any shade.
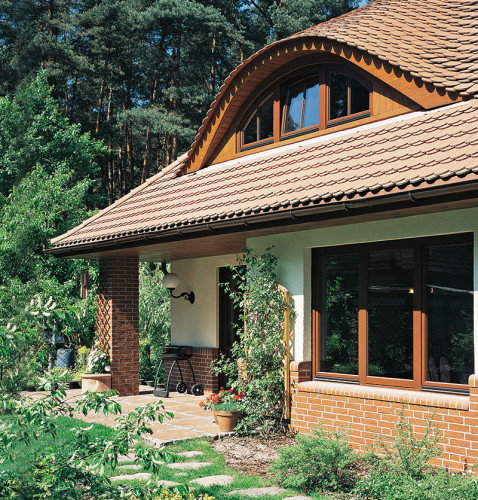
- Ceramic base tile under stone. This option is in constant demand, as it allows to issue a solid and stylish design of the cottage facade or country house, but with minimal costs of money and effort. The basis of the ceramic tile for the facade is usually the clay of special varieties, the root of which is performed at a very high temperature. The cost of such a material is somewhat higher than the tiles of artificial stone.
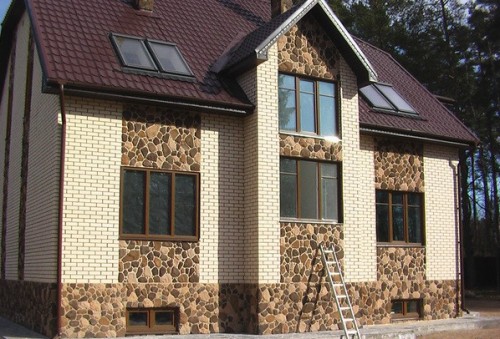
Important! In addition to the fact that each of these 2 materials almost all items corresponds to the above technical requirements, the design possibilities are also almost unlimited. For example, the base stone-tile can be with a wild, ribbon or natural stone imitation.
Installation of socket tiles
All work on the decoration of the base, as a rule, are performed in several stages:
- Preparation of consumables and tools.
- Preparation of the foundation.
- Preparation of the decorative material.
- Directly fastening the base tile.
Important! If you plan the work of work in advance and prepare everything you need, then the full cycle does not take much time. It is likely that all finishing works will be completed in 1 day. The duration of the decor and protection of the base also depends on the area of \u200b\u200bthe house, and on whether you are going to make the heat insulating layer. If so, then it will take about 1 week, since it is periodically a technical break for grasp solutions.
Tools and materials
Depending on how exactly you will be attached to the base tile, you will need:
- perforator;
- drill;
- marker;
- level;
- roulette;
- screwdriver;
- slab;
- brushes - for primer, cleaning the surface;
- the glue solution and the container for mixing it.
Preparatory work
This cycle includes such a spectrum of work:
- Skipping surface - from damp, mold, dirt.
- Treatment of base with antibacterial, moisture-repellent solutions.
- Sealing slots and cracks - if any.
- Padding.
Methods for mounting base tiles
There are several ways to mount the base tile.
Montage on profile
The easiest and economical option. To attach the tile with a dry method, act like this:
- Purchase the desired number of profiles of suitable length and size.
- Secure the profiles themselves on the screw itself, in series, starting from above.
- Depart the level of horizontal level.
- Install in each strip alternately prepared tiles.
Important! This method is the fastest. But note that gaps can remain between the profile and the wall. In them will constantly penetrate moisture, destroying the walls themselves, base and falling on the foundation. Therefore, if we decided to fix the base tile with a dry method, be sure to check the quality of the coating upon completion of work. All joints and slots additionally close and treat the surface with moisture-repellent compositions.
Installation on glue
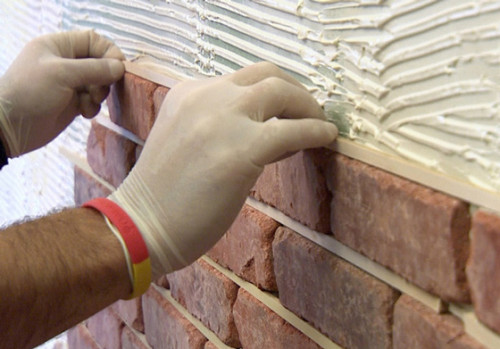
The adhesive (the second name of the method is liquid) is another familiar way that the homemade masters often use and professional workers. The scope of work will be more laborious and long, but the cost of the consumables themselves is significantly lower.
Important! With this method of fastening, you can also use the insulation. It can be any of the materials available in the market.
If you decide to act in this way, follow the following recommendations:
- Place the tiles in advance in order as you plan to lay them on the base.
- Create a solution immediately before use.
- Be sure to make the horizontal marking on the wall of the house - it will help to avoid lines.
- Install an additional reinforcing plaster mesh if you did not make insulation - it will help to increase the adhesion between the wall and tiles.
- Sequentially lay all the tiles starting from any upper angle.
- Lubricate glue only tiles or only a wall, but not both surfaces.
- To avoid skewing and displacement of tiles, insert a suitable size "cross" in the seams.
- Be sure to withstand the technical pause to set the solution before staining the base decor.
- Seams close up with a special moisture-resistant grout - too, only after pouring the glue.
Important! This method is though labor-intensive, but with properly carried out work, will create a durable coating with high protective characteristics. And the dense adjacent of decorative elements to the wall will exclude the possibility of damage to the base when influencing adverse weather conditions.
Installation on a self-tapping screw
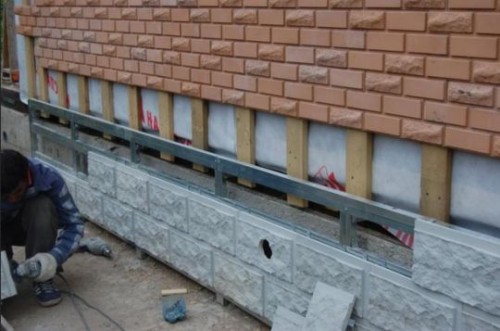
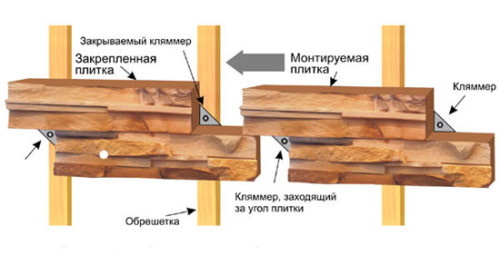
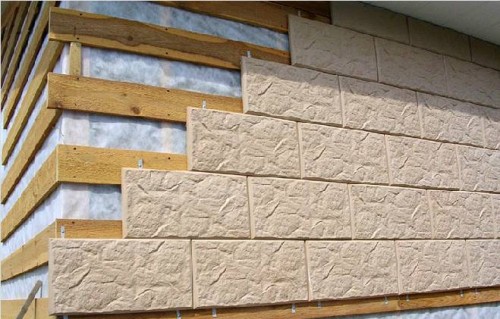
The base tile with fastening on self-drawing is special slab complexes with gaps around the edges. The method of laying is dry, solely on the crate and self-tapping screw, without glue and additional solutions.
Important! A combination of base tiles with insulation is possible. In this case, the slab mineral wool is suitable under the height of the size base.
If you decide to do this, act in such a sequence:
- Install the upper profile that will serve as a line of starting the base of the base.
- Squeeze from it from the board or metal profile the crate. It is advisable to predetermine these materials with protective solutions.
- Crepe consistently by kleimers and self-drawing to the crate of each slab module.
- Each next item is stacked so that it puts the brass to the previous, overlapping the place of attachment.
- For corners, use special details from the set.
Important! This innovative technology can significantly reduce the costs of time and strength and complete the decoration of the base as quickly as possible.
Conclusion
Now you know all the ways to attach the base tile and probably have already been able to decide on the technology suitable for you. Choose high-quality materials from proven manufacturers, do not hurry and act clearly during finishing works. Adhering to such rules, upon completion of the decor of the base, you will be sure that now your home does not only look beautiful, but also securely protected. So repair it will not need a long period, and you can spend your free time for a comfortable stay!


