How to use grout for tiles and tiles. Rubbing tiles do it yourself Tile
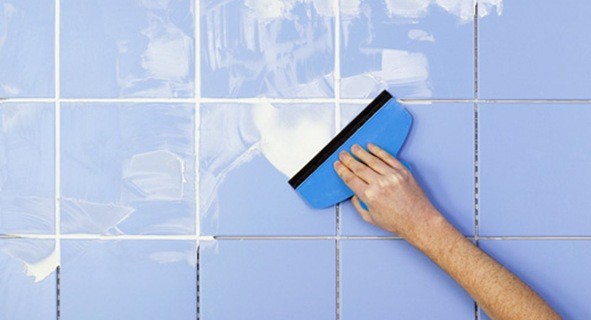
To emphasize the flawless laying of the tile or hide small defects will help a high-quality grout. Otherwise, how well the tile was not posted - a careless grout spoil.
Content
Preliminary work
Before starting to rub the seams, we carry out a number of important preliminary events.
Choose Zatir
Do preference: cement or epoxy?
- Cement grout, for example,Ceresit, Atlas. It is a small grinding of cement, mixed with dye and mineral additives that prevent the formation of cracks after drying.
Advantages Cement grout:
- ideal for seams up to 3 mm, because it is easily diluted with water to the necessary consistency;
- low cost.
disadvantages:
- badic acid resistance;
- grain.
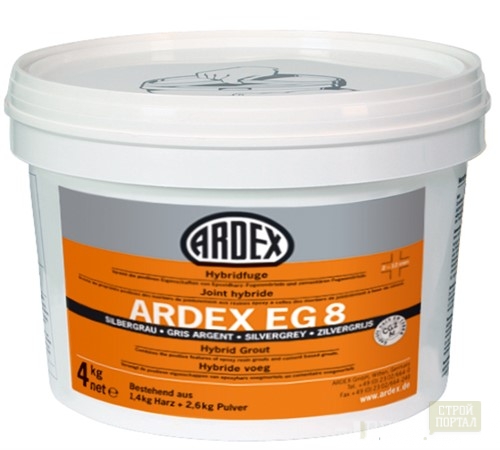
2. Epoxy grout for tiles, for example, MAPEI, Litokol and Laticrete is based on the combination of epoxy resin, dye and hardener.
Advantages relative to the cement mix:
- more resistant to chemical reactivities, alkalis;
- lack of graininess;
- excellent strength.
disadvantages:
- high price;
- due to the density of the solution, it is not suitable for the grout of the seams up to 2.5 mm.
Determine the consumption of grouts for tiles
As a rule, it depends on the dimensions of the tile, widths and depths of the seam. The grout produced by various manufacturers is distinguished by density, depending on the fillers used, so exemplary consumption information is specified on the package.
Preparing the necessary tools
We will need:
- spatula or durable knife cleaning knife;
- pliers;
- respirator;
- gloves;
- special rubber spatula, having a rounding on one side. The optimal width of the spatula is up to 150 mm;
- spray;
- foam sponge;
- capacity and water for kneading a clutter solution;
- ragged, preferably from natural fabrics.
We clean the seams
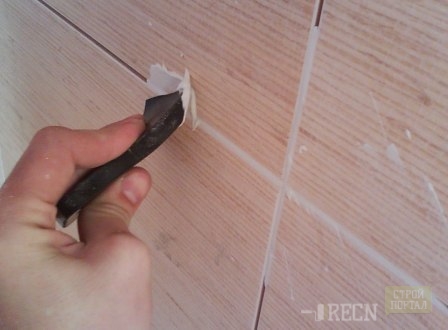
- Remove crossbars. The edge of the Sleeping crossed with a knife, pick up the pliers and remove.
- Gentively get rid of the tiled glue in the seams throughout the area, at a depth of about 2 mm, without damaging the tiles ends.
- We have a vacuum cleaner and wipe the floor so that the fastened glue does not stretch with a molded mixture and did not spoil the appearance of the bunch after completing all the work.
Shut up grout
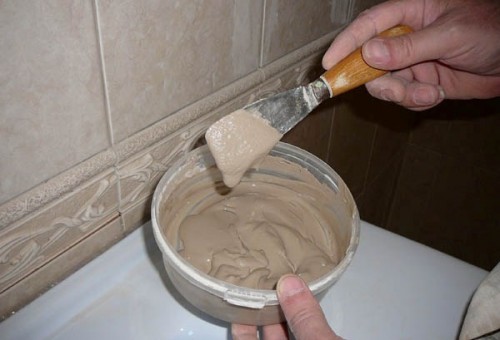
- When mixing, adhere to the ratio of water and the mixture declared by the manufacturer in the instructions.
- First we pour water, then fall asleep the mixture. The sequence of connection of the components should not be changed. If you pour water into a dry mixture, then when measuring the solution at the bottom of the container, non-stirred lumps are formed, getting rid of which is extremely difficult.
- We mix thoroughly so that when filling the seams, avoid strips or stains, sharply different from the main color of the box.
- Grouting depends directly on the type of tile, seam width. The already seams and a porous tile, the more liquid solution you need to dilute.
- We drag into small portions, because the tile grout is quite quickly seized.
- It is impossible to add water to the finished mixture, otherwise after the rejection, the extending is cracking.
Grout process technology
Go to the grout of the tile with your own hands no earlier than 48 hours after the installation of the tile. During this time, the tile glue will give shrinkage and will avoid deformation of the seams.
We apply on the surface
- Wall tile seams are extended by moving from top to bottom, and outdoor - from the angle of the room to the exit.
- We wear gloves and process seams with a spray from a spray from a spray for better grasp tiles with a mixture.
- We take the rubber spatula, omit in the tank with a grout at an angle of 30 ° C. Thus, the required amount of the mixture sticks to it.
- Drive the spatula to the seam and spend from left to right, or vice versa, filling the seam, top down, remove the surplus.
- When working with tiles, the spatula is located at an angle of 15-30 ° C.
- Empties in the seams, the corner around the tile fill the maximum, pressing the grout in them.
- Excess the grouts for the tile, settling on the soldier during operation, discard back into the tank, and remove the remnants of the tile solution, carrying out the spatula along the seam, perpendicular to the surface of the tile.
- Periodically mix the solution in the container without letting it be seized.
We will extend the seams
After applying the solution by 6-8 seams, we proceed to the extender until she managed to harden.
- Put the rubber spatula by the rounded end to the seam and pressing, spending along it, giving grouting complete relief.
- If cracks are formed when the batch is formed, then either the grout is thick, or the seam managed to grab.
- I wash the sponge and spend on the seam.
- We take the spatula and repeat the process of giving the seam of the desired relief.
If you wish, it is possible to use a finger instead of a spatula, only in gloves, since the solution dryly dries the skin.
Clean the surface
Full removal of sprinkle residues from the surface of the tile, we produce 1.5-2 hours when the grout will snack.
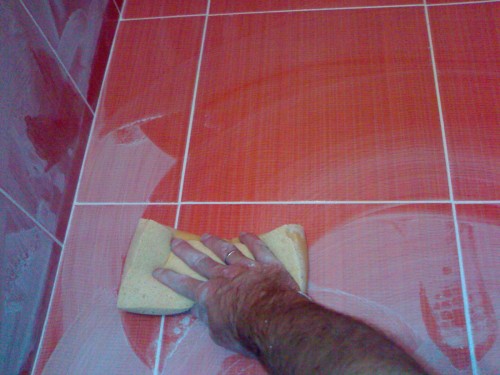
- We wipe the tile with a damp cloth, collecting dust and the remaining part of the grout.
- Wash the clean dry cloth.
Do not clean the surface earlier, because The relief of the strip will be disturbed, and later, since the solidified extender is harder to remove.
We carry order
- After complete rejection of the grouts, we finally rinse the tile with a cleaning agent.
- Unused grout residues throwing out in the bucket. You can not wash off the grip in the sewer, otherwise there will be clogging.
- You can leave the solution in the capacity of the day at 2. During this time, water is separated from the main mass, which we drain into the sewage system, and throw it into the bag and in the trash can.
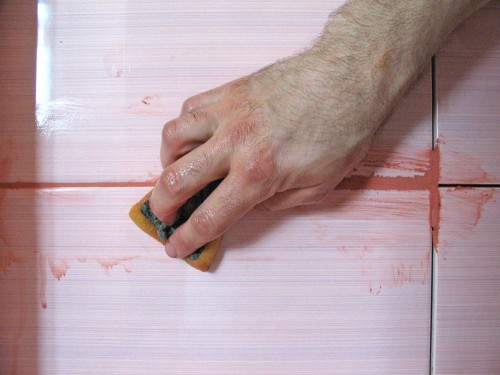
Following the phased description of a simple technology, not even a prepared person easily cope with the process of grouting tiles with their own hands.


