Application of texture paint: Step-by-step instructions paints and varnishes
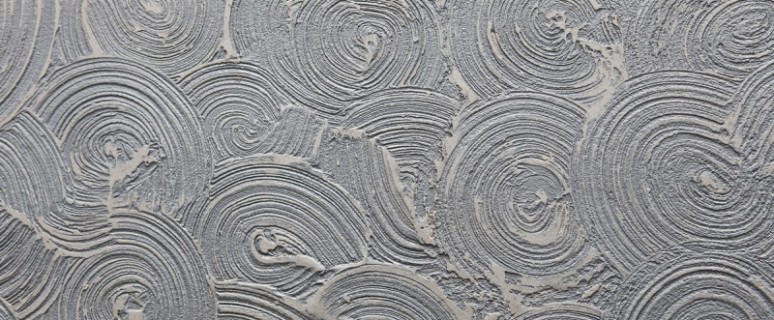
The process of working with this material is not complicated, but somewhat different from the technology of applying ordinary paint. Before you begin the use of paint textured, recall the competent pretreatment of the surface.
Content
Preparation of walls
The texture paint is applied with a thicker layer relatively ordinary, therefore, the requirements for surface strength are elevated. It should be dry (no more than 2% humidity), not dusty, without outsiders.
All areas worsening adhesion, such as old cracked, sprinkled layers of finishing, whims and other painting surfaces, should be removed. If the main coating is the oil paint, the wall should be studied for detachalies and swelling. Where the paint is well preserved, its surface need to sand: for better clutch, it should become matte.
If after eliminating the base coating, you appeared an ugly wall with rude drops, it should be slightly sharpened to compose the irregularities at least to a level of 2 mm. Large cracks are recommended to reinforce the grid.
The finished surface should be clean, dry, not "sharing" and without signs of mold.
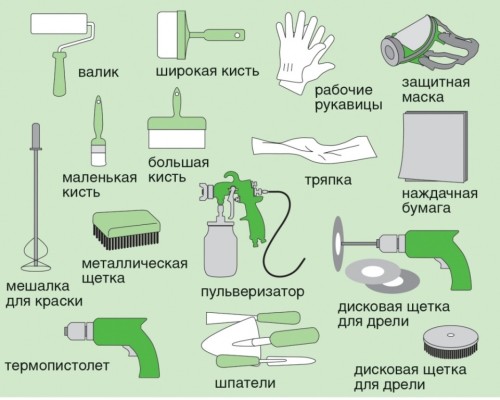
Tools that will be needed:
- Drill with a mixing nozzle.
- Spatula or Kelma.
- Rolls for choosing: smooth, rubber structural, foam, porous.
- Decorative brushes.
- Brush flat.
- Malyary Scotch.
Spatlewing of walls
It is recommended to use acrylic mixtures on a water basis. Since the texture paint is so elastic that it can be applied to a layer to 15 mm, the shtalavka serves only to mask gross wall defects.
The quality of study should be installed, however, in terms of the situation: depending on the desired relief, the paint is selected and its layer thickness is set. What he is thinner, the more carefully the surface should be prepared.
Grinding walls
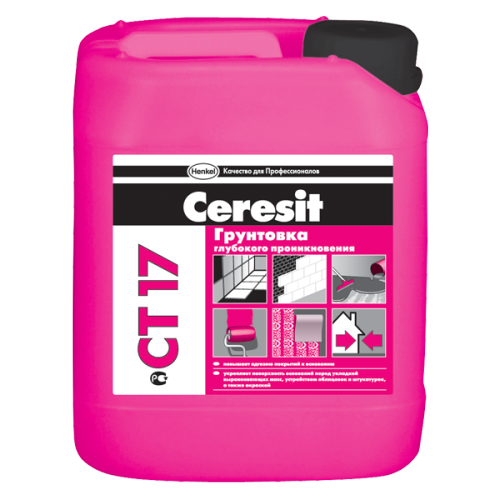
Its appointment is to improve the grip between the wall and paint. Refer to the case on acrylic basis, for example, Galamix-53 and Galamix-51 or "Universal". If the coating is easily creptable, you can use the special strengthening primer "Profi" or apply 2 layers of the usual mixture. Plots hit by mold and fungus are pre-dried and treated with antifungal primer, for example, accurate 115.
After drying, the primer creates a thin film on the surface, filling and equalizing the pores at the base of the wall, which makes it easier to apply the finish coating, increases its durability and saves on the material.
Depending on the manufacturer, temperature and humidity in the room, the primer dries around 6 hours, after which you can begin to the finishing finish stage.
Painting walls of texture paint
To avoid non-cross-stocked areas, it is recommended to apply a thin layer of conventional acrylic water-mounted paint to the future coating on the wall.
Before use, you should thoroughly mix the texture paint, diluting it, if necessary, water. Part of the water should be no more than 5-10% of the total mass, otherwise the beauty will become fluid and will not hold the form. The paint is interfered with manually or a drill with a mixing nozzle at low revs no more than 2 minutes.
Note: The material consumption depends on the manner of the work, the selected tool, the degree of preparation of the wall. To get an idea of \u200b\u200bthe consumption, make a trial area on the working surface.
How to apply texture paint:
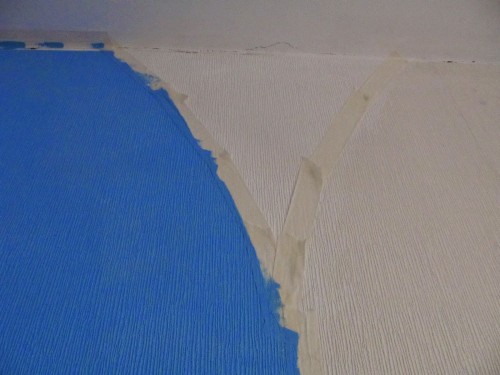
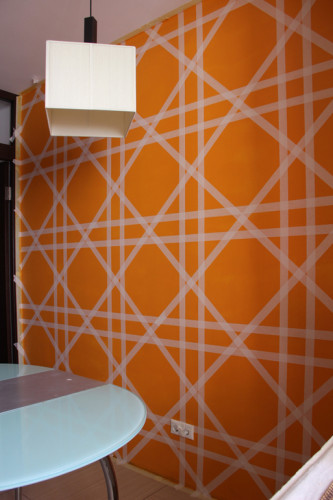
- First of all, it is necessary to determine the clear design boundaries of the vertex, the bottom and the width of the finish with the help of painting scotch. We also pay attention to the protection of surfaces that are not subject to decorating.
- Lighting is an important factor of successful work. It should be sufficient and as close as possible to future permanent lighting over intensity and the angle of fall. The fact is that the paint relief is "reading" precisely due to the direction of light, and the correct lighting will help create the desired effect on the wall. It should be taken into account both day and electric light.
- If you make technological breaks during operation, the paint containers at this moment should be tightly closed.
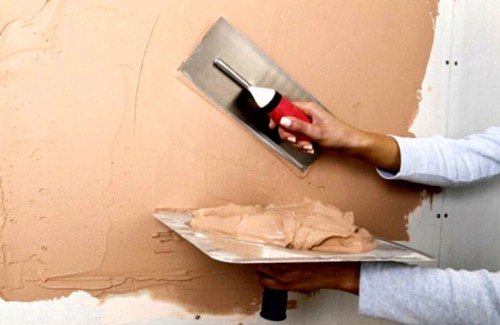
- The paint is applied with a spatula, roller or sprayer. If you use a roller, then it should be smooth or with a hard short pile up to 1 cm long. The snot of the pulverizer is at least 3 mm in diameter. On the entire stage of application, the roller is recommended to keep in one direction to form a sequence of relief.
- If you use a spatula, the drawing will be applied to the next step, and not at the same time, as in the case of a roller. A sufficiently large amount of a mixture is superimposed on the spatula, which is applied with a layer of 3 mm, and then, within one and a half hours you have the ability to experiment with texture, correct and add, change rollers and other tools for creating relief.
- Proper to start work from the angle of the plane to the opposite corner.
- If necessary, painting the texture paint is carried out in two layers, while the second layer should be applied after complete drying of the first, that is, after 3-10 hours.
- To avoid the formation of joints, work within the same plane should occur in one approach according to the "wet wet" principle.
- After work, the tool must be rinsed immediately with water.
- The time of complete drying in the normal conditions is 24 hours. The final hardness and uniform polymerization it acquires only 14 days later.
Remember: the drawing and the resulting texture depend on the material of the roller and the speed of its movement along the wall.
Getting Figure
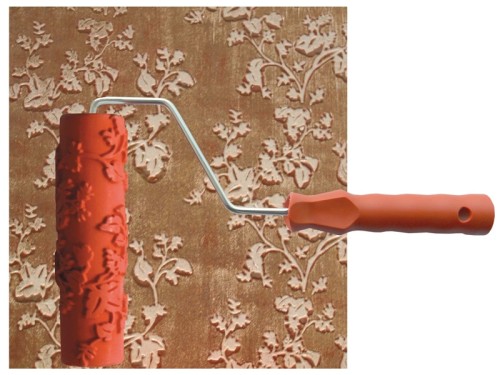
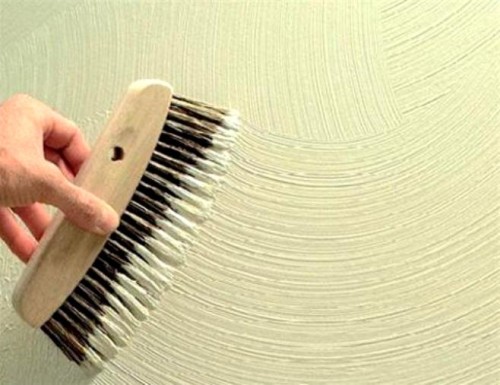
To perform special textures, it is recommended to use rubber, foam, porous rollers, brushes, rigid brushes, curly spatulas.
Method 1. The texture paint is applied onto the wall, as in the photo, using a cell or a spatula with a layer of 2-3 mm. Then the surface is processed by the selected texture roller, while rolling it upwards.
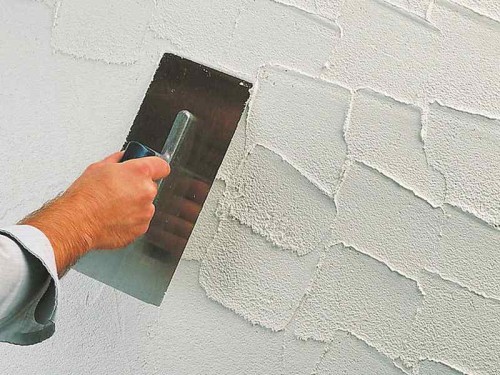
Method 2. The paint is applied similarly to the first, the adhesive spatula with cloths and wave-like movements are attached. You can describe semicircles, waves, layered them and change direction.
Method 3. Relief "Coroed". Texture paint is applied with a thin layer of 1 mm using a wide spatula. Then, tightly pressing it against the wall, the excess of the mixture is removed, as a result of which the large components of the fractions leave the track behind them.
Method 4. The wall is pre-stained by paint to the tone of texture, or, on the contradiction, contrasting color. In this case, when the bottom layer will appear when scraping. For example, a lilac texture paint is applied on the yellow foundation. It is also worth experimenting also with shades of the same color: light gray and more dark, powder and saturated beige.
You can additionally decorate the finished textured wall, mixing the usual transparent varnish with a special creative paste. With the help of such a reception, it will be possible to notice how the shade of the wall from changing the angle and the lighting intensity changes.
Technical features of paint:
- It is forbidden to mix and add yourself to the paint.
- It is impossible to apply material on the facade into particularly hot or rainy weather, or under the influence of direct sunlight.
- Upon street work, you need to check the health of the storm and drainage structures.
- Condensate should not be formed on the working surface.
- The ambient temperature should be from + 5 ° C to + 30 ° C.
- With internal work, high-quality ventilation should be provided.
Tip: When staining the facade, it is better to choose pastel shades of texture paint: first, it is harmony with the environment, and secondly, from a long exposure to light, any bright color burns out.
Prepare exactly the amount of material that is guaranteed enough for one layer. If you have more than one container, make sure that the color of the mixture in all of them is the same. Application of texture paint - Responsible Stage: Take advantage of video tutorials and consult with those who already have experience in this.


