Greenhouse thermos: Installation instructions Construction,Plot
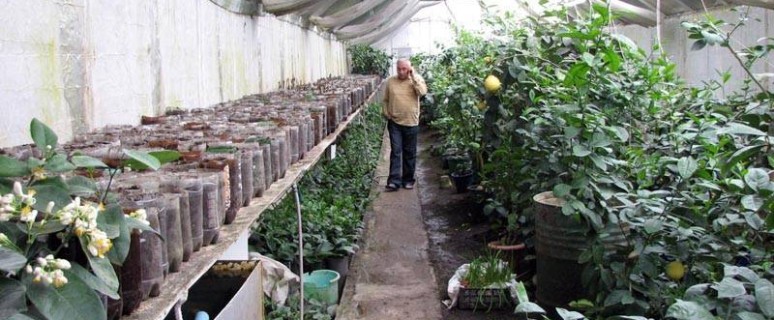
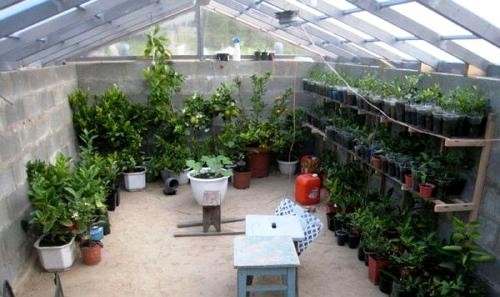
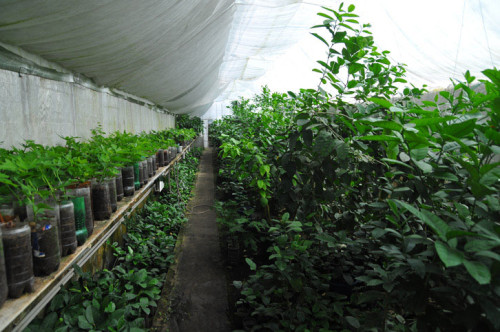
Greenhouse-thermos or greenhouse Patya - a structure that allows 15 times less consumed energy for heating. This is achieved by heat and light reproduction. Thanks to the unique design, local roots, flowers and some tropical cultures have been grown in it for a whole year.
Content
Advantages of greenhouse thermos
- The yield increases several times.
- Internal smooth temperature fluctuations.
- High reliability design.
- Durability of the structure.
- High light transpact capacity (from 91%).
- Durable frame, foundation.
- The design is well tolerates temperature differences, etc.
Greenhouse-thermos: Main features
The greenhouse thermos - the design is complex, since its main part is located underground. However, in practice it is proved that it turns out to be much more profitable other structures and pays for itself in the very first year.
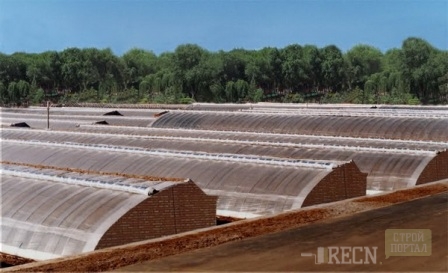
Thanks to the polycarbonate trim in the greenhouse of the Patia, a unique reflective effect is created. The light is evenly distributed over the entire area, providing optimal conditions for better harvest.
This construction is made from 3-5 M wide and from 4 m long. It all depends on personal preferences.
Accommodation greenhouse
When choosing a place for a greenhouse of Patya, pay attention to the remoteness of communications. What they are closer, the easier and cheaper to bring them.
The construction is recommended to be located from the east to the West or from West to the East. The side facing north should be thoroughly insulated with mineral wool or foam.
Greenhouse thermos do it yourself
Greenhouse thermos: drawing, purchase of materials
- Before proceeding with the work, it is necessary to make a plan of a future structure. It can be depicted independently or use the finished project.
- Building materials are purchased "in the future", i.e. by 10% of the specified in the estimate.
ROOM KOTELOVA
It is here that the greenhouse premises will later be.
Notes:
- the depth of the pit should be from 1.5-2 m (the soil at a given distance has about the same temperature for a whole year);
- kotlovan must have smooth edges;
- the width of the pit should not exceed 5 m (large dimensions will reduce heating and light reproduction).
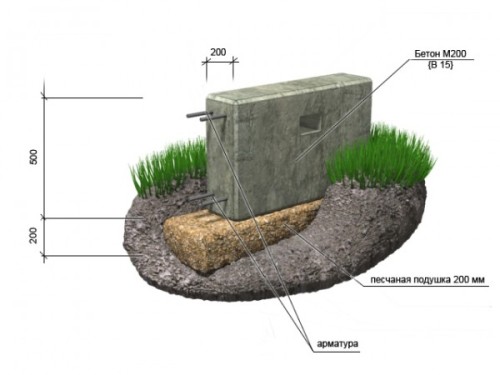
Fall with ribbon foundation
The tape base is the best choice in the construction of the greenhouse. Today there are several such options:
- small-breeding foundation (0.5 m);
- outflowed foundation (it is organized below the ground freezing level).
Progress:
- i dig around the perimeter of the base with a trench depth of 60 cm;
- mix in proportion 1: 1 crushed stone and sand;
- we fall asleep mixture into a trench layer of 10 cm;
- we mount the wooden formwork from stakes and boards. The first are installed along the trench at a distance of 30 cm;
- we organize the reinforcement frame of 4-6 branches. To do this, we associate them with each other using rigid wire;
- we put the framework in the formwork;
- we prepare a solution from cement, rubble and sand (1: 3: 5), fill it with formwork;
- let's give the ground to survive within a month. Formwork remove 7 days later.
Walling
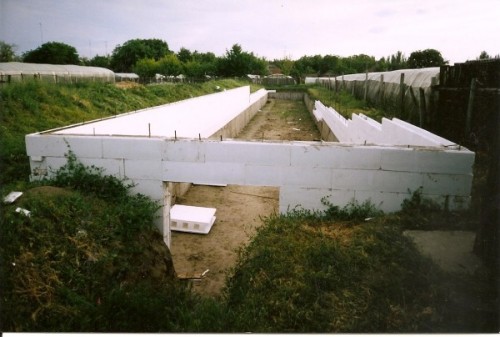
Mount to the foundation wall of thermoblocks. The latter are fixed with each other with a concrete solution.
To create additional insulation, use a special film (for example, foil). She is trimmed every wall.
Notes: Thermal blocks are stacked on the principle of brickwork.
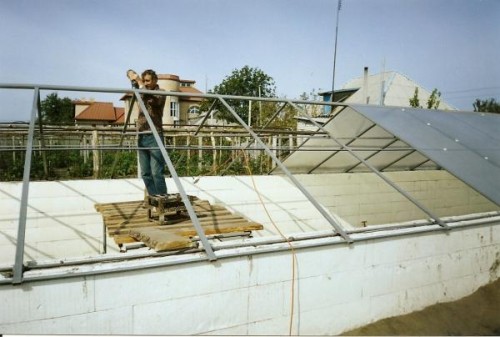
Collect design
- Cut polycarbonate and profiles according to the plan.
- At the edges of profiles, drill mounting holes.
- We collect the roof from the profiles, we are wearing with polycarbonate.
- Fix the design to building blocks using dowels.
Notes: When collecting the roof, use large sheets of polycarbonate, in order to exclude the occurrence of the joints.
Roof construction for Greenhouse Patia: Features
In order to reduce heat loss in a greenhouse-thermos, you can organize a double coating roof from polycarbonate. For this, 2 sheets of 4 mm are taken and fixed through a special gasket from the profile for the production of arcs.
Notes:
- Unfortunately, the snow will not have snow on such a roof, so it is necessary to organize an additional heat outline. The latter will work on the timer, and the decaying sediments will be removed from the vibrator.
- If instead of profiles you decide to use a wooden frame (to create a roof), then all parts of the rafter must be prepared in advance, carefully impregnating the protective composition. It should be connected to Poledev, and the jumper is fixed so that as a result, the distance in the lower part ranges from 3-5 cm.
Internal work
- Treat the seams of the foundation and masonry by plaster or mounting foam.
- Equip the greenhouse with additional heating (warm floors, hot water barrel, special devices).
- Prepare the ground for planting plants.
- If there is a lack of lighting - replenish it with the help of LED lamps.
Notes:
By organizing a garden in the greenhouse, it is best to fulfill their mitlamidor way. So you will receive not only a rich harvest, but also a practical, functional, comfortable greenhouse.


