Truma with a mirror with your own hands Interior items
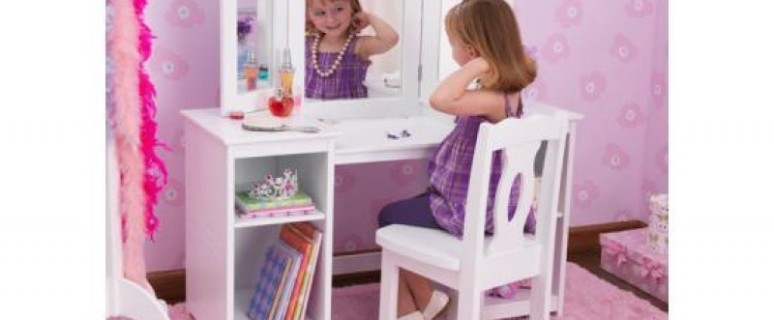
The restoration of the tremor with the mirror is not always possible and is expensive. New furniture can be made with your own hands. Thus, you can not only save money, but also create a unique interior. It is important that it is practical and harmoniously combined with other elements of the room finish.
Content
Preparatory Stage: Choosing Materials and Tools
A trumpem with a mirror at home can be collected from parts, the materials for the manufacture of which are chosen from the following list:
- for the hull - laminated wood chipboard (LDSP) thickness 18, 16 or 10 mm: its outer coating is made of monophonic plastic or with a pattern that imitates a natural tree or a stone;
- mDF plate: more denser material with one-sided decorative coating (doors and front details of drawers are made of the doors and facial parts);
- laminated plywood or fiberboard (for the posterior wall of the couch and bottom of drawers).
As the fasteners use:
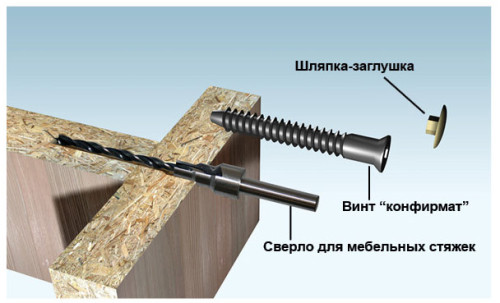
- confirmates (50 or 75 mm long) - with their help connect the parts from the chipboard;
- furniture screws - serve to fasten parts from plywood or fiberboard to details from chipboard, to install loops and guides;
- roller or telescopic guides - to install drawers;
- furniture corners and supports for shelves;
- legs, handles for drawers and loops furniture;
- P-shaped or flat edge PVC (the latter is usually a thickness of 0.45 and 2.0 mm) - for the design of the end faces of parts from the chipboard.
To collect the tremor (dressing table) with a mirror, you must have at your disposal such tools and devices:
- screwdriver with nozzles for screwing confirmates and self-tapping screws;
- electrolovka with fine-grained saws;
- confirmable or two conventional drills on a tree - a diameter of 5.0 and 8.0 mm;
- milling cutter with a diameter of 35 mm (for loops);
- construction corner;
- furniture clamps;
- emery finely abrasive ("zero") paper;
- roulette;
- pencil carpense or marker;
- shoe knife.
IMPORTANT: CONFIMATE CONFIMBERS HAVE HEXT MANAGE OR RECEIVE - Conducting Slot. To screw the confirmates with hexagons, the keys of the corresponding form by 4 mm are used.
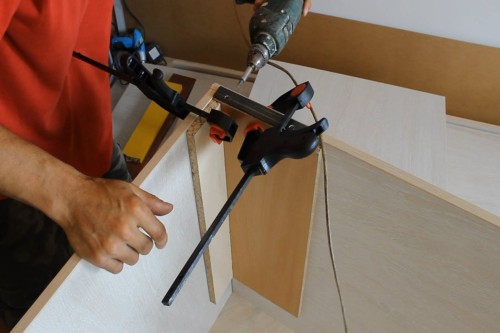
For connecting parts at right angles, clamps are used
In addition to the above, a mirror of a specific configuration will be required (it is ordered in the glass workshop) and fastening for it (bilateral tape 3m is recommended). For registration, the LED ribbon is used, decorative inserts for sash and so on.
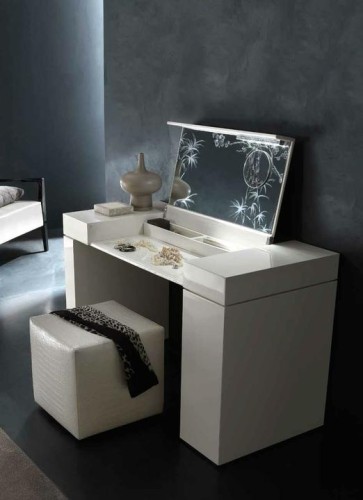
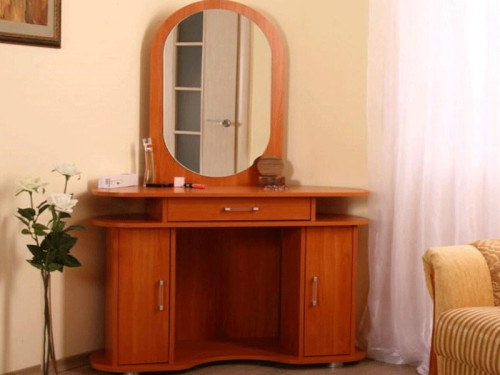
Your attention is tremor with a mirror (photo), decorated LED tape. Such a dressing table for makeup can serve as an ordinary writing desk.
Choose a furniture model and perform a drawing
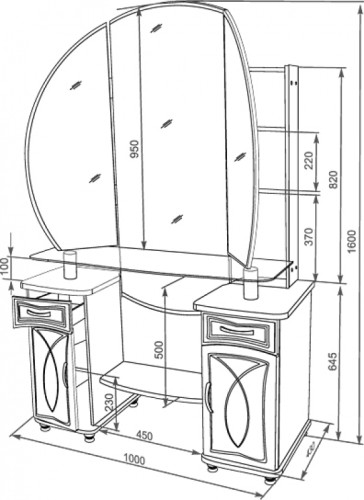
For the manufacture and assembly, you need two drawings: one is a common type (with the main dimensions), which indicates the position of all parts, and detailed - with the image of all parts. On the last drawing, all sizes should be indicated and the edges are indicated, which will subsequently be placed PVC tape.
Drawing (general view) of the dressing table
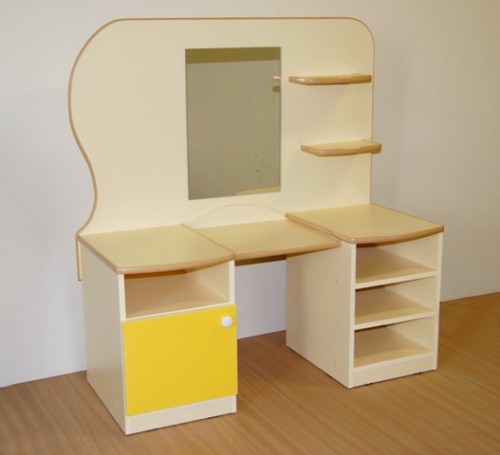
Ready drawings can be borrowed on the Internet. The furniture design is chosen depending on the installation site: it can be a trumpeting corner with a mirror in the bedroom or a tremor with a mirror for a girl. Very comfortable in the hallway with a mirror or without it.
Corner trumpex will organically fit into the bedroom interior
The design and color of the toilet table is chosen so that they are combined with the overall concept of decoration. Your attention is the option of a piece with a mirror in the bedroom (see photo below).
Corner trumma in the bedroom
Production Technology Truma: Basic Rules
Tip: DRP cutting is recommended to book on a specialized enterprise, since a special machine is required to cut this material. Electrolovka can only cut the Fiberboard for the bottoms and rear walls. Details from MDF are also manufactured in an industrial method.
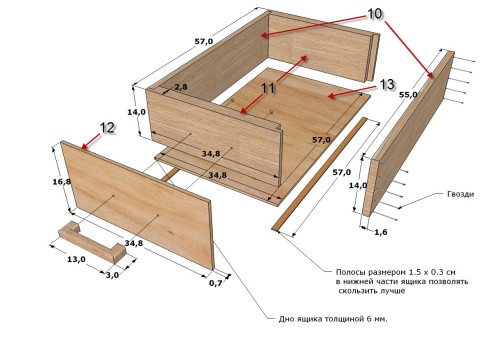
Construction of drawer
After all the basic details are ready, the skeleton with the mirror in the bedroom or the corridor is collected in the sequence specified in the drawing. At the same time take into account the following nuances.
- Ready parts with glued edges are numbered by a marker in accordance with the specification attached to the drawing.
- Collect furniture (trumulously with a mirror in particular) is recommended on a flat surface to connect the parts without distortion. Start working from the build assembly.
- In order for the details to dock exactly at right angles, special clamps are used. The angle is controlled by the coal.
- The cutting of the chipboard and fiberboard (if necessary) is performed by an electrobilla with a small-scale sawdow. The facial side of the material should be drawn down (it minimizes the rocking of the laminate). The edge of the cut decor the P-shaped tape.
- Before screwing the screws, the place of the hole is glowed with a seboard.
- The holes for the confirmates are drilled by a special drill or conventional in two receptions: the first use the drill with a diameter of 5 mm (drilled to a depth of at least 40 mm), after which it is carried out with a crumpled (under the Hat) with a diameter of 8 mm. Confirmate caps are covered with plugs.
- For the manufacture of drawers, it is recommended to use a 10 mm chipboard.
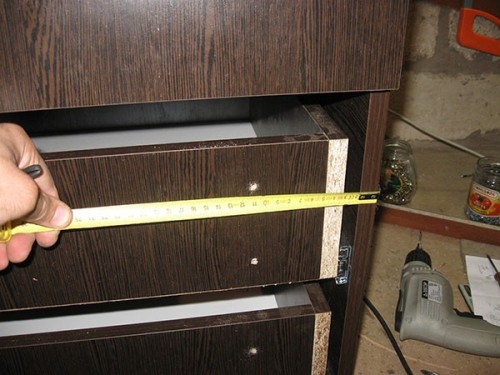
- Retractable drawers are designed so that a distance of at least 10 mm remains between their side walls and parts of the case - to install the guides.
- The bottom of the boxes are installed in the grooves made by the milling machine, or in a false way.
- The deaf holes (nests) for loops are dried with a cutter with a diameter of 35 mm. After installing the loop, adjust, tightening or relaxing special screws.
- PVC flat tape is glued with a household iron through cotton fabric. Before sticking, the ends are treated with sandpaper. Surplus ribbon is cut off with a shoe knife.
- At the last stage of the assembly, the handles on the doors and retractable boxes are installed.
- Under the housing are installed support legs. LED tape on the mirror contour is attached.
To install the box it is necessary to provide gaps between the details
At the end of your attention video demonstrating the assembly process by the specialist.


