Phytosten - Features of Arrangement Useful advice,Interior items
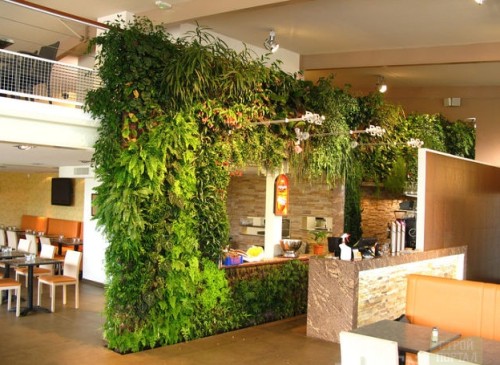
One of the main trends of modern interior design is the use of environmentally friendly materials. It is impossible to better meet this requirement a new style solution - the design of compositions for the walls and the ceiling of living plants. Despite certain difficulties of such a design, you can make a phytostine with your own hands, and quite quickly. The main thing is to know how to do it right, which you will learn from this article.
Content
What is phytostine?
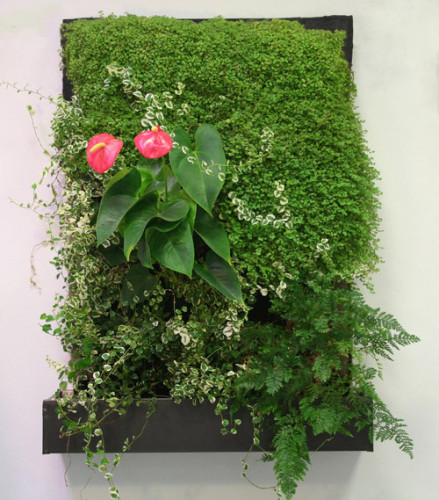
Phytosten is a collected ready-to-use design of a plastic basis planted by living plants and decorative elements. Optionally, it can be equipped with a built-in automatic watering system, connected to alarm or the control panel of the "Smart Home".
The dimensions of such paintings vary from 0.5 to 5 m2, depending on the area of \u200b\u200bthe room, the specific selected location and the financial capabilities of the owner of the apartment or at home.
Important! Vividly imagine how such a design looks in the finished form, you can, thanks to the numerous photo of phytosten already ready-made projects.
What are the types of "green wall"?
There are several varieties of plants from plants that decisive the signs of which serve:
To date, professional interior designers offer the following options:
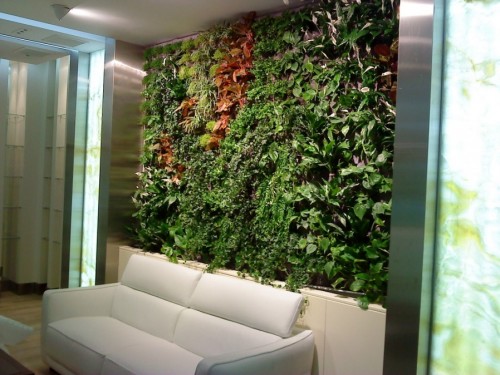
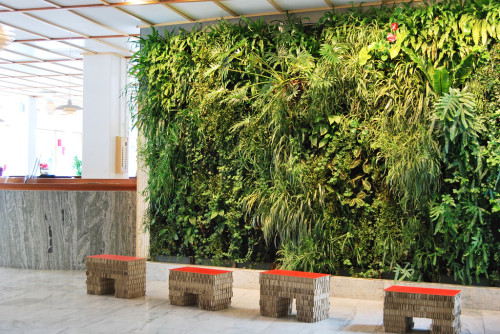
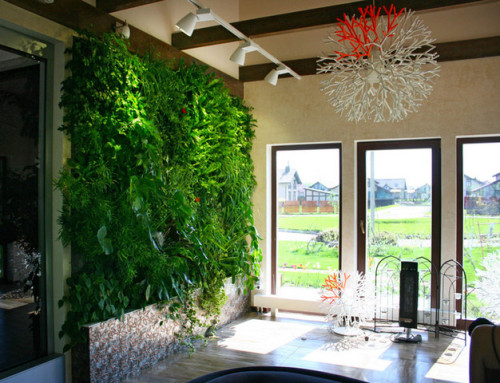
- Vertical "green wall". This is a large-scale solid composition in which plants are planted into specially designated compartments. In the main mass, these stationary paintings, the design of which is developed under a specific placement place. Their movement is not provided.
- Phytomodul. The principle of organization of such a composition is similar to the previous option, but the main difference is more compact sizes. In a ready-made form, it can be as installed "for centuries" in one place, and provide for moving on the need to other premises. The rational solution is to buy such a phytostine after the complete completion of all finishing works, as it allows you to add brightness and diversify an existing design.
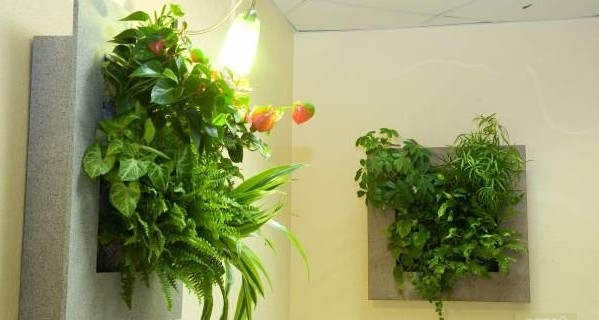
- Fitokarttina. This is the least surround option. The principle of its use is identical to the use of a conventional artistic canvase. Therefore, they organize such compositions, taking into account the minimum cost of the time of the owner to care for plants.
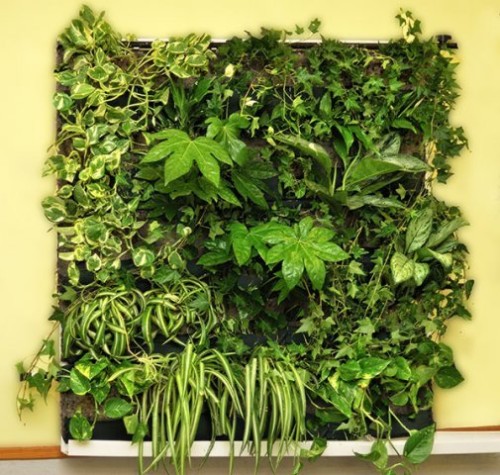
- Mobile phytosten. A universal option that may well be used as a separating screen or even a full-fledged door with the zoning of the room. Given the peculiarities of operation, the duration of their application is much shorter than vertical phytosen, but at the same time such a hedge allows you to revive any home and cause a sincere admiration for the guests.
- Ceiling "Live Wall". Already the name itself determines the placement location. Such compositions draw up all the ceiling space or individual zones if the design and furniture of the room contribute to this. Most often use such paintings from living plants when designing a kitchen or summer veranda and a winter garden in a private cottage.
Important! With regard to the form, the artist's fantasy may be limitless - it can be columns, round, cubic patterns or steles, with one-sided design and several faces with vegetation.
How long does the phytosten "live"?
To the greater the duration of the suitability of the "green" wall as an decoration is determined by two factors:
- possible age of used vegetation;
- the degree of wear resistance of the base material - if plastic is taken, it is almost unlimited.
Important! On average, the service life of phytosten is up to 7 years.
What are the advantages of plants from plants?
Such a composition will bring a lot of indisputable advantages, not only in relation to aesthetics, but also practical application:
- plants absorb all types of pollution, so phyomoduli are excellent natural air conditioning;
- the possibility of installation in any room is fitted with phytosten and for a compact apartment, and for a private luxury cottage with a large quadrature, for kitchen, children's, bedroom, living room, office and closed veranda;
- full security and high level of environmental purity - plants not only harmless to the human body, but also contribute to the natural health recovery;
- natural moisture regulation in the room, due to which the microclimate suitable for man is installed and the cost of installing special air conditioning equipment is reduced;
- wide design possibilities - to place the phytostine can be in any convenient location, regardless of the size of the free area and its configuration, since it practically does not take the useful area;
- according to scientific research, the presence of phytostain in the room improves performance and promotes the concentration of attention;
- the ability to originally distinguish between the space indoors and at the same time hide all the unsightly elements - the wires of engineering systems and technical partitions, without which it is impossible to do without losing the room in the convenience of operation.
How to make phytostine with your own hands?
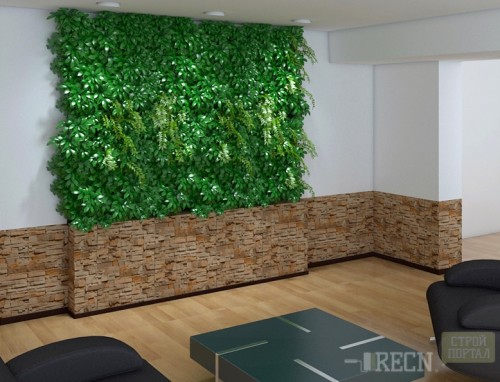
You can, of course, buy phytostine in the finished set, but such a decision will be quite expensive. In addition, the composition decorated with its own hands will delight you much more and will become original and at the same time an economical option for apartment design.
To perform all the work personally, stick to the following sequence of actions:
- Choose the location of the composition.
- Create a design scheme.
- Choose suitable plants.
- Determine additional details of the decor.
- Prepare materials and assemble the design clearly according to plan.
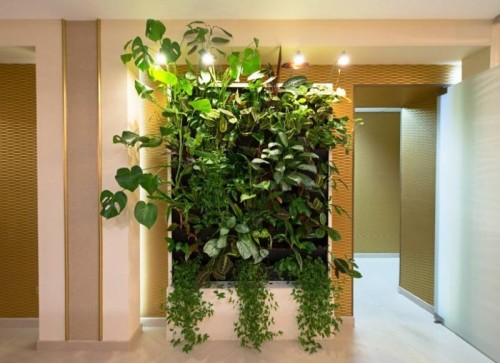
Fitosen Project Project Rules
From how correctly you will make a preliminary pattern of the picture, its attractiveness and service life also depends. Therefore, be sure to consider the following recommendations:
- When choosing a place of installation of the picture, consider the access of sunlight so that the plants get it in the desired quantity.
- Clearly define the size of the location.
- Make them on the sheet, out of contours.
- Sell \u200b\u200ball the space on the scale, given the necessary area for each plant in such a way that it can fully develop.
- Indicate on the diagram all the details of the additional decor that you plan to use.
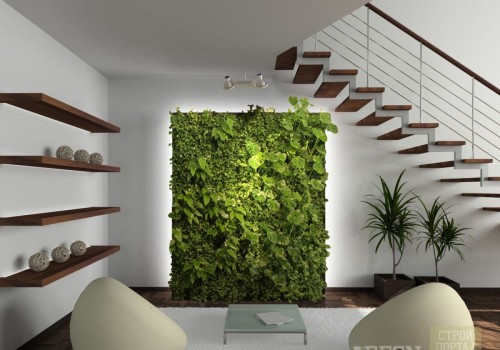
Rules for the choice of suitable plants
The whole charm of the creation of phytosten with their own hands is that you yourself can choose those plants for her who you are more "soul" and really will delight your eyes every day.
Regarding the requirements of practicality, consider the following recommendations of specialists. Plants should be:
- attractive;
- fit each other in form, color, method and timing of development;
- not too attractive care - ideally, those that may well do with a small amount of soil or without it without it.
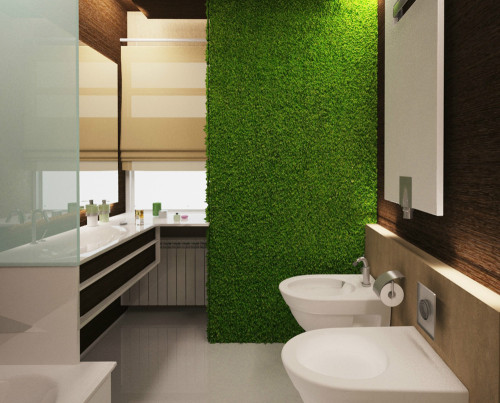
Most often used for landscaping walls in the room such options:
- For the main background - ivy (Canary and ordinary), fern (Peris and Nefrolypt), Tradessications, zebrins, drasens, peperomies, callisia, spathifylums, lianas (aristology and Szindapsus), chlorofiums.
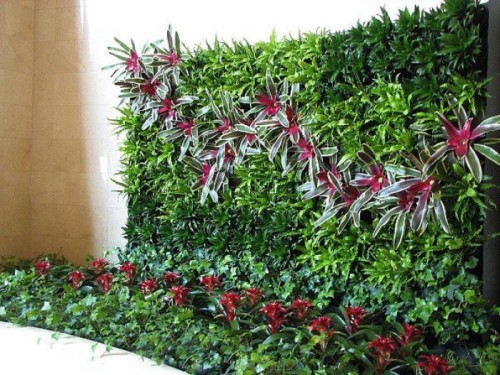
- To impart brightness and enclosures of floral elements - saws, ripenes, marrants, phythonia, orchids, succulents.
Important! The number of varieties remains completely at your discretion. Some designers draw up compositions of 40 plants per 1 m2 or up to 100 in one small composition. If you are already an experienced owner of home "flower beds", you can quite try yourself in a new direction, to show your fantasy based on knowledge. Believe me, the finished result will certainly be surprised by its extraordinary beauty if you deliberately come up to this process.
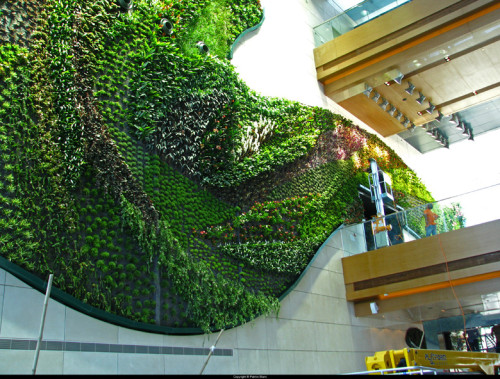
Additional decor features
As additional decorative elements, use everything that you may seem interesting:
- glass baguettes;
- shells;
- small colorful crushed stone;
- little waterfalls;
- mirrors;
- little lamps;
- shelves-stand, where you can place many attractive little things and the necessary "at hand" in the household of items.
Important! The main condition - think over every item as it will be combined with the rest of the elements. Otherwise, you risk disrupting the harmony of integrity, and in reality, your phytosen will become too frosted and licked. And it can give the opposite effect and look no way attractive.
Materials and tools
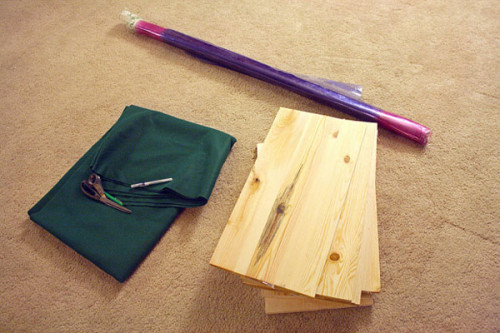
The following proposed detailed instructions for creating phytosten with automatic irrigation with your own hands. To embody this idea, you will need:
- Frame. For this part of the design, wooden rails and boards, plastic ready-made frame or aluminum profile are ideal.
- Moisture-resistant canvas. It will prevent moisture leakage on the walls. For this purpose, choose any option convenient for you - polypropylene or PVC web, polycarbonate or ordinary polyethylene.
- Pipes (tubes) of a suitable cross section for arrangement of an automatic irrigation system, the optimal version is drip.
- Dense fabric for pockets based on felt thread. The main requirement is the inconsistency of rotting.
- Submersible pump of small power to swipe water for watering - even aquarium or fountain type is suitable. When choosing the desired height, focus on the standard rules: to the height of the wall with plants in 1 meter requires 1.5 meters of pump lifting height.
- Pallet for collecting excess water.
- Soil for plants - this can be hydroponics with clay. The main advantages are that it is not washed away and even has in the composition of the components that scare moshkar and create unfavorable conditions for the development of insects.
Important! To more clearly imagine the device of the future phytosta, carefully consider the scheme proposed below.

To assemble the composition, prepare in advance and the necessary tools so that the process does not stop at the most inopportune moment:
Instructions for assembly
To properly arrange the phytostine with your own hands, follow these steps:
- Collect the frame from the selected parts clearly in size in the diagram.
- Sushe out of the rope of suitable size.
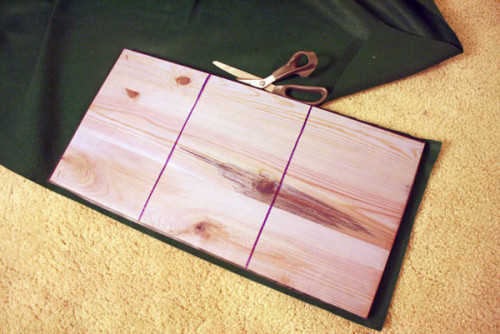
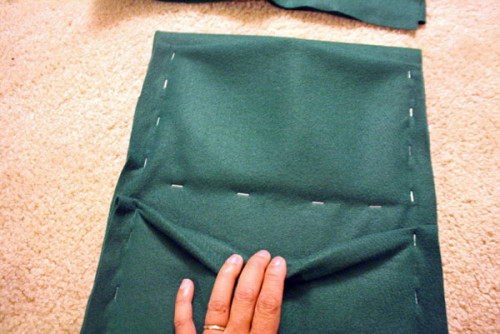
- It will place pockets for plants.
Important! Thoroughly process all the seams so that the fabric under the severity of the plant does not dislike and all the contents did not fall.
- Secure the finished tissue base on a sheet of plastic, polycarbonate or other material you choose with glue or building brackets.
Important! This will ensure not only additional waterproofing, but also the desired stiffness of the structure. Thanks to this, the form will clearly hold on for a long time.
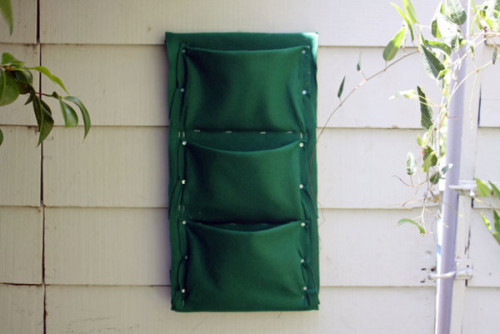
- Secure the frame with screws or nails to the wall at a distance of at least 2 cm.
Important! Compliance with this requirement will provide the necessary ventilation, which is necessary to prevent the accumulation of moisture on the wall and the inner surface of the phytocomposition.
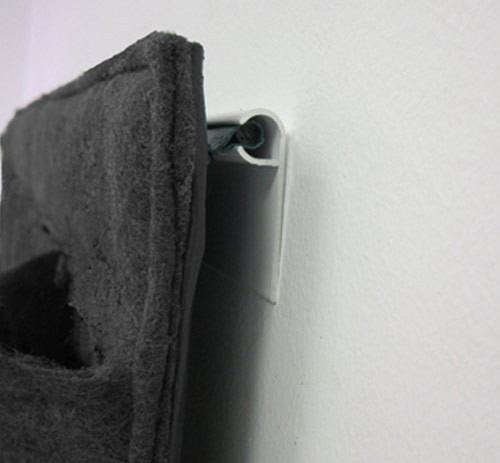
- In the upper part between the cloth and the profile, set the PVC tube for watering.
Important! On the one hand, the pipe must have a cap, and along the entire length, make a lot of small holes over the entire length so that the water is evenly drained along the canvas to the plants.
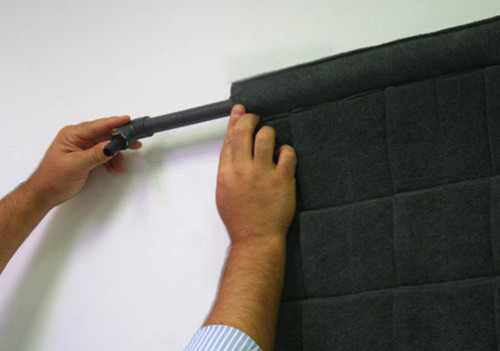
- Move the hose from the tube to the pump so that it is hidden under felt.
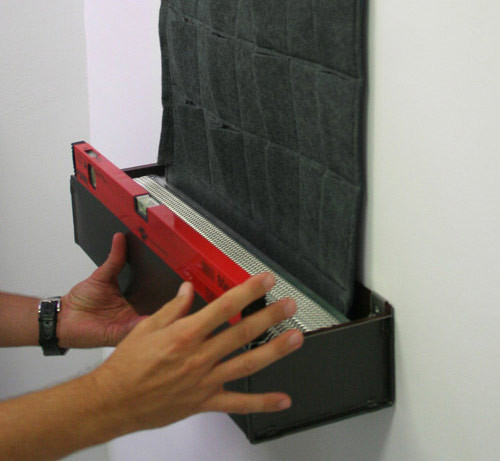
- Secure the bottom structure to collect extra water.
- Install the submersible pump.
Important! Connect the pump through the timer - it should initially work twice a day for half an hour.
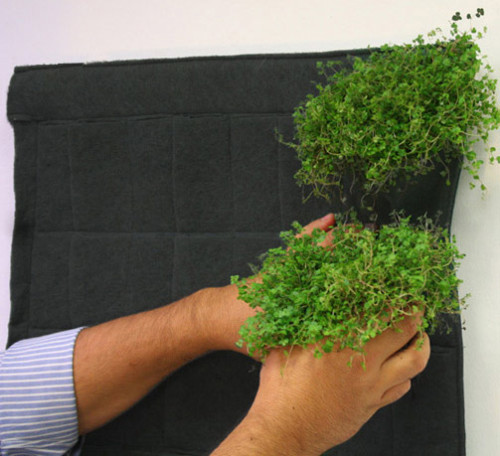
- Remove all plants from pots in turn.
- Slightly shake off the excess earth.
- Wrap the roots in the lobster felt fabric, mixing them with water.
- Install according to the scheme in pockets.
Important! Carefully check the sequence of plants. If you allow an error, it will be possible to correct it only within the next 2-3 days, until the plant is rooted in felt. After this happens, you will not be able to remove the plant without damaging its root system.
How to properly care for phytostine?
So that your "live wall" served as long as possible, ensure competent departure plants. To do this, comply with the following rules:
- Periodically pour water into the plants if you have not installed the automatic irrigation system.
- If a composition with mechanical irrigation collected, at first, special attention is paid to the schedule - water should always be in sufficiency, but too abundant watering is unacceptable - this can provoke plants.
- Clean dead and dry leaves in a timely manner.
- If necessary, make an additional feeder - a mixture of mineral fertilizers.
- True regularly shoots that have grown together and drown the neighboring plants.
- Follow the pump and holes on the top tube for watering.
Video
Review the video example of creating simple phytocartes made by professionals.
Conclusion
As you have already seen, there is nothing complicated in the design of the phytosten. At the same time, this option of decor will help you to spend a lot of pleasant moments of rest, correct your health without any effort, get a charge of cheerfulness and good mood every day and surprise the guests of your home your resourcefulness.


