FRONTON FROM PRODUCTIVE DIY Construction
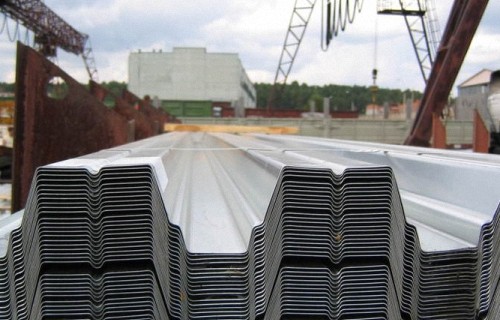
Today, the construction goods market offers a huge selection of materials for facing facades of houses, roofing, frontoths. Among them, steel profiled sheets use the greatest preference due to their reliability, convenience and easy installation. FRONTONE PRODUCTIONS is not a complex business requiring special training. It is quite realistic to cope with it, in the presence of free time and the desire to save money.
Content
What is a fronton, his varieties
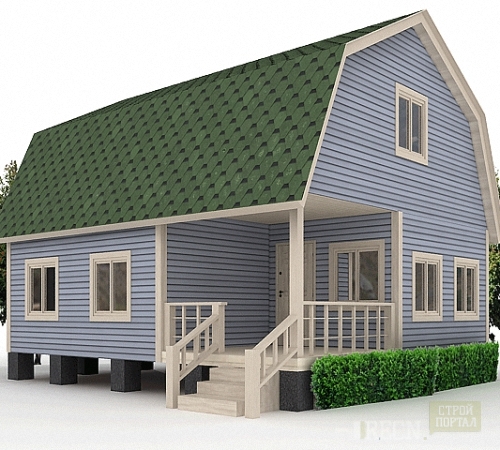
FRONTON is part of the wall directly under the roof, where the attic or an attic is located. It may have a triangle shape, trapezoid, oval, etc. Height is usually varied from 0.7 to 1 m, if the room plays the role of an attic, but if it is a residential, then height increases to 2.5 meters at least. The fronton may be prescribed after the construction of the walls, and may be continuing them.
This part of the house design must perform the following functions:
-
protect the indoor indoor from wind and rain;
-
save warm, holding it inside;
-
reliably support beams and overlap;
-
perform aesthetic function.
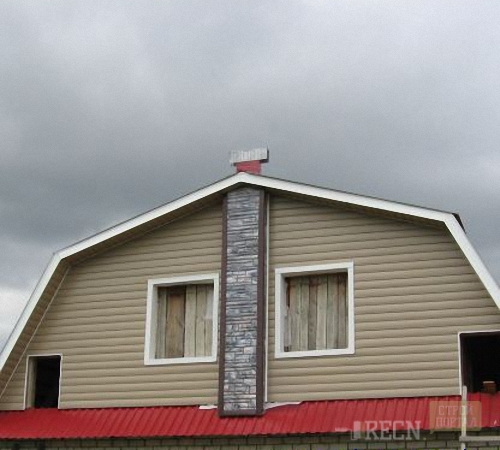
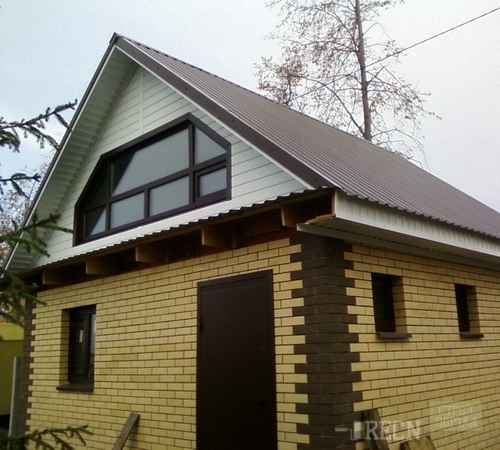
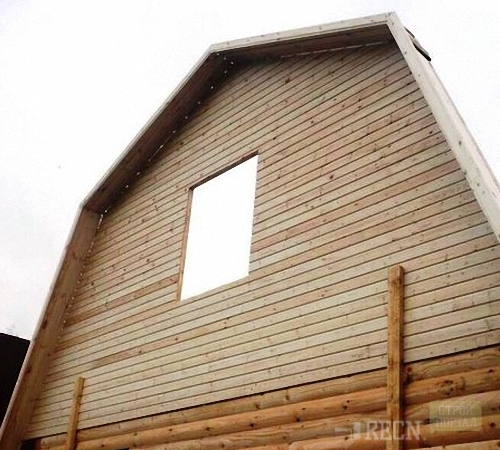
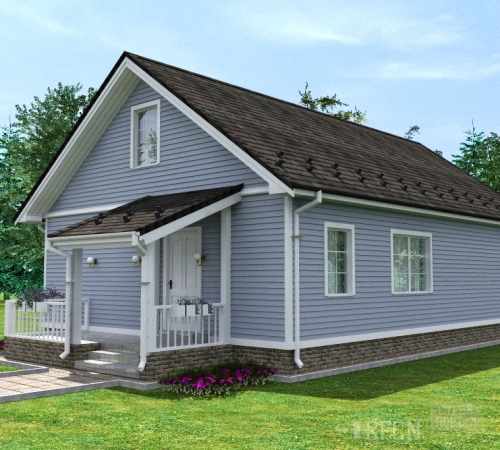
All these goals are achieved with the help of Fronton from the professional flooring. Photos of various options are presented on this page.
Advantages and disadvantages of professional flooring
Like any material, the profiled metal sheet has both advantages and disadvantages. The list of advantages includes the following:
-
after finishing work is not waste;
-
low cost of the material;
-
easy installation and removal;
-
low weight and, as a result, reducing the load on the carrier frame;
-
the strength of the material allows you to securely protect the design and extend its service life;
-
for work, it will not require the purchase of an expensive, complex tool;
- does not fade in the sun.
The disadvantages of the material refers:
-
pretty monotonous appearance, despite the large color palette;
-
sheets having a coating from zinc, poorly tolerate temperature rings, aggressive impact of chemistry, humidity;
-
to achieve good heat and sound insulation, additional use of the corresponding materials is required, since FRONTON from the professional flooring will not prevent the penetration of the cold and wind into the mounting gaps.
Cutting professional flooring: What tool is better to use?
Despite the fact that the professional flooring is a metal sheet having a corrugated surface, you need to cut it. The fact is that on its surface there is a protective coating of a polymer, which is easy to damage, applying hot cutting methods. It is best to carry out this process with a metal hacksaw, which is not at all difficult thanks to the malleability of the material.
Figure sample faster and better to carry out with the help of electric jigsaw. To speed up the work, use the manual electrical roofing scissors. To work with the grinder, they will need special discs for professional flooring, which provide smooth cut. Compared to ordinary, they have a smaller thickness and increased hardness, and in the edges - small cloves.
What should be done before the start of facing works
Before starting to separate the roofs of the roof of the roof of the roof, it is necessary first to calculate its area. If the roof of the house has a symmetrical shape, then the fronton will look like an anoscele triangle. In this case, the calculation of the area is made according to the following formula: S (the area of \u200b\u200bthe front) \u003d H (the height of the front) * 1/2B (base).
In all other cases, it is necessary to draw the roof and smash it into separate figures. The area of \u200b\u200beach of them is calculated separately, then summed.
In the same stage, it is necessary to decide on the scheme of packing a professional flooring. There are three options:
-
horizontally;
-
vertically;
-
christmas tree.
Previously, it was very fashionable to fill the cladding with a Christmas tree, but later, due to the greatest complexity of this method, they refused it. If you mount the lining vertically, then during the rain water will be assembled at the joints and flush with a solid stream. It affects the material badly, because It does not tolerate moisture very well. But if you fill the facing horizontally, the flow of water will be uniform, besides, it will be possible to save on cutting panels ..
Next, you should choose how to mount the trim. It is best to install it on an aluminum frame, but you need to remember that it is quite expensive. There is also an option to fasten the sheath with self-drawing to wooden rafters, but it is also not very successful, because Strong wind can tear the proflists and then will need to do the work again. Therefore, it is best to mount the facing material on the crate.
It is made from wooden bars treated with an antiseptic, while observing the step in 35-40 cm. In case the attic room is non-residential, they will be attached straight stalls directly to beams, but if it is a attic used for housing, and both frontones are walls, That under the trim, it is necessary to put the insulation, for example, a mineral wool coated with a vapor barrier film.
Usually, the attic has windows, due to the presence of which there are some difficulties in the process of cladding. The platbands need to be installed before the fronton will be lined with material.
The sequence of finishing of the frontouts by professional flooring
In the process of work, we should not forget that when it is raining or degrees, the professionalist is very noise, so noise insulation is necessary. Quality and durable design is created in several stages:
-
Before the start of work, you need to prepare. When installing the roof, it should be borne in mind that it should have a saint, sufficient to close the professional clothes and insulating material. Its value depends on which material is selected for insulation. If the foam, then it will take 50-70 cm if the mineral wool is 35-50.
- New frames also need to embed in advance, while observing the accuracy of the installation, so that the rods when opening can move freely.
-
The wall on which the professional flooring will be fastened should be quite reliable. If the carrier frame does not guarantee this, the wall must be strengthened. To do this, you should attach a special grid on the wall and plastering again or choose any other way.
- Further, the entire surface that will be faced with a straighteness is measured using a roulette to determine how much the rails, bars, strawers may be required.
-
The reinforced wall should be coated with a waterproofing agent. For this use any composition having water-repellent properties. It is better to apply it with a roller or tassel, making it especially carefully in places where moisture can be seamless, for example at the joints of the planes. On the appearance at this stage it is not worth thinking, because this layer will close the insulation. The main thing is to apply the water-repellent composition evenly and well dry.
-
Now you need to build a crate on which metal sheets and thermal insulation material will be attached. To do this, it takes a square with a square cross section of 5x5 cm. They must be attached to a step with no exceeding 40 cm. Before starting the edge of the crate, its components must be treated with an antiseptic to prevent the possible development of the rotting process. For the very wall, the bars of the frame is not fixed, for them you need to install gaskets from small pieces of rails having a thickness of several centimeters. Two brusches on the edges are attached on a plumb, and the rest are set between them. It is necessary to ensure that all nailed bars go parallel to this, for this, use a level or a large ruler.
- Slices of RESEK, which will be installed, are fixed on the wall using anchors, dowels or long screws. Holes in the wall make a perforator. The bars themselves are attached to the gaskets from the rivers with screws.
- Next, the insulation is inserted into the intervals between the bars. It must be done all over the entire surface of the front, and then begin the attachment of the professional flooring. The insulation additionally put the waterproof film. Work is better to spend when there is no wind on the street, especially if it is conducted at the height.
-
Now from the professional knots collect the frontton, connecting them with self-draws or rivets.
-
Attach it to the crate of screws, screwing them into the breaks of the waves. Per 1 sq.m. They will be required 4 or 5. Between the facing and insulation, there must be gaps to ensure air circulation.
-
To close sharp edges, you need to establish good.


