Furnace tiles. Making technique with your own hands Tile,Useful advice
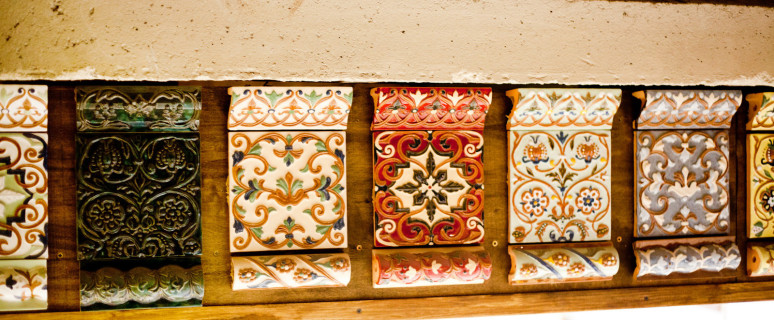
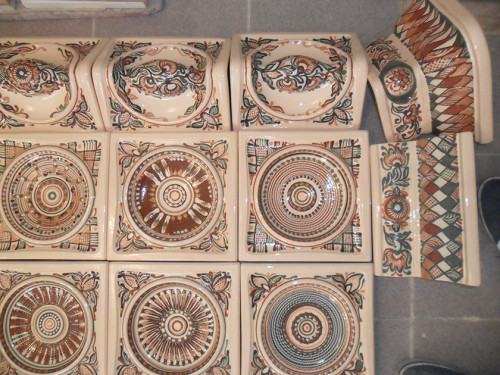
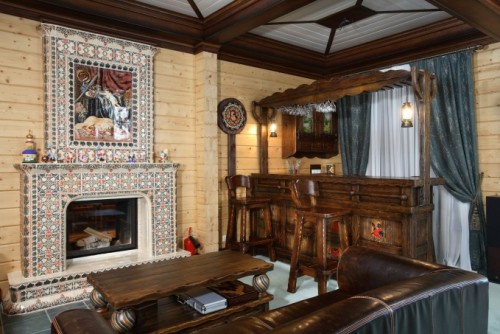
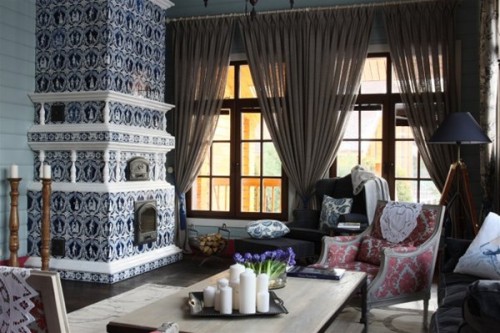
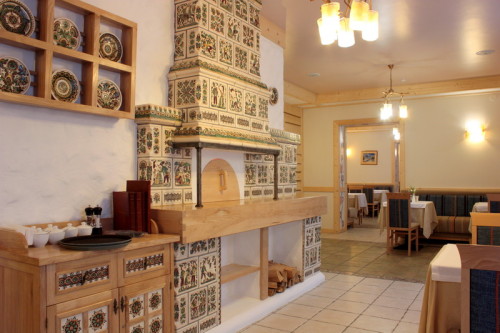
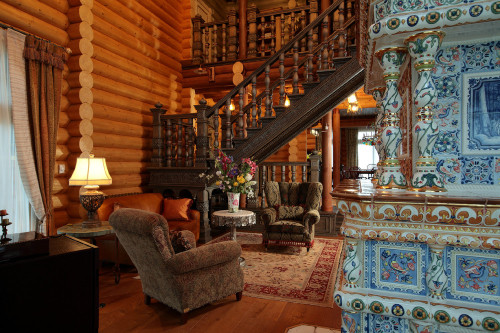
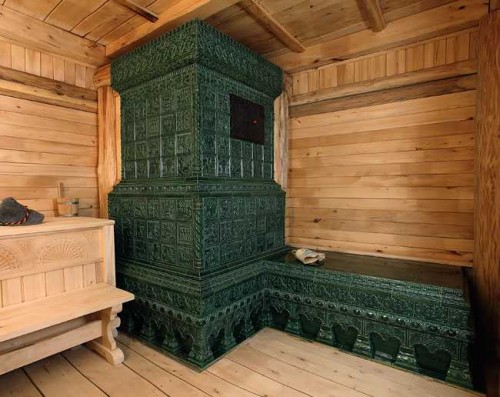
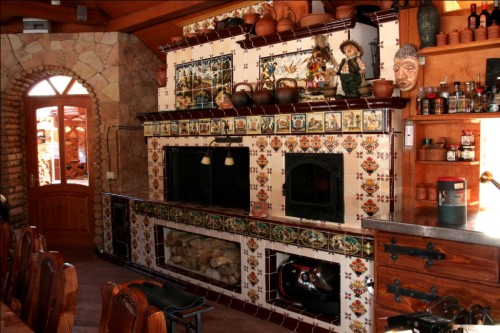
Tiens for decorating furnaces and fireplaces got the spread of half a thousand years ago, and have long been an integral part of Slavic culture. Furnaces with tires are traditionally distinguished by multi-colored patterns, intricate motifs and ornaments, as well as painting in the form of various plots.
Content
The shape of chimneys and the technology of their processing was improved by centuries. Modern variety of drawing and relief options allows you to make a facing in various styles - and create an unique atmosphere of comfort and comfort in the room.
Tiens: Decorativeness and Functionality
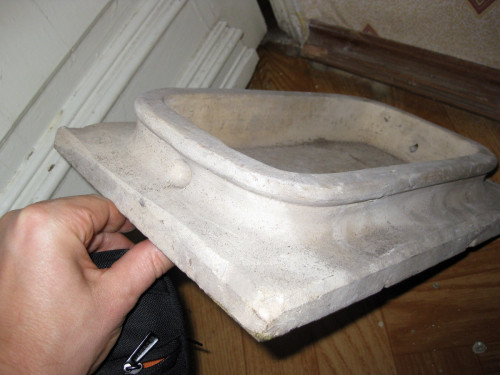
Tiles are a ceramic tile of a box-made design, with glazed glossy (Maitolika) or a rough (terracotta) surface, embossed or smooth. Unlike conventional ceramic tiles, these products have a bulk form - from the back of them there is a so-called Rumpa - a boxed protrusion, equipped with holes for fastening on the furnace with a wire, the ends of which are fitted in the seams between bricks during masonry. With traditional facing, the furnace neither glue nor the mastic is used. As a result, "airbags" are formed between the surface of the furnace and tiles - they accumulate heat, distributed over the entire area and maintain a long heat transfer. At the same time, it is impossible to burn the lined furnace surface.
Depending on the place and method of use, the following varieties of tiles are distinguished:
- flat - they are installed on a flat surface;
- eaves and basement - respectively, for cladding portals above the eaves and the bottom from the floor of the row - the furnace base;
- corner - for lining of furnace corners;
- shaped - they decorate convex corners.
Technology making tiles
Traditionally, the chunk tiles were cast using wood forms, manually either on a pottery circle attached to them RUMPU, and then painted with salts and oxides of metals. Modern technologies allow you to leave the surface of the fireplaces is not too heated - in this case, a conventional ceramic tile can be used to clamp their surface. For furnaces, the main task of which is to hold heat for a long time and heat the room, the use of ceramic tapes with the tap remains appropriate, as well as for kitchen stoves or foci. Furnaces lined with tiles are able to keep heat to five days.
The modern production of tiles for the furnace combines the ancient traditions and technological developments of modernity. Models of the tiles were traditionally manufactured manually and replicated, repeating each sample. Such production requires firing furnaces, laboratories to compose icing. Various methods of painting of tiles are used - gravity, combination of matte surface and glossy processing, adding stained inserts, effect of aging, metal spraying, etc.
The process of manufacturing a set of tiles consists of the following steps:
- molds made of gypsum - for this pre-calculate the sizes of the tape, after which the workpiece is cast, and individual elements of the model of the model are placed and manufactured, assembled. The model further is coated with special lubrication several times, they set the formwork and remove the uterine form (the model is filled with plaster). The form is modified and cleaned, dried;
- it is prepared to clay - clean it from various impurities and oxides and leave "to be pulled" to give the optimal plasticity, after which it is thoroughly stirred to remove any air bubbles;
- the clay is folded into the forms, premined in the direction from the center to the edges, evenly distributing, and leave to sleep. The gypsum shape pulls moisture from the clay mass - as a result it dries, gives shrinkage and easily moves away from the walls. At this stage, molded products are removed from the forms and sent to the drying chamber with a specific moisture mode and gradual heating;
- further, to stick the irregularities, giving the color and increasing moisture resistance, an Angairization with a firing in electric hollows is used with gradually increasing temperatures to eliminate the appearance of distortions and cracks. After this tile, the tiles are solid. Their form is checked, handle the ends;
- tiles cover on top of decorative clays either enamel (glazed) in different ways and paint;
- after the glaze, the last firing is carried out, as a result of which the paints acquire their final shade, the glaze is melted and forms a solid film. On the finished tie, it is possible to apply inappropriate paint.
How to make tiles yourself
The process of making tiles is quite long and time-consuming, with many nuances. Despite this, you can try to make unique tie to the furnace with your own hands. The products obtained are used to finish the foci, fireplaces and furnaces, and also use to decorate modern residential interiors in the form of panels and artistic wall inserts.
Preparatory work
For the manufacture of furnace soles, it is necessary to prepare clay accordingly. Such work is most convenient to spend in summer or early autumn. Clay lumps of small size lay on a wooden flooring and dried in the sun. After that, the Komnya is referred to in the container and are evenly divided to the disappearance of lumps of rubbing, sieved to removal of foliage and grass, pebbles, etc. Further, clay is abundantly poured with water, stirred and drained water along with the inclusions of garbage and large grains. For high-quality cleansing, you can use a wooden tub, a spacious metal or plastic container with several side holes at different levels with tubes inserted into them, closed corks. After washing the clay with water, the plugs of the holes are pulled from top to bottom, with the result that water is gradually merged. After the manipulations of the exit, there will be a standing liquid clay. It must be deleted into a wide capacity and put it in the sun so that the water surplus evaporates. Mass must be intermitted periodically, and when it acquires a homogeneous consistency of a thick test, carefully mix your hands to give a mass of plasticity.
Production of workpiece and gypsum
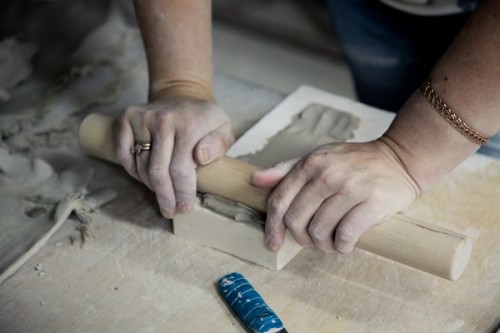
The most common areas of rectangular, square, as well as round and oval shapes. Take a lump of clay, form a flattened cake, and then cut a knife with a square or another figure. The upper facet of the model thoroughly align the metal or plywood correct.
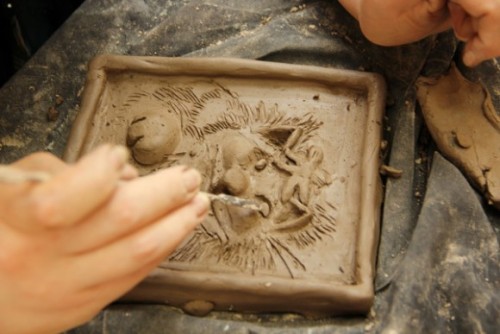
The embossed pattern on the surface of the model is shaved with fingers, and also use sculptural wooden stacks of various shapes to obtain a certain texture of grooves, stacks with wire loops to circumcise excess material.
It is applied to the surface of the model using the sketch of the pattern using the tip of the pattern, then they are taken along the perimeter of the tile rollers from clay to the height of the relief. The space between them is filled in details of the pattern. It is important to plan the surface relief of the scene in such a way that when removing the cast, the gypsum form is easily separated from the model. Use stacks to determine the pattern of the pattern and give clarity to the relief of the sample. At the end of the modeling, slightly dissolve the patterned surface with a wet tissue napkin.
The manufactured model is placed in a wooden frame (formwork) and poured with a gypsum solution. It is made at the rate of 7 parts of the gypsum on 10 parts of water, poured into the container at first water, and then gradually adding and stirring in it gypsum. Gypsum solution a few minutes after the manufacture loses plasticity and quickly hardens, so it is necessary to use it immediately after cooking. The clay sample is moisturized with a pulverizer and poured a thin layer of plaster - so that the solution completely covered all the details of the pattern, and then to the top of the formwork. According to the solidification of the gypsum (about 15 minutes), the formwork is removed and left for a few hours for drying the form with the sample. The dried clay mass is easily separated from the gypsum. The resulting form you need to rinse and dry. In such a form, it is possible to make about two hundred tiles.
Forming and firing of tiles
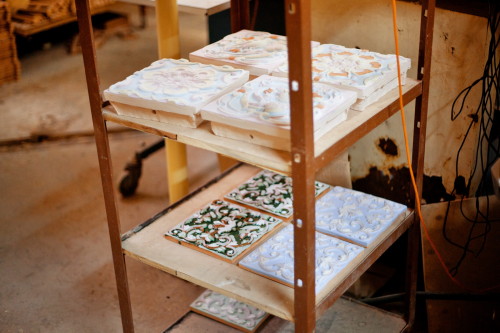
It is necessary to fill the entire surface of the shape of a soft clay, thoroughly pressing it into the relief to full filling, after which it is possible to align the surface with the help of correct. From above laid RUMPU - four plated from clay and folded by a rectangle of a bar, they need to drill holes for fastening on a brickwork. When the tiles will light slightly, it is removed from the form. I got dry to loss of plasticity, but not finally hardened clay (such a state is called the skin-rig) exposure to a rugway - polished to a soft glitter with a metal spoon or a glass bubble, a rounded pebble. In the presence of the relief, you can give the brilliance of the protruding parts of the pattern. Next, the tie left for drying out for several days - the drying period depends on the mass of the product, temperature and humidity.
After drying, the tiles are placed in a muffle furnace and burned at a temperature of about 900 ° C for three to four hours. In this case, the tiles are folded compactly, shifting them to avoid sticking with pieces of bricks. The burned tiles (they are called terracotta) leave in a closed oven for gradual cooling.
How to paint tiles
The following methods are used to paint chimneys:
- Cold painting - with the help of ordinary oil paints. Previously, the tiles are covered with natural oil, dry the day and then paint, give dry and operate with oil varnish. This method does not require further firing in the furnace.
- Painted by Angobami - for this, various clay varieties are used. There are two ways of this painting:
- diluted to consistency sour cream clay - it gives different shades when painting, from white to dark gray, as well as red and brown tones. It should be borne in mind that under the influence of the tone of the Angubo painting may vary;
- the tiles dip in water, after which they are covered with a thin coloring layer of white Angoba. Next, the tiles are left to dry a bit (not until the final setting of the applied layer) and paint with heat-resistant gouache paints - you can use brushes, rubber pear, funnel or horn with a plastic tube or straw. If there is no subsequent application to the tiles of the glaze, then the Angoba to increase strength is recommended to add 10-30% of the scratched glass. Its ticks in protective gloves and glasses in a metal thick-walled tank with a metal pestle, while in order to avoid spraying the glass fragments, a pestle with a mortar is packaged into a polyethylene package. After grinding, the glass is sieved through a sieve or a kapron stocking. The painted tiles are re-burned.
Glazing of tapes
At home, you can make a glaze, mixing the boiled starch mongering of liquid consistency with crushed glass (to the consistency of the coarse sour cream). The past firing and painted by Angobami or terracotta tiles are glad. They are dipped into the glaze, leave for graze, after which they are sent to the firing furnace and further final frost. The adhesive under the action of high temperatures will dry up and absorbed into the pores of clay, subsequently on the surface of the ssemen will remain a thin glazing layer.
Furnaces - Photo


