How to glue ceiling plates Ceilings

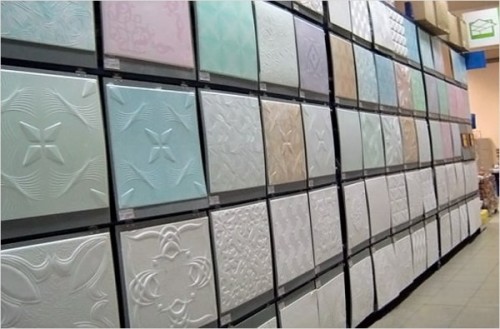
Ceiling pastry with polystyrene plates - a simple and inexpensive way to finish. Work can be performed in one day without dust and dirt. Tile hides minor ceiling irregularities. The stores present a large range of tiles of different quality, color and relief.
Content
What are ceiling plates
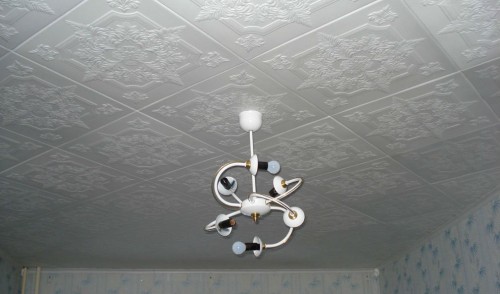
Injection seamless tile. Only white is available. Sold in cardboard packs. Packaging protects the corners and edges of the tile from the deformation during transportation. Thickness 9-14 mm. Tile has an embossed embossed pattern. Due to the fact that the tile has a high density, it does not shine. This allows you to stick the tile on the surface having an inhomogeneous color. Injection tiles has the properties of heat and noise insulation. Tile can be painted. 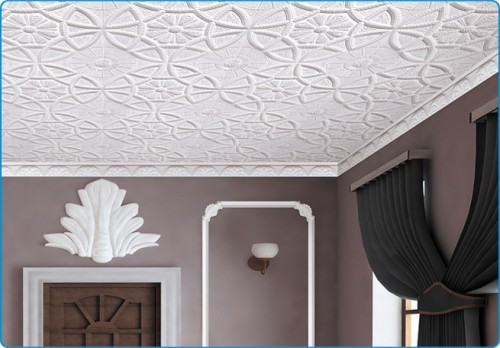
Extruded. Laminated surface gives shine tiles. Painting such a tile is not recommended. Paint will fall unevenly and with time will start peeling. Available in various colors and with a pattern. It has a small thickness - 0.5 mm. Tile is easy to clean.
Even in one package, the size of the tiles may differ on O, 5 - 1 mm. Tile is easily found around the edges during transportation. This makes the seams noticeable. So that the seams do not determine the appearance of the ceiling, they are sealed with acrylic sealant.
An extruded, or stamped tile has a porous coarse surface. The cost is the cheapest tile. Over time yellowing. Tile can be painted. Thickness 6-8 mm.
What glue to choose
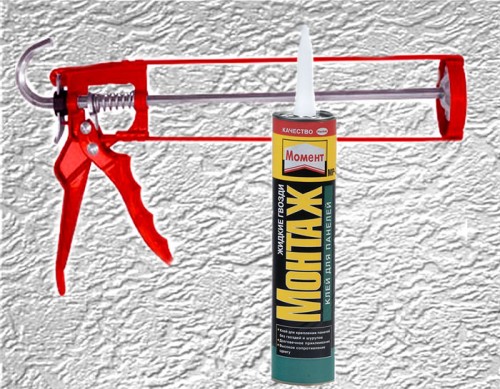
For mounting ceiling plates Transparent glue or liquid nails are used. In case the ceiling is a dark - a clean concrete plate or moisture-resistant non-spacing drywall of a green color, apply only transparent glue. Liquid nails can be shielded by blond stains through the tile. Seamless tile can be glued on any glue - it has enough thickness and density and does not shine.
Transparent glue for ceiling plates. After applying glue on the tile, hold out 3-4 minutes and only then glue. If this rule fails, the tile has long to support the ceiling for a long time so that it is well glued.

How to calculate how much tiles will need
To buy the required amount of tiles, you need to calculate the ceiling area and know the size of the ceiling plates.
The tile is released in size 50x50 cm. One square meter will require 4 tiles. Ceiling area multiply four. Add 10% on trimming. When installing tiles diagonally add 15%. The rectangular tile is produced with dimensions of 100x16.5 cm.
Tile, which needs to combine drawing or relief, take with a reserve.
Preparation of the surface to shook ceiling plates
The end result of the ceiling pasting depends on the preparation of the ceiling.
Pokes from the ceiling is flicking completely. Wide brushes moisten the ceiling, and scrape a spatula. Dirty work. Take care to be as few garbage. Close all furniture with a film. The floor is made by newspapers in several layers. With such preparations you relieve yourself from excessive cleaning. Insert the floor with newspapers more convenient than film. After removing the whitewings, when she stays all on the floor, it will remain gently minimize newspapers.
According to the old wallpaper, if they hold well and do not lag behind the ceiling, you can glue tiles. If the wallpaper is departed from the ceiling, they need to be removed. Moisten the wallpaper with warm water and remove them with a spatula.
Pospace or painted ceiling to properly. The same ceilings, purified from whitewash or old wallpaper, are ground. The ceiling from which the wallpaper was not removed, it is not necessary to primitive.
How to glue ceiling plates
Instruments
- gun for glue
- level or metal line
- construction knife with replaceable blades
- roulette
- painter cord
- pencil
Operating procedure
To keep the tiles well and look beautifully, it is important to know how to glue the ceiling plates.
• Ceiling markup.
Rarely lamp is located in the center of the ceiling. Therefore, the ceiling plates need to begin to glue from the chandelier, and not from the center. After the place of attachment of the lamp with the help of the coal and the painting cord, take a line, perpendicular to the opposite walls. 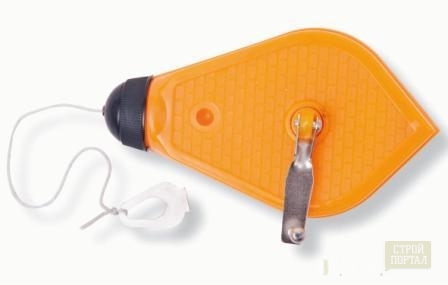
Make markup from the line. It is enough to note the position of the first tile. Do not apply the bold lines with a marker - the line will be shifted through the thin tile.
Installation options tiles.
The diagram shows how to glue the tile. The place of intersection of dotted lines is the center of the ceiling or the place of fixing the lamp.
The tile is glued diagonally or parallel to the walls. The chandelier can be in the center of the tile or at the location of the plates of the corners. Regardless of whether you glue the tile - diagonally or parallel to the walls, the tile angles can be combined, or shifted on half the adjacent tile, as shown in the diagram at number 1. 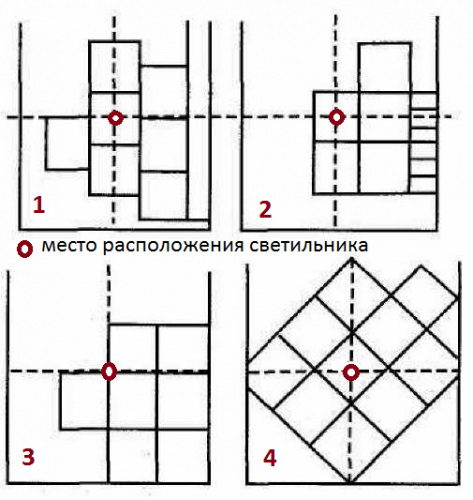 This is how the tile with displaced corners looks.
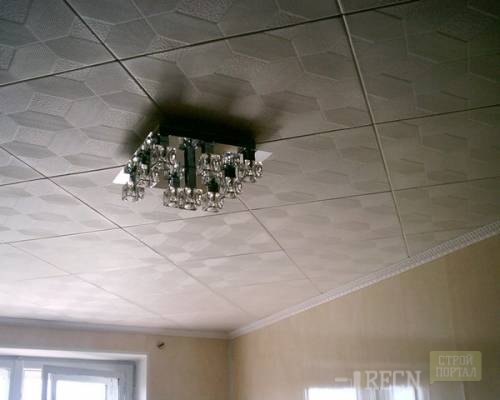
The tile is backed diagonally. The chandelier is between the corners of the tiles.
The next photo shows how not necessary Place tile. Chandelier either in the center of the tile, nor on the site of connecting the corners. It looks inaccurated and ugly.
• Apply glue on the tile. The glue is distributed by drops or points around the perimeter of the tile, and from the center in a checker order after 5 cm. Give glue a little grab. In order not to waste time, apply glue to 4-5 tiles, then glued to the ceiling.
• Cutting plates. When installing the ceiling slabs can not do without their trimming.
Plates easily cut by a construction or stationery knife. Pencil stuck the cut line. Put the tile on a flat surface. Cut the knife along the metal line or building level.
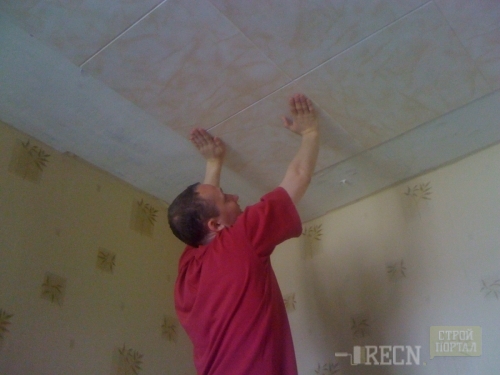
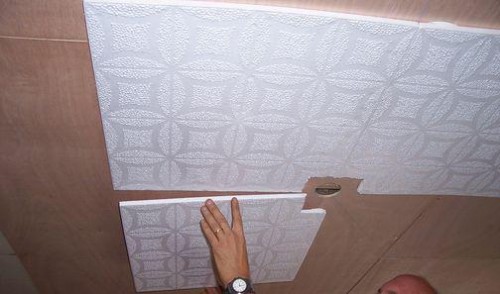
How to glue the ceiling plates, clearly visible in the photo. Align the tile angles and press the tiles to the ceiling. Make sure that the edges of the tile and the corners do not lag behind the surface.
If you are not going to glue a special rosette under the chandelier, do not cut the large corners. In the photo carved too large plot of tiles.
Often there are difficulty mounting the plates diagonally. It is difficult to cut the tiles for the corners. Make a pattern from the newspaper and cut the tile on this pattern.
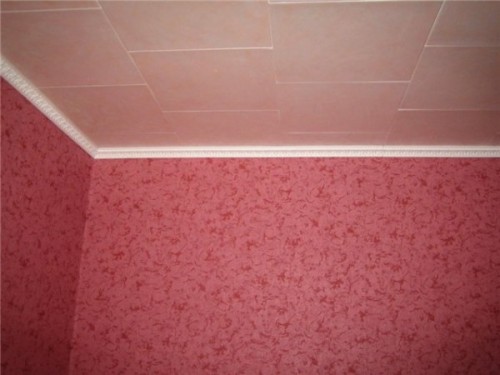
After the flow of flux, the ceiling plinth is mounted with tiles around the perimeter. The plinth will close the gap between the wall and the cropped edges of the tiles on the ceiling.
Video. Glue ceiling plates.


