Wall cladding with plastic panels Walls,Building materials
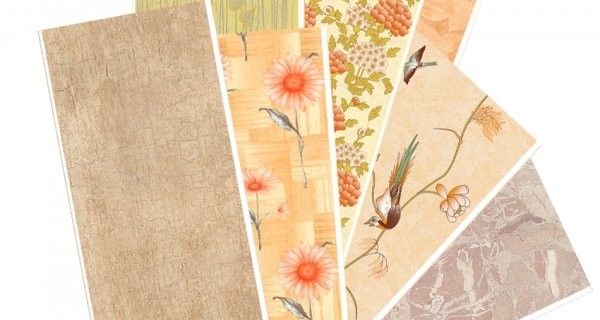
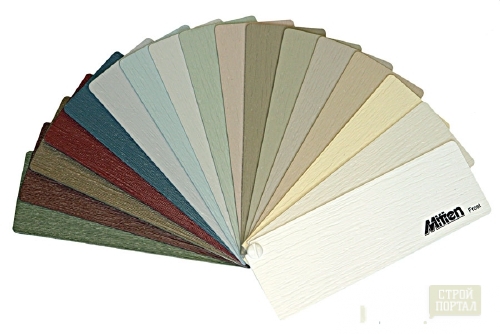
The colors of plastic PVC panels is so attractive that sometimes it is difficult to determine the choice of panels. Panels are monophonic, under a tree, with a small pattern. Interesting panels with a large pattern. Such panels are mounted in a certain order, respectively, the figure.
Content
Application of plastic panels
Panels are suitable for trimming bathrooms, kitchens, corridors. Wall facing with plastic panels by price costs cheaper than cladding with tiles, and more durable than the color of the walls.
Quick installation panels, low cost and long service life put finishing with panels to second place after trim tiles.
Facing walls with panels does not apply to the "renovation" option. PVC panels in the corridor are practical, but the wallpaper looks cozy. For this reason, the panels are facing part of the corridor in the most stripped places. Practically equip the panels of the slopes of the entrance doors.
If there are pets in the apartment who love to sharpen about the wallpaper of claws, the panels are facing a part of the wall from the floor, and the tops are covered with wallpaper or painted.
PVC panels are used for mounting suspended ceilings in the bathrooms, corridors and in the kitchen.
Preparation of walls in the bathroom to the installation of plastic panels
In wet areas on the walls beneath the panels accumulates condensate. Due to the absence of ventilation, creates favorable conditions for the appearance of mold and mildew. mold spores into the air, it is dangerous to health. You may long to find out the cause of rhinitis or asthma and does not suspect that the source of danger yet secluded from the sight of plastic panels.
It is very important to prepare the bathroom wall to wall plastic panels. Remove whitewash from the walls, the old loose plaster. Good dry room for several days. To do this, turn on the convectors in the bathroom or building a gun, ensure good ventilation. After the walls dry well wash them with warm water and Domestos or white. In water, add baking soda.
Again dry. Several times treat with antiseptic wall, keeping time to dry. After the final drying prime with antiseptic walls. When you are sure that the wall without any signs of mold, dry well - you can proceed to the installation panels for sheathing.
As oblitsevat wall plastic panels with their own hands
Calculate how many panels you will need for the job. Panels manufactured according to the length of 2.7 m and 3 m, a width of 25 cm. Pick the most appropriate size panels along the length to less was waste.
Tools and materials
- building level
- roulette
- pencil or marker
- punch or drill
- extension
- staple gun with a set of brackets
- hacksaw or electric jigsaw
- screwdriver
- metal or plastic profiles, or balk
- thin elements for panels
- connecting profiles, they - moldings
- panel
Operating procedure
Installation of panels on the crate
• Establish a framework for the installation of the panels.
For dry Improvement can use timber size 40h25 cm. Metal or plastic profile is mounted for bathrooms. Wood absorbs moisture. Over time, the bar is deformed and distorted. Panel mounted on the wall will wave. For this reason, sheathing of wood is not used in the bathroom.
Bath is convenient to use plastic profile. On the plastic profile panels are fastened by means of clips. 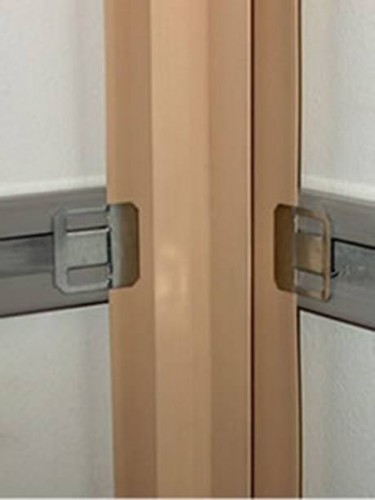
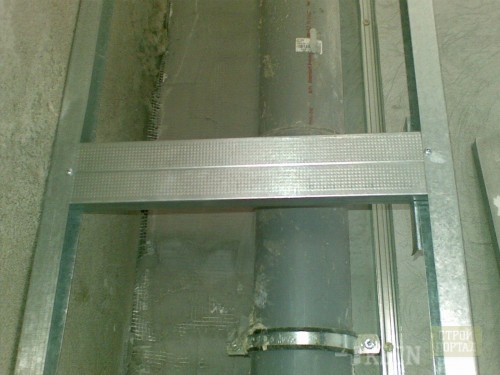
Do not install panels horizontally in the bathroom - it contributes to the accumulation of moisture. When installing sheathing, make sure that the profile bar or in the same plane. If the wall is uneven, under the wooden beams enclose wedges. In order to hide the pipes, install aluminum profile box.
Huts are installed for access to counters or valves. Luke You can buy a special white color, or make a frame of the door and fasten the panel frame.
The profile for the root is mounted perpendicular to the panels. Holes under the dowel-nails are drilled by a perforator. Self-tapping screws twisted.
The distance between the profile or the 50 cm timber is done to enhance the rigidity of the structure. If the panels will be fed when you get about the wall, over time they are deformed.
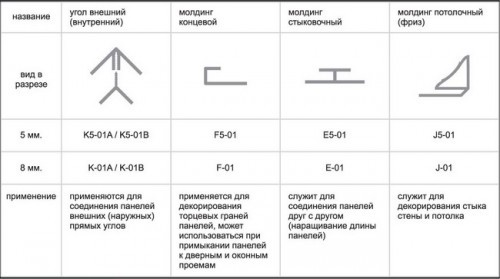
• On the finished shap, or the frame set plastic profiles. Such profiles are called moldings. Molding hides the stakes of the panels in the corners, the location of the combined panels in length, reflects the angle between the wall and the ceiling.
Moldings are different. To make it easier to figure out, learn the table. In the store, ask the seller what exactly you are required.
The use of moldings is shown in the diagram.
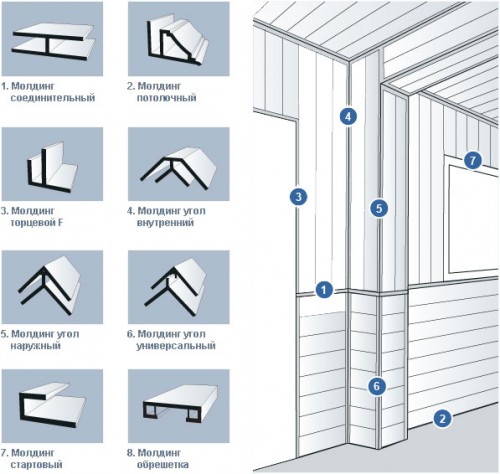
• Calculate how many panels fit on the wall. If no more than 4 cm remains from the penultimate panel to the angle or the outlet - it is not very convenient. The narrow strip of the panel will be difficult to insert into the angle, it will look ugly around the way. In this case, cut the first panel in the width of centimeters to 5 - it will increase the width of the cropped last panel.
The panels are cut off with an electric jigsaw or hacksaw with small teeth.
• Squeeze the desired length and cut the panels in height.
• Attach the panel to the frame.
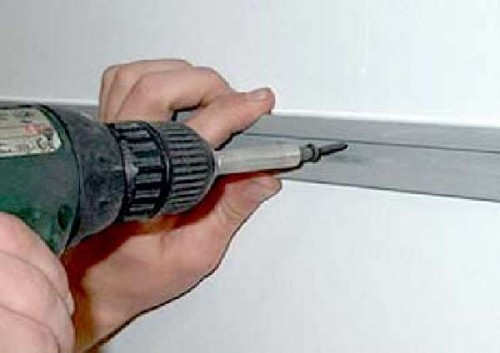
To the metal profile of the panels are fastened with self-draws. To the bar panels are mounted with braces with a stapler. 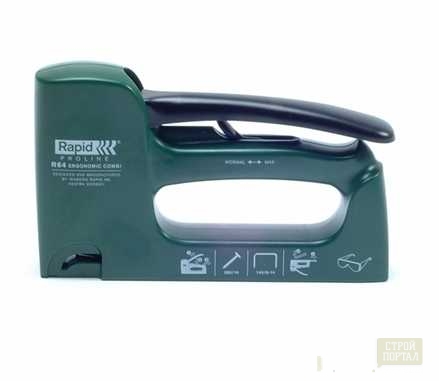
On the panels on each side there are protrusions - the so-called mounting shelves.
Insert the top and bottom edge of the panel in the starting profiles. For convenience, the panel is slightly slightly. Narrow shelf panels Get into the groove of the corner. Level Check the verticality of the installation. So that the shelf of the panel is reliably in the grooves praise with palm or fist on another edge of the panel. Do not use the hammer to compact the docking panels. Wide shelf panels secure the screw or bracket. Self-tapping screws are taken long 0, 5 cm, such self-tapping screws are often called "clouds". 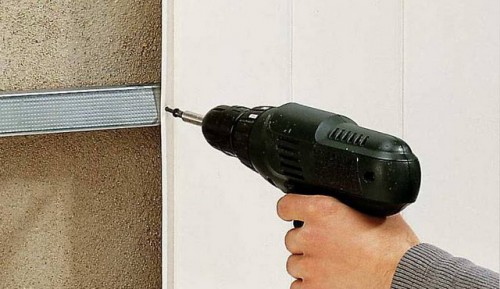 Insert the next panel into the groove. Make sure that the panels are tightly pressed to each other and there were no gaps.
The panels are mounted from the corner to the door or window opening, or to the opposite corner. If the wall is completely closed with panels - the direction of installation does not matter.
The last panel on the wall or near the rumble is covered by width. A narrow shelf panel is inserted into the grooves of the previous one, the cut side is hidden by the molding corner. Fix the last panel is not needed.
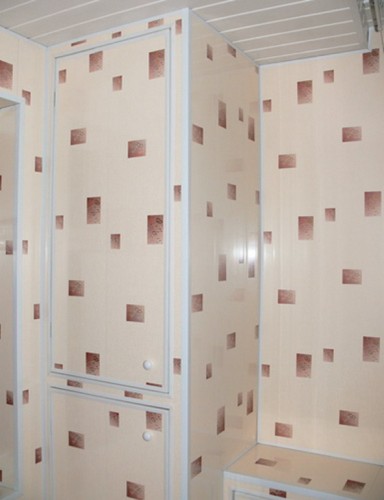
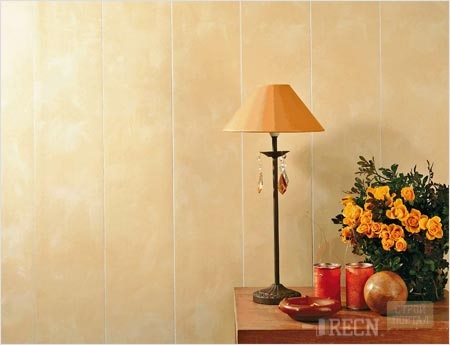
The results of the wall cladding with plastic panels are shown in the photo.
Gluing panels to the wall
In dry rooms, the panel can be glued to the wall with the help of "liquid nails" adhesive. This method of installation of panels is not suitable for wet rooms. Walls in front of the panel sticker must be aligned and brew. Stucco walls - the process is dirty and long, so if the angles are littered - it is better to mount the panels on the cut or on a special profile.
Facing the outer walls by plastic panels
For facing the facades of the house panels for internal works are not suitable. For external work, vinyl siding is used - these are special panels for facade work, resistant in the effects of atmospheric phenomena.
From the drop temperature of the panel expand. So that the panels are not deformed, do not secure them tightly to each other. Leave the gap of at least 3-5 mm. Single cuts are made on siding for fastening panels. Crepe panels only on these cuts. Cutouts for fasteners are clearly visible in the photo.
The principle of siding installation is the same as for internal panels. The work begins with the installation of the frame and profiles, then the wall on the frame is covered with panels. 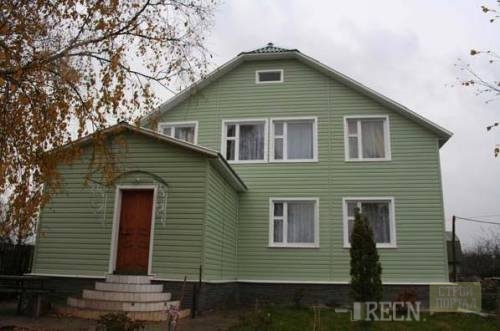
After mounting the frame and the beginning of the skin with the panels on the wall for the heat insulation, the insulation is attached. The rules of laying insulation are shown on the video.
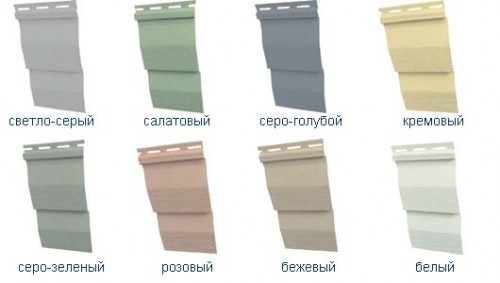
The outer decoration panels have a width of 2- to 30 cm, in length - from 2, 5 to 4 m. The color of the panels are monophonic. The surface is slightly relief.
 How to lift the facade by plastic panels. Video.
How to choose siding.
Facing the walls by plastic panels. Video.


