How to put plasterboard Useful advice,Building materials
On the trim of plasterboard, sometimes time goes more than on its installation. It is dusty and painstaking work that you want to avoid. But the question is whether the answer is needed only one answer - you need!
Content
Why do you need to put plasterboard?
- On the spacchable completely surface of the paint will fall smoothly.
- The top layer of GLC - the cardboard will remain the whole when you shoot old wallpapers upon subsequent repairs.
- Plasterboard plaster will help hide irregularities if he caught a poor quality or improperly stored.
How much time will you need, and where to start?
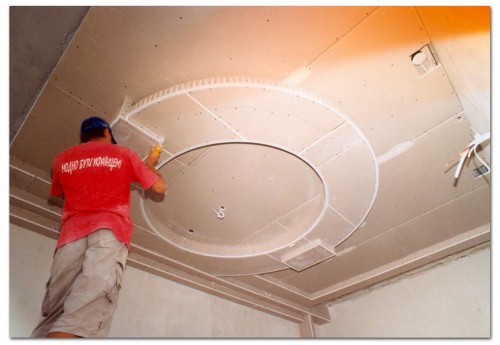
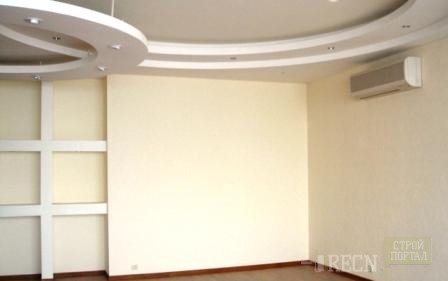
Walls, covered GLCs can be sharpened in two days. With the ceilings in two or three levels and complex structures will have to work longer.
They begin to put off the joints, corners and edges. When you embrace the joints of the GLC and the corners - you can begin to the shtlocking of the entire surface.
Before starting work, cut the KGL at the joints, fully driven by acrylic universal primer.
What put a putty to put plasterboard
HCL seams, corners and sides of multi-level ceilings are put off with plaster mixtures, which do not crack when it is applied to 5 mm and keeps the seams well - this is a foenfuller and the Unifotter of the German company Knauff. When buying, the putty is calculated from the consumption 0, 3 kg per m².
Reinforcing corners are fixed on these putty. The lack of unifuto and fogenfuller is that they are rapidly collapsed and very sensitive to dirty tools and kneading tanks. If you are in a bucket or on a mixer, you left the particles of the previous kneading - the prepared mixture will grab much faster.
Uniflot and fogenfuller can be kneaded with a spatula 10 cm wide. Mix well, without leaving lumps.
To have time to work out the prepared mixture, stick to simple rules:
- We mix the putty small portions.
- Wash the container and mixer after each kneading.
- Organize work so that there is no excess time loss - stick the sickle in advance, move the stepladder or the table to the work area.
For the shovel of the entire surface of the GLC, the materials are suitable, the materials are suitable, the finish ("prospectors"), the stroke.
1. Schitter - putty, ready for use. Produced in Russia according to the technology of the American company USG. On sale enters buckets with a capacity of 17, 11 and 3.5 liters. Consumption O, 5 kg per m². From the big bucket, put the putty into the container, mix. If it is thick - add some water. Close bucket tight.
2. WITH LP + - putty on polymeric binders. Consumption for plasterboard 0, 8 kg per m².
With the wind, it is easy to work easily - the prepared mixture retains its qualities within 24 hours. The putty that did not have time to work out, cover with the film, tightly pressed and removing the air - so that the top layer does not humble and the crust is not formed. Wetonite is better to apply to finish the surface under the wallpaper.
3. Spacure finish ("prospectors") is available in packages 12 and 20 kg. Consumption - 0, 7 kg per m². Divorced with water, mixer mixer. Suitable for use within 40 minutes. 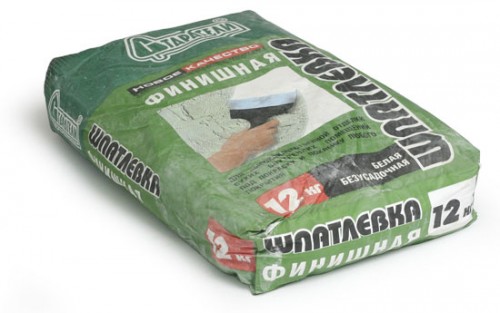
4. If you do not have enough experience, take a putty on the basis of PVA firms "prospectors." Produced ready for use. It is applied with a layer of 0.5-1.5 mm. Consumption on plasterboard 5 kg per m².
It is convenient to put it comfortably, you do not need to knead. The main advantage is that it is easily polished. 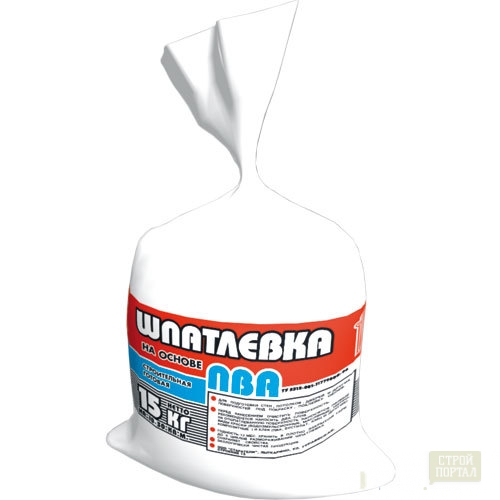
How to put plasterboard corners
Outdoor angles
Special corners are invented to strengthen the strength of the outer corners. Perforated plasterboard corners are aluminum and plastic.
Plastic arched corners are fixed on the arches and complex structures. Corners are easily bent and smoothly fall on bending. 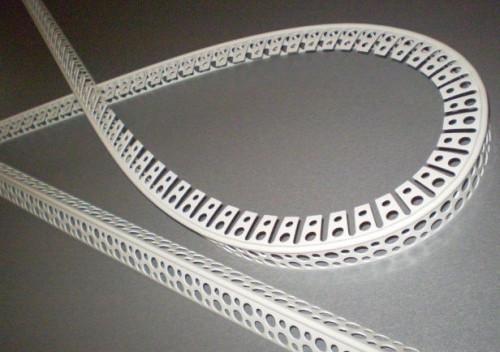
Aluminum or plastic corners are fixed on ordinary external angles - there is no big difference in these corners.
- Check the quality of the corners. Aluminum corners are often deformed during transportation. The brought the corner cannot be straightened and close to the surface. Set out such corners aside. Or make sure that the marriage does not hit the prominent place.
- Cut the required number of corners in length.
- Apply 2-3 cm with a putty with a spacade. Do not smooth.
- Take an angle perforated corner and push it so that the putty is released through the holes.
- Rush the spatula to spacing so that it completely hidden the corner.
- Leave for drying. The second layer is put off in 2-3 hours.
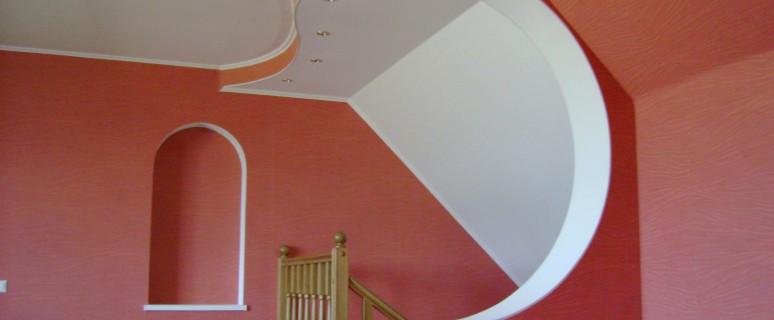
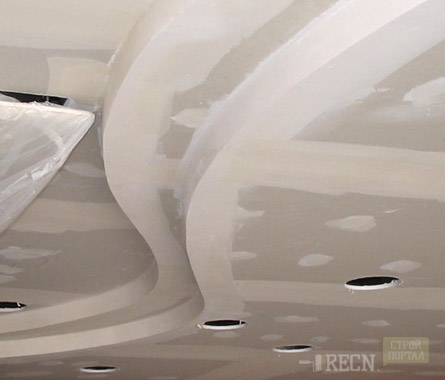
Without arched perforated corners, the boat of a two-level ceiling to make it very difficult to make it very difficult. Another way to mount the corners along the rounded edge is when the corners are shot using a stapler. The video is well shown how to do it right.
Internal angles
- Clear the angle of the sickle. Do not bend the sickle at right angles so as to capture both sides of the angle at once - over time, you will have wrinkles in the corner. At each side, glue a separate tape.
- Apply a spacing with a spreader with a width of 20 cm, tightly indulging it into the gap, if any.
- It is more difficult to close the slits around the ceiling perimeter, when the distance between the edge of the sheet and the wall is about 2 cm. Such errors often allow installers, but to correct the position will have to you. First fill the gap without a cherryanka. Take a putty to the end of the sheet - then it will hold. After grappling, cut down the excess knife.
- Put the sickle and cover again.
How to put the jokes of drywall
- Stick sickle tape.
- Fill the putty butt and deepening the edges, holding a spatula perpendicular to the seam.
- Rush up 30 cm wide spatula.
- When drying, the putty gives a shrinkage, so the seams sweep 2 times. In order not to put on the third time - let the time to dry the first layer.
- After drying, ledge the seams of deep penetration.
Application of glass cholester when putting drywall
It would be incorrect in the instructions on how to put plasterboard, default about the need to use glass cholester.
After finishing the apartment in a new building, cracks on the seams of drywall appear very often. This is not surprising - the new building is 2-3 years old gives shrinkage. The shrinkage is also brick, and panel, and monolithic houses. The difference is that brick houses are subject to shrinkage more than monolithic.
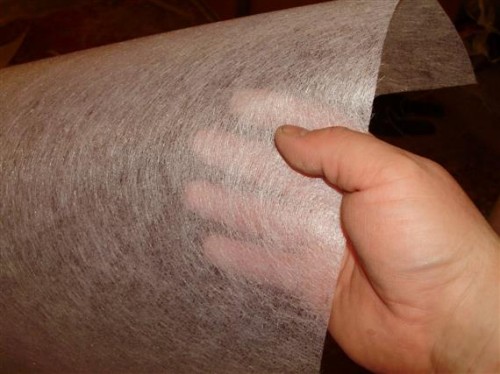
To avoid the unpleasant consequences of the house shrinkage, glasses are used. Glassball - the web is glued with glue for glass chibs or pva glue.
- Get all the corners, joints, deepening from the self-tapping screws.
- Sweep plasterboard at once and leakage it.
- Cut the length of the strip of glass whirlpool.
- Apply glue to the surface.
- Strips of the glass cholesterix in one direction of the mustache. Climb the strips to each other so that you can be comfortable to cut them - from 3 to 5 cm.
- Make sure that the joints of the drywall and the webs do not coincide - the glass cholester must completely overlap the bog of GLC.
- Carefully arouse the cage with your hands so that there is no distortion.
- A paint spatula remove excess glue and air bubbles.
- Construction knife. Slide both stripes of glass cholester. Remove trimming. Connect the junction location.
- Mix the glassball from above the glue and lay the spatula.
- You can start gluing the next strip.
- It is allowed to stick a glassball with strips of 20 cm wide along the seams of HCL.
- The next day, you can proceed to the finishing spacing of the glass cholester. The glass cholester can be painted without shtkock, but in this case you will not get a smooth surface.
Put the plasterboard with their own hands completely
- To work, take two spatula - one width of 20 cm, the second - width of 30-40 cm. Before working, check the corners of the spatula - they should not bend. If the corner of the spatula is bent - sweeten it with sandpaper. On the edge of the spatula should not be jar and burrs.
- Do not overlap a lot of putty on the trowel - you will have big breaths that you will have to grind for a long time.
- Start to put off the corner. Spatula in conventional movements. Run the putty in different directions.
- Apply the second layer when the putty will grab, but will not finally dry.
- For grinding, take the painting grid at number 180-220.
- Under the wallpaper, pass the grinding net with the entire surface, removing only the visible irregularity.
- When preparing drywall to color the surface, grind with a light bulb. To do this, carries a carrier with a long wire. Light the lamp surface at different angles - just so you can notice all the defects.
- After grinding, take a wide brush and wipe all the dust. The remnants of dust on the surface in front of the primer can spoil your work.
- Before sticking wallpaper, everything is proper.
- If you are going to paint - it is not necessary to primitive - the paint will fall evenly.
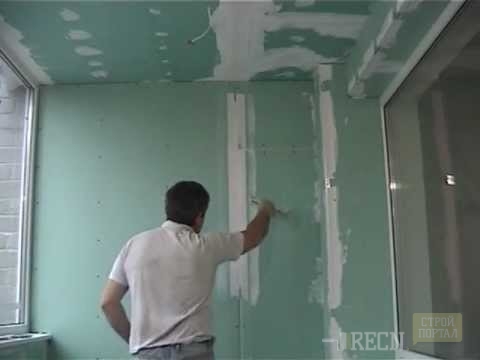
Browse the video and take into account the errors that are allowed there.
- Poorly organized workplace - put a bucket next to you, a couple of extra steps to the bucket and back take time.
- The putty "Old" has a not the smallest fraction, it is not recommended to put it under painting.
- Do not put the straight movement.
- The invention for grinding, which is shown in the roller, speeds up the process, dust does not fall on the face. But it's good to polish the ceiling in this way. Surface grout is performed with circular movements, the lighted areas are constantly checked using the backlight.
Swamp of seams.
How to put plasterboard. Video.


