How to bend plasterboard Building materials
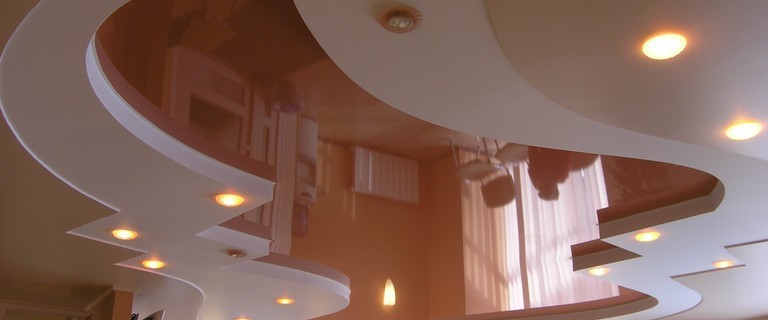
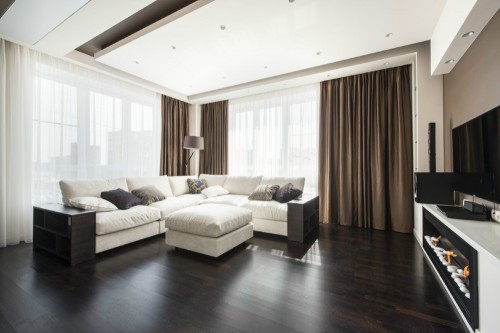
Plasterboard is today one of the most popular building materials that is used for interior decoration. With it, interior partitions are built, multi-level ceilings with intricate bends, vaulted structures, oval arches, columns and more.
Content
With this building material, almost any designer ideas can be realized. To obtain the necessary curvilinear form, as a rule, use special arched plasterboard. However, its value is not for everyone, therefore, in most cases, the usual one is used. The only thing is important to know some secrets of working with him.
Plasterboard works, despite all its seeming simplicity, at first glance, they require special skills and knowledge from the performer. There are several ways to generate a sufficiently tight leaf of plasterboard, not breaking it. Let us dwell on each of them in more detail.
First method: Dry method
This method is also called dry.
- It is used in cases where the bend radius must be insignificant. Than it is less, the less thickness will need a plasterboard sheet.
- First you need to prepare a framework for which the installation will be made.
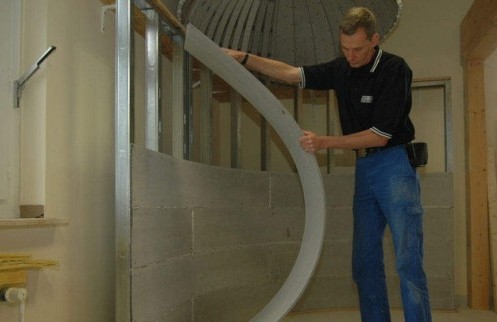
- Then one end of the drywall sheet is fixed on a pre-prepared frame, and for the second, slowly pulls, applying a slight force to it to give the workpiece the necessary form.
- After that, the other end of the sheet is screwed by self-drawing.
- Such work is best not to spend alone, but with a partner.
- The only drawback of this method is not enough smooth bending.
Second way: wet method
This method is also called wet. It is the most accessible and easy to perform.
- It is used in cases where a larger bend radius is needed, about 1-1.5 meters.
- The wet method is based on the fact that plasterboard, like a porous material, is able to easily absorb water and, thus, becoming more supplied in operation.
- At the same time, water in no way affects its physical properties and, after drying, this material acquires its former fortress.
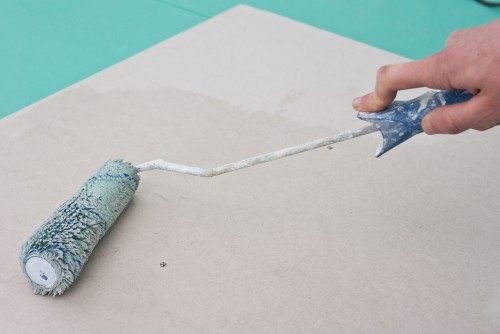
In practice, the wet way looks like this:
- The sheet of drywall is put on a wooden surface with a concave side from above and wetted with clean water room temperature. Waters should not be too much, only the quantity that is necessary in order to heat the cardboard well to the gypsum base, leaving the other side absolutely dry.
- Water is applied, as a rule, with the help of a painting brush, a roller or ordinary sponge, after which the workpiece is left for some time at rest (about 5-10 minutes), giving it the opportunity to eat well with water.
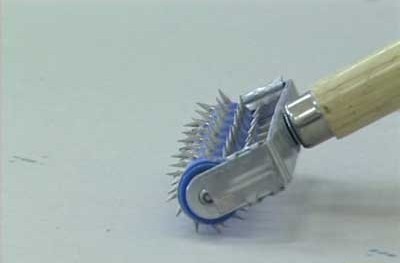
- Sometimes, in order to provide greater elasticity of drywall, some experts make numerous punctures on its surface with a concave side with a special needle roller or ordinary seer.
- Next, the moistened sheet is bent along its length (in no case across, as it can break), and then reliably fix on the spot.
- Finished drywall design should, as follows, dry during the day.
Third way: Dry method with cuts, option 1
If the first two ways are not quite suitable and the radius of rounding should be the largest 1-2.75 meters, then use 3 methods.
- To do this, use a sharp knife, with the help of which there are quite deep cuts, almost throughout, not reaching the cardboard layer on the back side, perpendicular to the length of the bending every 1-5 cm.
- This distance depends on the required radius than it is smaller, the smaller the distance between the cuts.
- Which side do cuts, in turn depends on what kind of design it is necessary to obtain as a result. This was a concave design, for example, an arch, then from the front side, and if the convex (column) is outside.
- When flexing, the side with the cuts is painted, like a fan, and thus formed gaps are filled with gypsum spacure. It allows you to further strengthen the finished design.
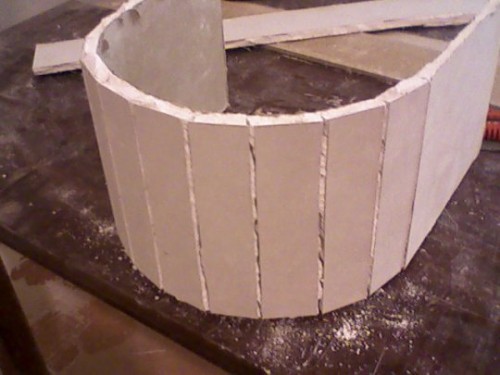
The use of a knife does not guarantee the perfectly even outbreak and requires considerable effort and time costs.
Fourth Method: Dry Method with Cuts, Option 2
Another way that can be considered similar to the previous one with the difference is that instead of a knife uses a mill.
- It must be set on this depth so that it chose all the plaster, leaving only a couple of millimeters of gypsum with cardboard on the one hand.
- The bands are selected by the cutter on the same principle as described in the previous method.
- Using the cutter allows you to significantly speed up the process itself, as well as with its help, it can be made from different shapes, for example, p- or V-shaped.
- Thanks to this, it is possible to easily make the bend of any radius of more or smaller, giving drywall all sorts of porious pretty bizarre forms.
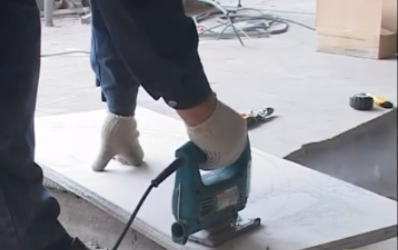
Thus, considering each of the above four ways to work with plasterboard and, in particular, how this material can be bent, any of us will be able to try them into practice on their own, without resorting to the help of specialists.
Learn more detail the process of how to bend the plasterboard can be shown on the video:


