How to install the switch yourself Lighting
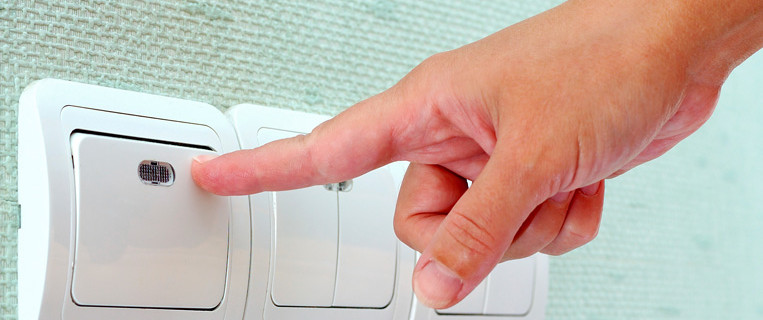
If there was a need to replace the outdated or failed keyboard switch of the lighting, an automatic switch or outlet, not necessarily add help to a qualified electrician. Elementary knowledge from the course of school physics is quite enough to perform work. But it is important to do everything correctly and follow safety. How to properly install a switch or a socket and will be discussed in this article.
Content
How to install sockets and switches
Electrical manufacturers offer switches and outlets of various design and design. All of them are divided into embedded and outdoor. The outlets are single, double and sample (several sockets in a common case). Keyboard switches are:
- classic;
- two-block;
- three-block.
The electrical circuit is practically no different. The principle of operation consists in interrupting contacts when the consumer is turned off and the closure when it is turned on. The block terminal joins the "phase", and the mobile terminal is the wire that feeds the light source. The direction of connection "Phase" on the housing is indicated by the arrow. At the same time, it is important to securely and tightly screw the locking screws in the terminals: bad contact leads to sparking, the outlet of the switch is out of order or even to a fire.
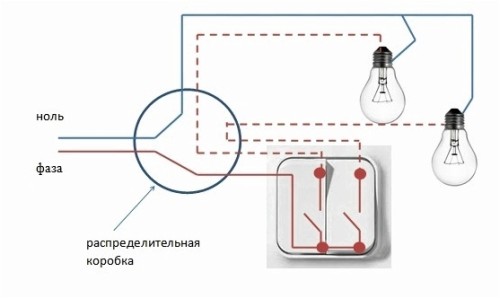
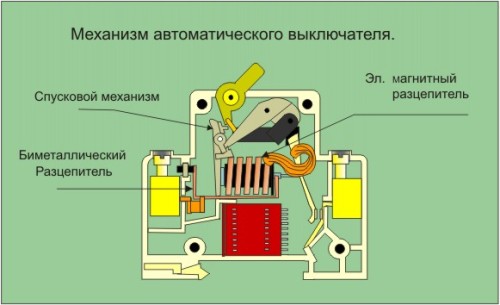
Electrical circuit breaker in the network are shown in the figure.
Important! Installation can be performed only after turning off the power supply. To do this, you should translate an automatic or batch switch in a shield located on the staircase, to "Off" and check the availability of a voltage indicator.
How to install light switch
Consider how to install a single block switch.
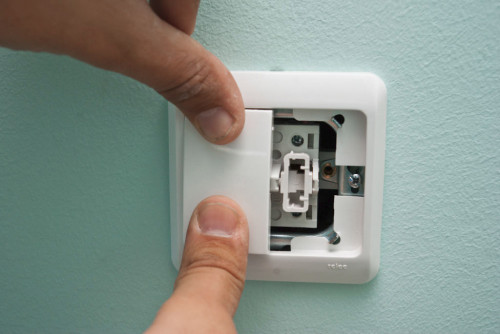
Sequence of actions when installing the (replacement) of the embedded switch.
- Disable power.
- Remove the front cover of the old switch by twisting the central screw.
- Unscrew the screws that lock the switch in the plastic cup (submerged).
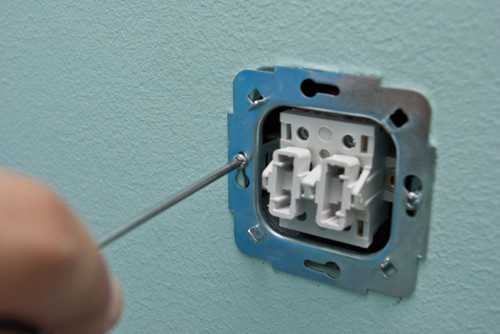
- Loosen the mounting of the spacer "paws", partially byverting the screws located on the sides of the switch housing.
- Remove the switch from a plastic cup.
- Disconnect the conductors from the terminals, remembering or by signing the marker their position.
- If necessary, replace the old sample conversion to the new, plastic. To quickly fix the peavercraft in the nest, an alabaster aqueous solution is used.
- In the sequence, reverse process of dismantling the old switch, install a new and close the front cover. You should pay attention to the characters specified near the terminals on the housing: the arrows are "input" and "output" of the phase.
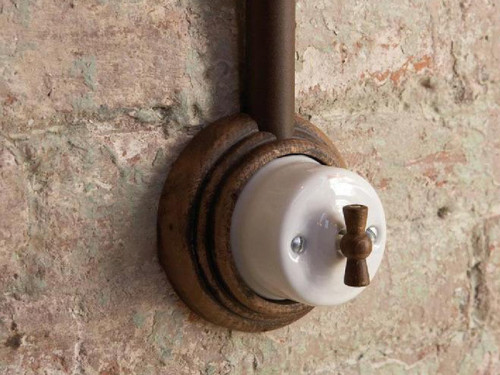
Actions when replacing the outer switch is not fundamentally different from the above. The difference is that instead of a cup-shaped conversion in such a design, a wooden or plastic gasket is used.
Find out how to install a two-block switch. In the process of installation, it is important to correctly attach the conductors that feed the light sources. Compliance with the order is important for the convenience of use. For example, if the bathroom consists of a divided bathroom and toilet partition, the left key must be responsible for lighting the room located on the left. Right key - respectively. Thus, one (phase) wire is joined by one (phase) wire, which comes from the distribution box, and to two exhaust terminals (designated by arrows) - wires that go to the contacts of the bulb base.
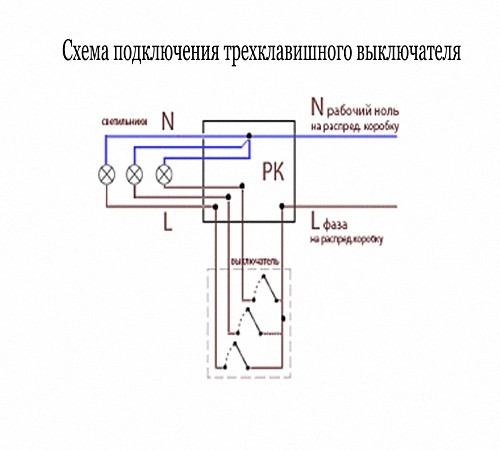
Similarly, a three-block switch is set.
Basic rule: The switch must always "break" the phase wire (it can be determined using the indicator). The "zero" wire in the switch does not enter and switched directly with the light source wiring.
Nuances setting keyboard switches and sockets
- Select color and design. This issue should be guided by the rules of the combination of style and the color of the materials used when finishing the interior of the room. Switches and sockets should not stand out on the wall, which means they need to be chosen to the main color.
- Where to install switch or socket. The light switch is installed at the entrance to the room, usually on the right side. The socket must be located near the consumer (connected electrical appliance). Before replacing the entire wiring, it is necessary to determine the power, the number and location of the main electrical appliances.
- Which height install switches and sockets. Floor outlet installation height - 20 cm, but in some cases (for example, to connect a boiler or air conditioner) it will be better if the outlet will be closer to the ceiling. Switches are installed at an altitude of about 90 cm from the floor. But if there are small children in the house, switches can be installed above.
- For installation in a plasterboard septum, approaching (plastic cups) of a special design - with clamping legs are used. Spinning side screws on the sides, the legs are pressed and recorded the peaver in the nest.
- It is necessary to follow the minimum distance between the rosette (switch) and other communications. There should be at least 0.5 m between the socket (switch) and the gas pipe. It should be at least 0.6 m.
- The passing switches designed to enable / disable light sources from different areas of the room are connected according to the scheme specified on their housing.
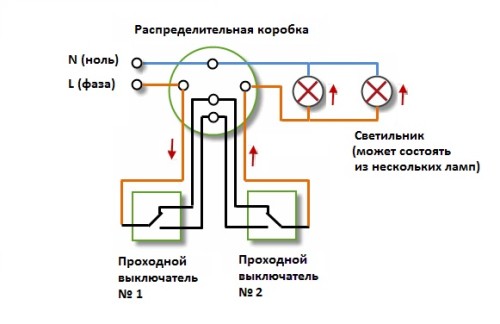
- When connecting a backlit switch, one wire connected to it is attached to the phase terminal, and the other to any of the remaining terminals.
Important: In order to avoid electric shock with electric shock, it is necessary to install the outlets of a closed design or apply special plugs.
Rules setting sockets
Sockets are:
- for open wiring;
- for hidden wiring;
- with grounding contact;
- without grounding contact.
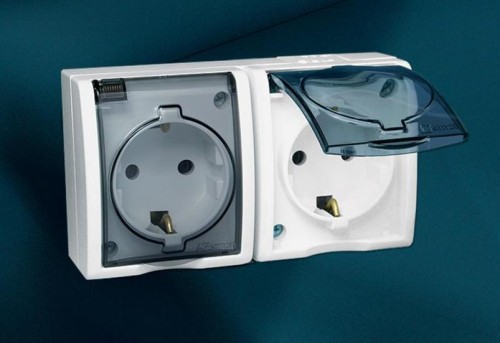
In addition to conventional, use outlets of waterproof performance (see photo).
These are installed in rooms with high humidity (in pairs, in pools, in the bathrooms, in the kitchen). By the number of phases, the sockets distinguish:
- single-phase;
- for a three-phase network.
The latter are with a zero conductor and without.
Installing sockets is performed in accordance with the following rules.
- In rooms with high humidity, settings are installed with grounding contact for connecting to a grounding conductor. Place outlets at a distance of at least 0.6 m from Santhechnibors.
- When connecting a three-phase outlet, it is necessary to observe the phasing (correct phase alternation). This is important for normal operation of some devices. For phasing, a special device is required - VoltamPhasometer (Waf).
- In a single-phase network "zero" wire (n) is isolated in blue material, "phase" (L) - brown, ground wire - yellow-green. Other marking occurs when the phase wire has a red, white or black isolation.
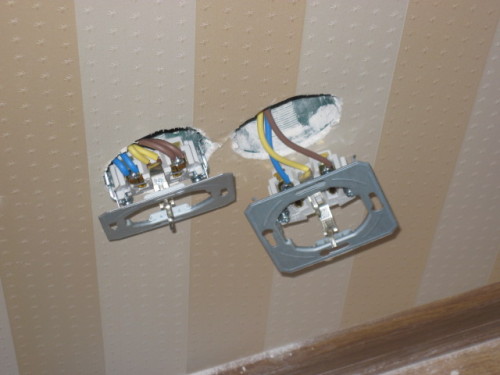
- For the three-phase network, the labeling of the phase "A" is adopted, the phases "B" - green, the Phase "C" - red. Marking compliance will make installation easier.
Important: stranded wires before connecting to the terminal of the socket or switch pressed. Be sure to fix the housing of the socket, screwing them into the opening of the peavern.
How to install a circuit breaker
In some cases, an additional circuit breaker is required in an intra-quarter distribution panel. Before installing a switch, you should familiarize yourself with some rules.
- The circuit breaker is selected by the total current consumption of the entire electrical equipment connected to it. The nominal switch must be slightly lower than the calculated value.
- The installation of the "automaton" is performed after turning off the power grid.
- "AUTOMATIC" must be fixed in the shield so that its inclusion and shutdown can be shifted. The modern method offers fixation to the Dean Rake: the latches on the back side securely hold the device. First, the top latch is started on the din rail, after which it is pressed until the bottom is clicking.
- The phase wire (coming from the total switch or Uzo) is connected according to the scheme specified on the "automatic", that is usually to the upper terminal. To the bottom joins the wire that goes to the load.
- When removing the insulation, you must act carefully in order not to damage the core. It is important that the insulation is completely removed on the site directly contacting the "automaton" terminal. To do this, the depth of the input after unscrewing the screw is checked.
- Several automatic switches on one din rail are connected by jumpers. Screws terminals need to be tightened into several techniques.
- When connecting bipolar "automata", where there is "zero" and "phase", polarity should be observed.
- After installation, the power supply is connected and check the correct operation of the electrical appliances.
Finally, we propose to visually familiarize yourself with how to set the switch: video with specialist comments.
The following video will be useful about the nuances of choice and connect circuit breakers.


