Install Lanterns for Garden Lighting
Quality lighting is the last touch to arrange the country area. In our article, we will talk about how to get outgoing street lights.
Content
Varieties of lanterns
Before installing the street flashlight, you will need to select the optimal option. After all, now there is a diverse range of products:
- wall;
- flying;
- soil;
- suspended.
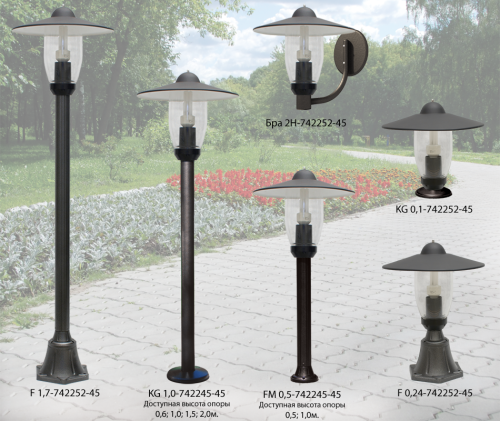
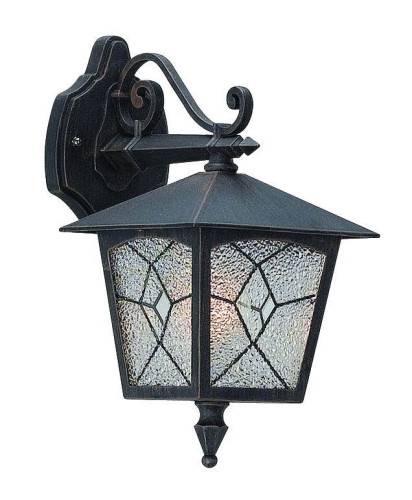
Wall lights are attached to buildings. They usually illuminate the space in front of the house or other buildings.
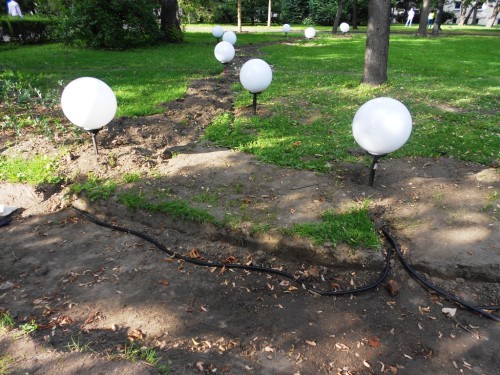
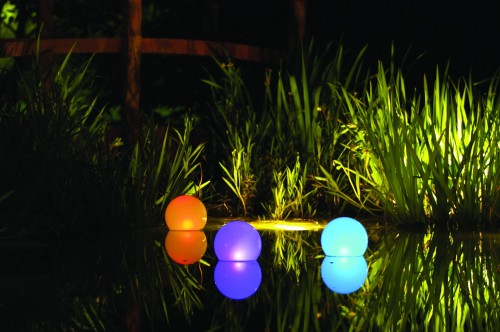
Installation of flying luminaires is carried out directly to Earth. The height of the street lamp of this type does not exceed 0.5 m. Soft and pleasant light threads come from the lamps. They can be placed near the benches or gazebo in the garden.
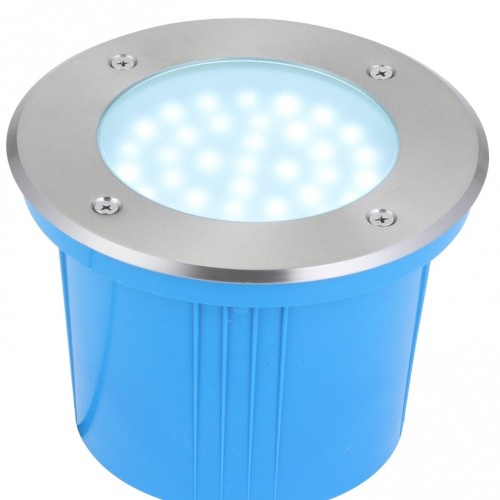
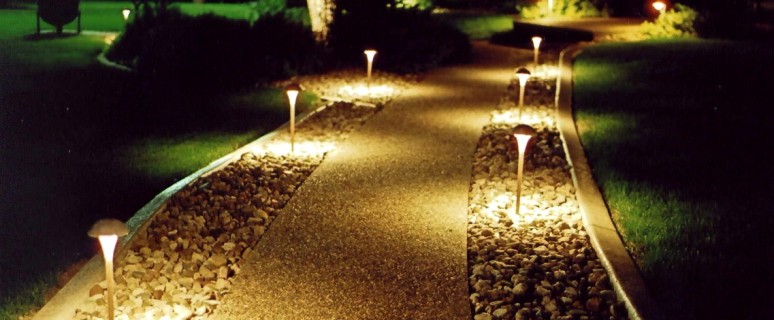
Ground lights are installed directly into the ground. With their help, trees, flowers and green plantings are originally highlighted. Also, the lamps perform a practical function - they illuminate pedestrian alleys or utility rooms.
Suspended lamps are attached to the beams of buildings or trees. These products are extremely rare, since there are technical difficulties of connecting them to the electrical network.
The choice of a particular type of lighting is based on the following two main functions, which should solve the streetlights. They conclude:
- proper lighting of the site around the house;
- the ideal compatibility of lamps with elements of the surrounding landscape.
Basic requirements for garden lanterns:
- safety operation;
- the use of high-quality material in the manufacture of lamps;
- absolute resistance to environmental impact (wind, rain, snow, heat and frost);
- availability for dismantling work.
Sources of light energy
As sources of lighting can be:
- ordinary lamps;
- halogen light sources;
- lED lamp;
- solar panels.
The advantage of conventional incandescent bulbs includes a small cost. But, on the other hand, they are characterized by excessive consumption of electricity at low brightness.
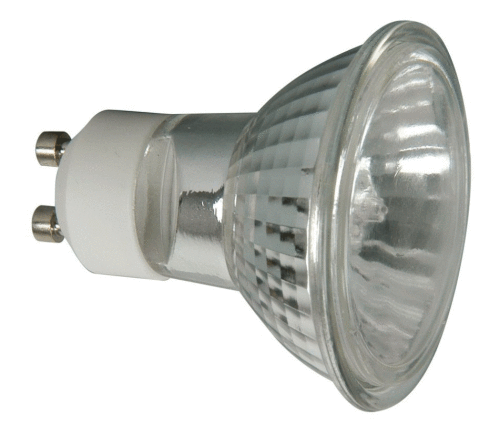
Sources of light with halogen have high performance and longer operating period. They provide excellent intensity and flow reproduction. "Cons" halogen lamps - severe heating and sensitivity to sharp voltage drops.
Thanks to the LEDs, the maximum electricity savings occurs. They will serve longer than the rest of the lamps. But differ in high cost. To illuminate too much territory you will need to invest a considerable amount.
Flashlights operating on solar panels are used in areas where it is difficult to lay an electrical cable. The main element is a battery that absorbs the energy of the sun's rays. Naturally, the street lamp in the territory should be installed, where the sun shines most of the day. The inclusion of the lamp occurs when darkness occurs.
Installation of columns
In most cases, an integral element of street lighting is pillars. To fulfill such work, how to install a support for garden lamp, you will need to dig up the pit. This is done using a bora. Rye pit is carried out in places where access to energy sources will be provided.
To install pillars under the lights follows:
- get the permission of public services (in the case of relevant communications: telephone, electrical or gas lines);
- easy pits with a depth of 0.5-0.7 m (depending on the level of ground freezing) and a diameter of more than 0.2 m;
- pave the electrical wire in the corrugated two-layer PVC tube;
- at the bottom of the holes to pour a 10-centimeter layer of small rubble and sand;
- tamper sand by filling with water with water;
- prepare concrete mortar;
- make the fill of concrete (its top level should be located 10-15 cm from the surface of the Earth, it should not get into the pipe with an electrical cable);
- the rest of the pit is pouring concrete with the help of a shovel (this will happen the occurrence of air pockets);
- stretch the cable through the pillar and output the holes in advance;
- place a pillar into a concrete solution (the minimum loading depth is 0.3 m);
- level Check the correctness of the vertical position.
If bunchy soils prevail, the foundation under the poles can be further subjected to reinforcement. For this, steel rods are used.
Electrical Cable Styling Features
Installation of electrical wiring is the most responsible part of this process, how to install street lights at the cottage. To work efficiently, you will need to get:
- two-core cable VVG with a cross section of at least 1.5 mm;
- a corrugated pipe with a diameter of 18-25 mm, in which the cable will be laid;
- terminal blocks that securely connect contacts.
The corrugated pipe will protect the wiring from accidental damage (for example, when the Earth's copper) and rodents.
Terminal blocks can have one or two strips with a hole diameter of 2.5-4 mm. When choosing a pad should be proceeding from the fact that they will affect the current of the force of 5-10a. It should also take into account the number of heating elements in the lamp.
Wiring styling is as follows:
- the corrugated pipe is stacked in the dug trenches, and in it - the cable;
- when installing a floor lamp, metal legs are installed, through which the cable is pulled (in the ground, the wiring must be in the corrugation);
- when cutting the cable make a stock with a "tail" length of 10-15 cm;
- the cable running in the top of the lantern is also laid into the pipe;
- the lower and upper wires are connected by terminals;
- when the lamps are located on the wall, switching boxes are insulated (it is better to use boxes where clamping nuts are applied for connections);
- places of scrubs are wrapped with an insulating ribbon;
- cable attachment to the electrical network.
The electrical circuit device assumes the presence of two cables: phases and zero. For this reason, it is necessary to make it so that the switch is broken by the phase cable. This will protect a person from shocking when replacing the lamp. To determine the phase cable, a special indicator is applied.
As dots connecting street lamps on the posts, you can use the usual outlet. It will be more convenient because it is possible to de-energize the entire system by pulling the fork. The only nuance - the rated power of the switch must coincide with the power of the electrical network.
At the final stage:
- the performance of all lamps is checked;
- install trenches;
- the space near the poles is trambed.
Options for self-made lamps
In modern conditions, there are many options for how to install a garden lamp. Consider several varieties.
Lamps made of glass
Conventional glass bottles or banks are used to create such garden lamps. Thanks to the transparency of glass, light streams will create unique special effects. To make a glass lamp, you will need:
- glass bottle / bank;
- indicator;
- cartridge;
- insulating tape;
- passatia;
- a sharp knife.
To install the lantern qualitatively, after installing the pillar follows:
- cut the cable into the cartridge;
- take a glass jar with a spinning lid;
- on the bottom of the banks put small beads, transparent balls, glass and a thin multicolored wire twisted by a spiral;
- to the top of the lamp with self-drawing to attach the lid from the can;
- make fixation of the cartridge to the lid;
- screw a light bulb into the cartridge;
- top to wear a jar;
- paint the bank acrylic paint for stained glass (optional).
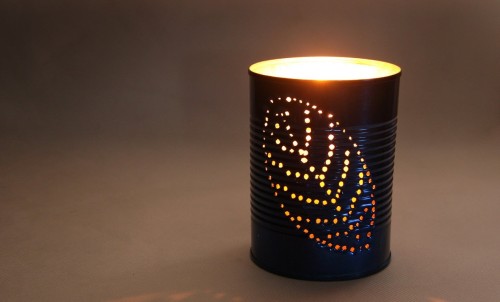
Instead of glass cans, you can use tin products with different decor: inscriptions, colors, patterns and patterns. In winter, lanterns from cans are covered with polyethylene.
Worn lanterns
For the device such designs should be used:
- welding machine;
- steel rods;
- metal stripes and corners.
For making a wrought lantern:
- take 4 steel frames and a cross section of 1.5 * 1.5 * 0.2 cm;
- by connecting them, the housing is obtained;
- the outer part of the framework is closed with curl with grids, which are welded from steel rods;
- to cover the entire housing, a metal cap is performed;
- a square bracket is made from the steel bunch of 1.2-1.4 cm, with the help of which the lamp is attached to the wall;
- bottom curls are made from the metal strip.
Paper lamps
The manufacture of such lanterns is as follows:
- drawings are made on cardboard and paper;
- drawings are cut with the creation of bends;
- cutting out of windows from a transparent film;
- stagnation of blanks on a cardboard layout;
- gluing the bottom to the lower part of the blanks;
- drying of adhesive composition;
- dark paint application;
- rubbing the candle after paint drying;
- surface coating with light paint and varnish material;
- grinding sandpaper.
Additional decoration of a paper lamp can be performed using a lightweight material. For example, moss or dried leaves.
Solar panel lights
Now about how to install on the lawn street lamp working on solar panels. For its manufacture, you will need:
- solar battery;
- battery;
- charge controller;
- inverter (50 Hz);
- lEDs.
The process of creating a luminaire consists of the following steps:
- the lantern is selected, which has enough area for reliable fixation of solar panels;
- the installation of the LED lamp inside the ceiling;
- a mobile phone charger is taken (it acts as a battery);
- the lamp and the battery are connected to the solar panel;
- a switch is mounted between the battery and the LED (you can use analogue from a broken toy machine).
The lamp is placed on the territory on which the sun's rays constantly fall. He is charged here. When the evening comes, the switch that starts the LED lamp is turned on. The coverage of the country area occurs within 11-13 hours.
Video on the installation of garden lamps:


