How to close the irregularities and holes with a stucco Useful advice,Walls
At the initial stage of any repair, it is necessary to prepare surfaces with plaster. The choice of materials is a responsible step from which the quality of work and the future appearance of the premises depends in many respects.
Content
As a rule, at this stage, it is necessary to deal with uneven sections, cracks that taught their time with old materials and other defects. To get rid of them and go directly to the finish, it is necessary to carry out plastering of walls, ceilings or floors. To do this, there is a large selection of necessary materials that are ideal for any kind of finishing work at the next stage.
When and why might need stucco
- If you begin repair without sufficient experience in this area, then at the preparatory stage you can face unexpected difficulties. After the walls are removed from the walls, the unpleasant picture opens with a multitude of flaws on the walls that will have to eliminate in order to move on.
- To do this, you will have to find out what a putty or another mixture is best suited and how to use it correctly. This process is very important, since the durability and aesthetics of the future interior of the room depends on it.
- The most expensive and beautiful decoration of the walls will look only in combination with smooth and durable surfaces. If small defects may well be hidden under the wallpaper, then more noticeable flaws will have to correct the putty or other mixture for repair.
- Getting Stucked by plastering, you should be stockposter, cylma, chisel, hammer and necessary capacities. The adhesive tape is also useful to strengthen the surface near cracks. If completely launched plots come across, you can apply the construction grid of plastic.
- All materials you can easily buy in the building departments of supermarkets. Their cost will not be an unpleasant surprise for you, as these materials are mostly inexpensive.
- If there are doubts about your own, it is better to attract specialists to the repair work or at least watch a video on how to apply a solution on the wall, and smooth out the irregularities after applying plaster.
- For sealing small flaws, the ready-made putty solution in the tube is best suited. Large-scale defects are usually eliminated by dry powdered substances that are transformed into a solution immediately before starting plastering.
- To correctly calculate the number of the necessary solution, you must first decide on the volume of upcoming work. Be sure to take into account the costs to align the restored fragments of the walls.
- Often, during cosmetic repairs, it becomes obvious the need to replace electrical wires. These works include punching in the walls of special channels - fines, in which the cable will then be laid. After laying the wires, these channels will also have to be sealing with a spacion solution.
- It is worth noting that it is necessary to make repairs in a room with sufficient access to air, but to avoid drafts. Temperature and humidity should be on a regular level.
- If you chose an alabaster as a material to correct the walls of the walls, add joinery in a ratio of 1:12 to the water. In this case, you can use the ready-made putty solution longer.
Types of materials
- For different plaster works there are special materials. They can be divided into 3 groups:
- for initial leveling of surfaces. They are needed to directly eliminate wall defects, gender and ceiling;
- for final leveling of surfaces. They are chosen taking into account the future interaction of these materials with decoration;
- materials for laying drywall, tiles, for grouting seams, primers.
- There are different compositions of plaster solutions. One of the new and popular materials is the gypsum plaster. It is an environmentally friendly, albeit more expensive material, which has a number of other benefits.
- Gypsum is able to improve the microclimate in the room, adjusting its humidity. It is also capable of keeping warm. This material provides high adhesion of different materials and is able to cope even with very large-scale irregularities.
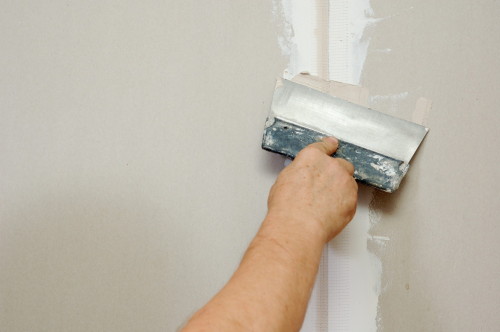
- Often asked whether it is possible to close the seams of drywall plaster plaster. The answer is unequivocal: experts recommend using this type of plaster in combination with a reinforcing ribbon to mask seams.
How to apply plaster on the wall
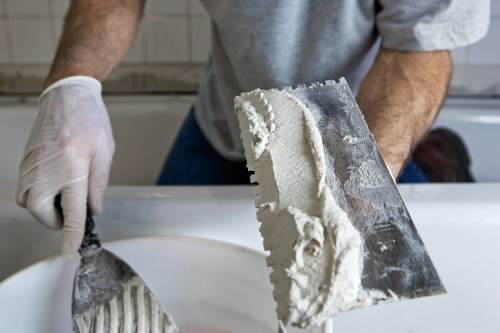
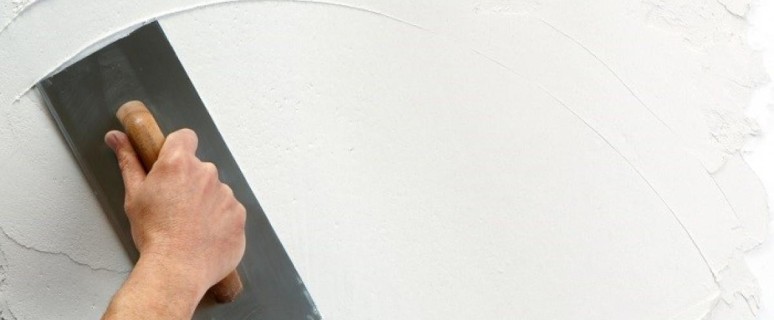
- To apply plaster on the treated surface use cells. The solution is fed on a square panel with a handle called falcon. With the help of Kelma, some plaster smear over the wall surface.
- Kellma must be kept at an angle relative to the wall and prevent the plaster between the shovel and the wall. Having waited to dry the solution, it should be evenly put on the wall in such a way as to get a flat surface.
- To verify the smoothness of the applied solution in relation to other parts of the walls, a wooden bar is used, which is called the rule. The tool is applied in such a way that it converted the processed sections to the ends, and is located along the wall for its alignment.
- The last layer of plaster after almost complete drying is rubbed to eliminate the roughness of the surfaces. Sometimes it is applied by a special tassel, and then leaf to the tool for smoothing.
How to prepare a spacure solution
- The water temperature is poured into the container until the third part is filled.
- There, they gradually suck the desired amount of the mixture. It is important to prevent the formation of lumps.
- The fluid level should be higher than the level of the mixture. Before stirring the solution, you need to wait a bit.
- The solution is stirred to the consistency of the test, and it must be uniform. After 10 minutes, the solution is collected again.
Seeling cracks in the wall of plaster
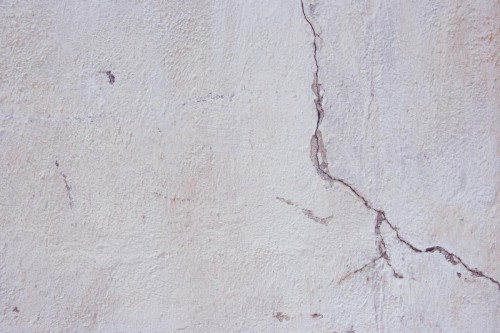
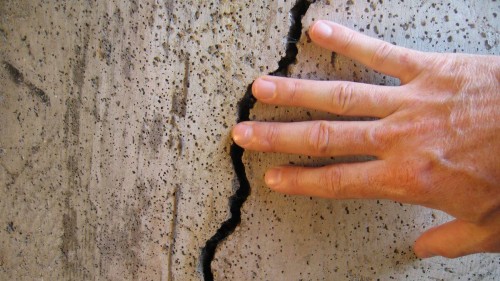
- To answer the question how to close the crack in the plaster on the wall, you need to carefully examine the flaw.
- The deeper the crack, the gradient should be an approach to eliminating it. If it is deep enough, then with the help of milk and the chisel, its size is increased in order to sufficiently uncover the base of the crack. It is necessary for further bookmark the putty, which will strengthen the wall and create a smooth surface on the site of flaw.
- When the crack is prepared, produce its purification from dust and moisturizing with water or primer with a sponge. It is necessary to prevent the lack of moisture, which can crack the spike solution.
- Next, the cavity is filled with mortar. Putty for sealing cracks is applied by layers with a small cell and spatula.
- Then, another crude furrow, sealed with a putty mass, apply a tape for fixing the material. The tape is pressed with the help of Celma so that it turns out to be a little concave into putty.
- The final stage is the applying of a thin layer of the solution to align the seam. It is necessary to check that the level of the processed area and the level of the wall coincides. This can be done by a special building tool called the level.
How to seal thin cracks
- If the crack is not deep, then it can be sealing with a putty without prior preparation. The solution with a spatula is smeared along the wall, following the cracking of a sufficient amount of the mixture. After that, align the surface.
- Some small cracks will have to treat a little to save their cavity from the shrouded old material.
- For embelling small cracks there is a special putty mass. It differs from the usual mixture in what consists of smaller particles, which is ideal for further painting walls. Normal material can be used under the wallpaper.
- Modern solutions dry quickly, after which they are grinning to align the treated surface under the overall level of the wall.
- Basically, all modern species of spacion solutions are suitable for embedding defects on wooden surfaces. Of course, after processing a tree it will need to cover the paint. It is very convenient, since different damaged surfaces can be corrected by the same solution.
- To correct defects between two different surfaces, for example, between the wall plaster and a wooden doorway, there is a soft melting that does not solidify. It does not crack with small deformations.
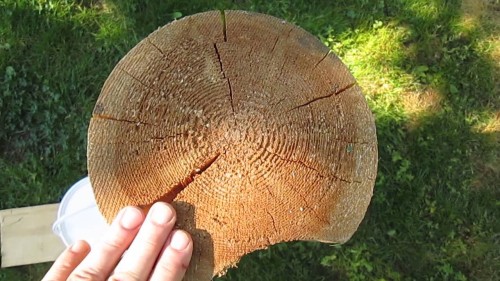
How to close cracks in a log
Fully excluding the appearance of cracks is impossible. But thanks to the conduct of preventive work, you can reduce the likelihood of their appearance to a minimum. Also, with the help of special materials, it can be sealing cracks in a log and reduce the likelihood of developing rotting processes. To do this, use various types of sealing, which can be made independently.
Wamping from sawdust and pva
To fill the slots and cracks, a mixture of PVA and sawdust can be used. The consistency of such a self-made solution should be similar to the putty mass. With the help of a spatula with a mixture filled the cavity of the groove. After drying, the mask may fall a little. The resulting deepening of the crack is once again close to the same solution or putty for wood.
Shipping
If the crack puzzles with its depth or width, then its emptiness can be partially filled with a sharpened pinch. The length of the pinch must be leveled under the crack length. Slice, pre-treated PVA glue, is placed in a crack, applying force. On top of the sins, you need to put a putty or other mixture for smelting.
Sealing with a putty
Acrylic putty is intended only for small cracks, in which the length and width does not exceed 3 mm. If you close the acrylic mixture, the crack is more, it will begin to crack after hardening, but a little later may fall at all.
How to close a hole in the plaster
- Screws and other fasteners are subject to removal. If it does not work, then their protrusions are cut. The holes in the wall are treated in the same way as the cracks. Large holes require more putty and more scarpural approach.
- Holes in the wall remaining after removing the drain pipe are filled with plaster layers up to 5 cm. If the depth is of about 2 cm, then it is filled with a solution for deep defects. If the cavity of the crack is very extensive, then it is sealed by construction foam.
- After the foam freezes, her protrusions cut and rub the surface so that it becomes smooth. If the plaster sat down or had to get rid of her spoiled plot, then this place should be filled with plastering and align with the help of the rule.
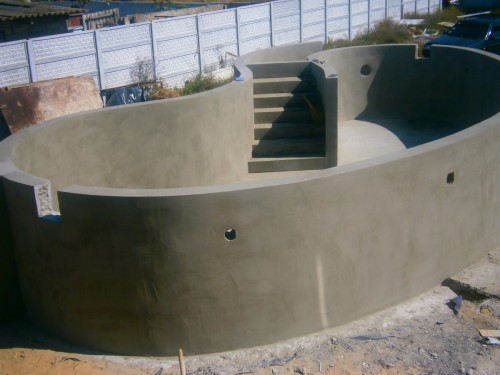
Stucco pool with irregularities
In the process of basin equipment, liquid concrete is filling. Before that, reinforcement with steel parts. After the formwork is removed, the concrete surface does not happen quite smooth. Therefore, you have to use plaster to eliminate large and small irregularities.
The stucco in the pool is needed in order to:
- prepare a smooth and homogeneous basis for further finishing works;
- create waterproofing of the pool walls to avoid water leakage and corrosive processes of reinforcing parts;
- protect reinforced concrete base from freezing during a cold period when there is no water in the pool.
The composition of the plastering solution intended for the pools has specific strengthened characteristics. It must maintain its qualities in constant contact with water and withstand its pressure.
Technology of applying solution
- The plaster of the pool with irregularities of up to 3 cm will not be a lot of work, and with larger errors will have to be tinker and thoroughly.
- Watching pools can be carried out in two ways.
- The solution that is applied to the grid consists of a standard combination of cement and sand. To make the plaster and base from concrete to provide high-quality clutch, the reinforcing grid of steel is placed on concrete.
- The advantages of this embodiment of plastering is a small cost of material and a relatively simple technology of surface treatment with a solution.
- However, with this method, there is a risk of corrosion of steel grid and fasteners in case of injection of moisture. In this case, the decoration of the pool can collapse along with the plaster.
- Application of a plaster solution with a special glue content can solve these problems. Such material has increased resistance to moisture and increases the ability of surfaces to adhesion.
- With this method of processing the base of the basin, the service life of the coating is significantly increased. In addition, the reinforced concrete design will be reliably protected from water flow and subsequent damage to the reinforcing elements.
Stucco on the grid
- First, it is necessary to free the surfaces from garbage and dust. After their cleaning you need to progress the surfaces once.
- With the help of special bolts that need to be secured over the entire surface in a checker order every 30 - 50 cm, fix the grid.
- Dilute the plaster solution according to the instructions.
- Apply a layer of solution for aligning surfaces and leave drying out for 24 hours.
- Then apply another 1 layer of primer and the last layer of plaster, after which it is possible to correct all the irregularities.
- Lose surfaces to eliminate roughness, and give time to dry out all materials.
Using adhesive plaster
- First you need to remove all the garbage and dust from the surfaces. To do this, you can use the vacuum cleaner or compressor.
- Apply adhesive impregnation on the entire surface of the basin and give time to dry.
- Equally apply a layer of adhesive solution.
- Having waited until the solution dries off, losing the irregularities and treat the last layer of the adhesive solution, to perform the grouting to give the material to finally dry.


