How to install loops on the door Doors
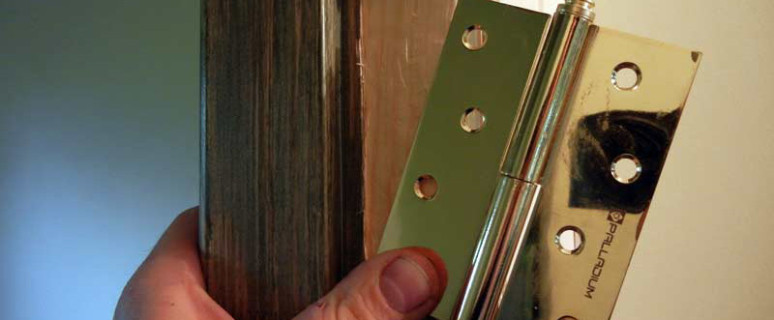
For someone who decided to independently make home repairs, the problem can be to install loops on the door. This is a very responsible operation: even a small inaccuracy will lead to a breakdown of the canvas and problems during operation. Avoid this you can taking the following rules and tips.
Content
How to choose a loop
You need to know that the hinges for the doors, depending on the material of the manufacture, are three species.
- Steel: the most reliable and durable, but aesthetically not attractive. More expensive models have chrome coating.
- Brass: have an attractive appearance, but not long, since the soft metal is stepping over time.
- Brass: relatively cheap loops imitating brass. Move from alloys, have a coating that gives the metal characteristic shade. The service life is limited to rapid wear of rubbing parts.
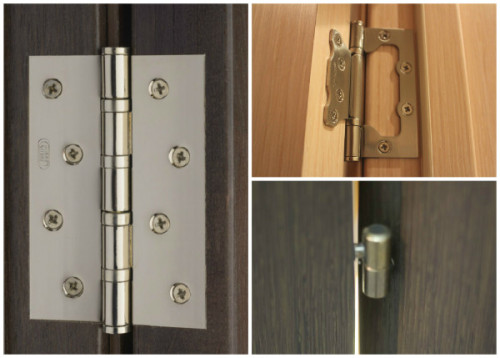
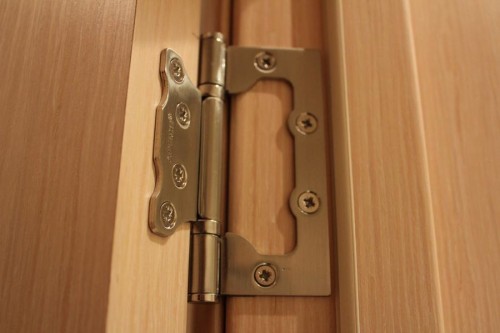
Loops for doors (see photo below) can differ constructively depending on the door of the door canvase.
- Loops for glass doors (for example, in a sauna) are attached on both sides, clamping and clamping glass. Silicone or rubber liners help hold the canvas. Installing such loops without special equipment is impossible.
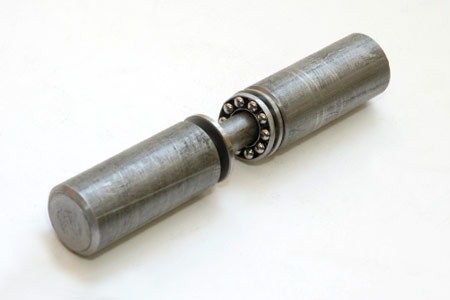
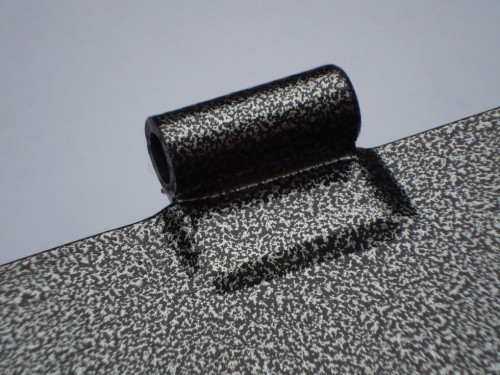
- Loops for metal doors: exterior and internal. The exterior is equipped with support bearings or liner balls, as well as an adjusting screw for compensating for metal generation. Hidden hinge for doors make penetration into the premises of unauthorized persons almost impossible: they cannot be cut or damaged, since there are no external details.
- Loops for plastic doors: their difference is that they can be adjusted, increasing or reducing the gaps between the canvas and the box. Installed by experts on metal-plastic doors of balcony blocks.
- For wooden doors: There are overhead, mortise and twisted (screwed). Installation of the loops on the interior door from the tree is performed using simple carpentry tools.
When choosing a loop, the following factors must be taken into account:
- mass of the door canvase: for heavy, from solid wood solid rocks and additional door hinges are needed for the increased size of the canvas, two enough doors are needed;
- presence of bearings: Loops for heavy doors will be easily open and without a screen;
- direction of the door opening: depending on this loop is universal, as well as "left" and "right".
Tools required for work
Cutting loops in the door is carried out using the next set of tools and fixtures:
- hammer 500 g and chisel;
- screwdriver;
- screws (selflessness);
- pencil joiner;
- construction level;
- wooden wedges.
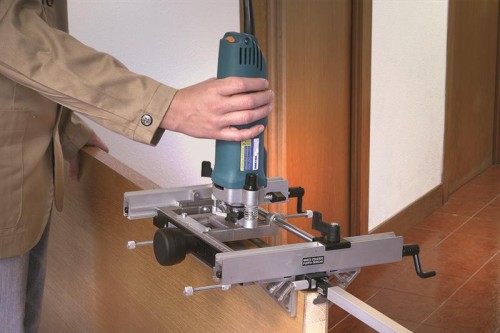
Cutting the loops is convenient to produce with the help of a flash tube: in this case, the need to use the chisels will almost disappear. It will only need to fix the corners (in places where the mill can be treated with wood).
How to cut a loop on the door: step by step instructions
Loops for interior doors or for inputs are installed after marking. Further work is performed in the following order.
Marking and inserting loops in the door leaf
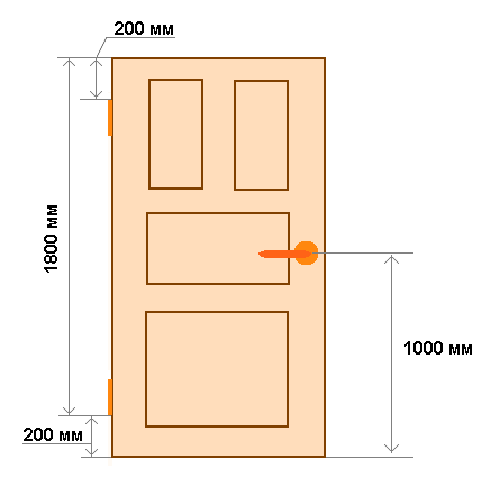
- From the upper edge and from the lower, 200-250 mm retreat and make a mark. It should be noted that there are no bitch and damage to the loop in the area of \u200b\u200bthe loop installation, otherwise problems will occur when screwing screws. If you have specified vices, you choose another place to install the loops (shift).
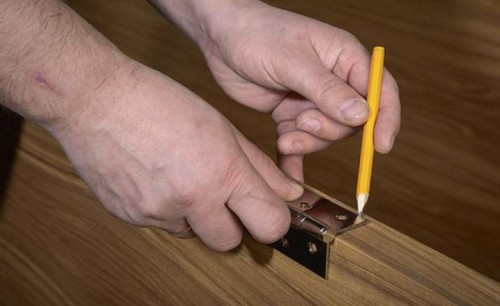
- The edges of the loops are applied to the resulting marks and outline their contour.
- The chisel make cuttings along the loop contour. The beveled part of the tool must be oriented towards the loop, the cutting depth should not be greater than the thickness of the metal.
- Make a sample of wood with the help of a chisel and hammer.
- Fasten loops with self-stores to the door canvase.
Important: In the event that an error was made when the wood sample was made, you need to use cardboard pads under the loop.
Marking for the loop on the door frame: Important nuances
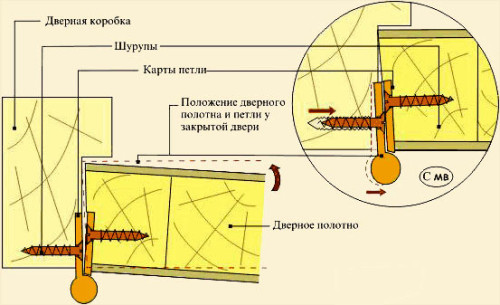
Similarly, they come with a retaliatory part of the loop: cut down the outline in the door frame. To do this, the doors are hanging on wooden wedges in such a way that 2-3 mm is a gap from above, bottom and along the side faces of the canvas. For temporary fixation of the canvas use wooden wedges. During work, these rules are guided:
- Marking loops on the door frame will be easier if the door canvas close the embedded lock in advance.
- It is necessary to check the position of the web using a level: the door should not deviate any horizontally or from the vertical.
- To accurately make marks on the box, the loop will have to be temporarily unscrew from the door, and then strengthen it again.
- The cutting of wood with the help of the chisels is made so as to prevent unnecessary deepening, otherwise the door will be moved during opening-closing.
IMPORTANT: so that the wood does not cracked when screwing the screws (screws), you must first drill a thin drill hole.
Install Butterfly Loops
With a joinery tool knows not everyone. In this case, the best solution is to install butterfly loops. Their peculiarity is that they belong to the category of "cut-down". In the closed position, both sides of the loops are closed and enter each other. A small gap is needed so that the door is well opened and closed. How to install loops on the door (order of action).
- We retreat from the top edge of the door of about 250 mm, we apply a loop and outline its contour. You can use a pencil or awl. It is necessary in order to subsequently correct the item if it moves while working.
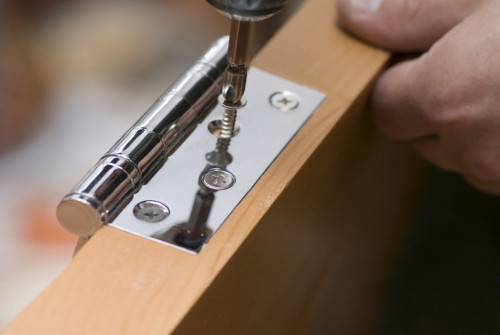
- Thin drill or seer make small holes in the places of screwing screws.
- Fresh screws (self-tapping) loops to the doorway jamb.
- Install the door leaf in the opening of the box, observing the necessary gaps. We check the horizontal of the upper and lower ends and fix it with the help of wedges.
- We plan the position of the upper loop.
- We remove the wedges and screw the door to one (upper) loop. You should temporarily stop the door to avoid the skew and the loop breakage.
- I exhibit the door leaf so that its plane is strictly in a vertical position.
- We plan the position of the bottom loop, prepare the holes for the screws.
- Screw the screws and fix the bottom loop. Work is done.
Put a loop on metal doors
For this work, you must have at your disposal:
- welding machine;
- electrodes with a diameter of 3-4 mm;
- bulgarian with a sharpening circle;
- marker;
- metal plates with a thickness of 3 mm.
Consider the installation process of overhead hinges equipped with a ball or a support bearing and an adjusting screw.
IMPORTANT: Installation of locks, anti-supers and riglels are performed after mounting the loops.
The phased description of the process of installing the loop.
- Install the door in the opening.
- We put the metal plates from the bottom from the sides: the gap should be between the web and elements of the opening.
- Measure from the bottom and upper side about 250 mm and make marks.
- We apply a loop, focusing on the marks, and find a position in which the door will be freely open and closed.
- With the help of the welding machine, point the loops so that they can withstand the weight of the door.
- We check the correctness of the selected position of the loop, several times cautiously opening and closing the doors. They should "walk" freely, without distortion and open completely.
- After checking (if the loops are located correctly) finally weld all the details.
- Bulgarian with a sharpening circle we remove the slag and make the place of connection smooth.
- We establish a support bearing (ball) and adjusting screw.
- Strace doors and loops outside.
Important: During welding work, the adjusting screw, the bearing and the ball must be dismantled to avoid their deformation due to severe heating. All internal surfaces of the loops should be abundantly lubricated with solidol or other thick lubricant.
Finally, we suggest familiarizing yourself with the video showing the process of the loop in the interroom wooden door.


