
Installation of soft wall panels Useful advice,Interior items,Walls

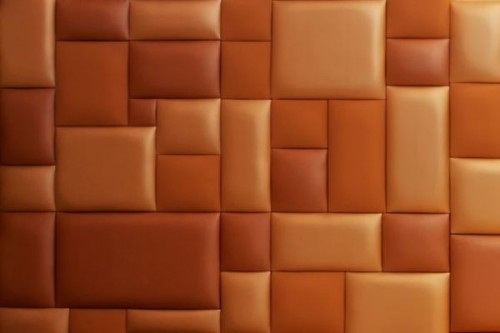
The name itself - the soft wall panels already talks about something cozy and comfortable. The room decorated with such panels looks gorgeous and exquisite.
Content
Soft wall panels in the interior
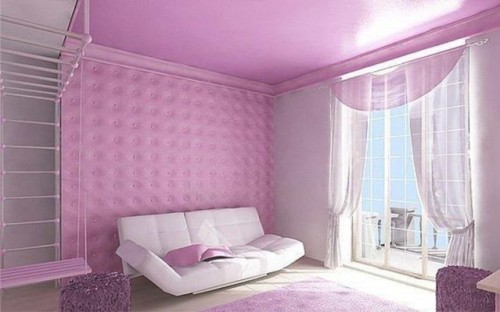
For each panel room, they are selected individually. More stringent colors are suitable for the working office - in beige and brown gamma. The bedroom is trimmed with panels of soft pastel colors. The children's room looks well a combination of panels of different colors from delicate pastels to brightly saturated. The main thing is to observe the measure. If you finish with soft decorative panels completely walls and the ceiling in the room - such a room will remind the ward in certain clinics.
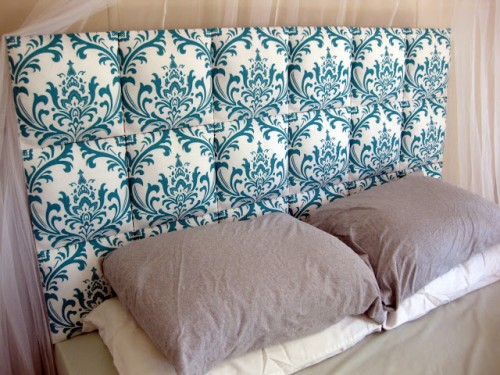
The relief of the panel depends on the thickness of the substrate. The optimal option of the substrate thickness in the panel 1-4 cm. Panels with a large terrain - a thickness of the substrate 5-6 cm - well fit into the bedroom to decorate the head of the bed. In other rooms, they will be inappropriate.
Benefits of soft panels
- The panels are the original ceiling and wall finishing and give your apartment individuality.
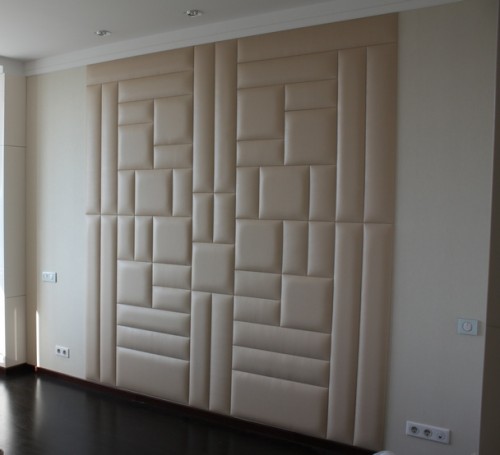
- Soft panels can be issued both the wall and separate fragments. Panels allow you to perform the zoning of the room or focus on some part of the wall.
- Have sound and thermal insulation.
- Easily mounted, no thorough preparation of walls are required.
- Leather or leatherette panels do not require constant care.
disadvantages
- Paneley.Tsena high cost per square meter of soft panels from 5 to 15 thousand rubley.Izgotovlenie soft wall panels often made to order in art salons. Custom orders are always expensive.
- Panels made of suede or textiles require care and lose their attractive appearance for two or three years.
Finishes soft flat panels are shown in the video.
Variety of soft wall panels
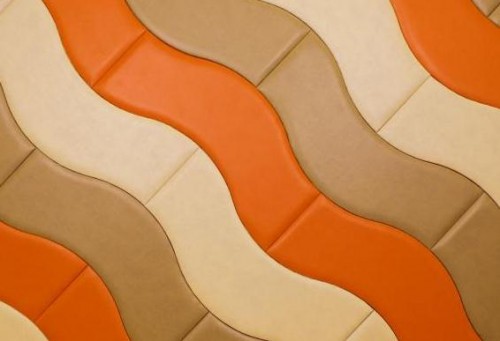
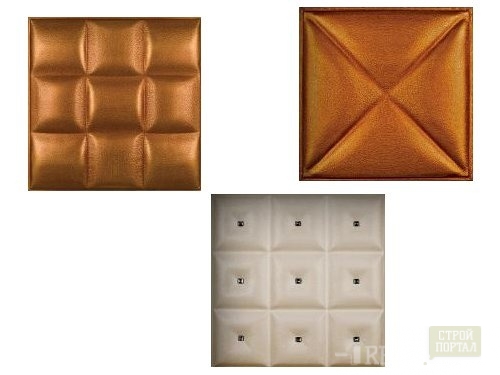
The panels are made from a piece of material, or individual tiles that have a different shape. The panel may have dimensions of 10x10 cm and in form 1,5h2,7 m -. Square, rectangle, rhombus.
Also produced soft tiles of various shapes. This tile is also called soft wall panels.
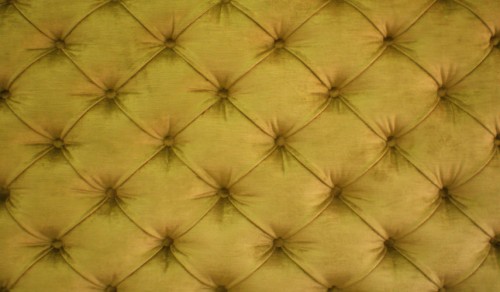
Large panels made using Karetnaya ties - Capito. With such a method specially prepared button is recessed in the material. The relief panel is dependent on the location of buttons.
Utyazhka is a square or diamond-shaped.
On large panels is possible to create a certain image. Karetnaya screed is carried out on plain materials - leather, suede, leather, velor or velvet.
With Karetnaya screed panel manufactured and small sizes, which are mounted separately. The advantage of medium-sized panels that can be replaced by one or more panels, if they fell into disrepair.
It is also manufactured without screed panel. The panel consists of solid bases - plywood or hardboard, the substrate of foam or padding polyester and the outer layer. Different size panels allows you to create a custom image when mounted on the wall.
Company Leader-Trade produces a 3-D soft wall panels. The panels have a size of 40x40 cm, various colors. The outer layer of panel is ekokozha - an environmentally friendly material. The material has a high degree of elasticity.
Installation of the soft wall panels of this brand is very easy due to the smooth surface of the back side panels made of PVC. The panels are bonded to the surface glue "Liquid nails".
Production of upholstered wall panels
The high cost of the panels is not always possible to buy them in a store or order in the workshop. With a set of simple tools, you can make soft wall panels with their own hands.
For Karetnaya tie you will need the following tools and materials:
- plywood
- material - code, suede, fabric - your choice
- substrate
- buttons
- hacksaw
- glue
- a long line of
- pencil
- drill with a tree drill
- scissors
- stapler with brackets
- kapron cord or wire
- hook
To work, select a comfortable place. Better to do it on the table.
• Cut the piece of plywood of the desired size. Plywood thickness Choose from 3 to 5 mm. A large panel is better to do on a 5 mm thick plywood - such a fane is more convenient to mount on the wall. For small panels, take Ponomen's Fanoère.
• Select the attachment sites.
• Drill the openings under the buttons. If the panel is large - drill holes under a dowel for mounting the panel to the wall.
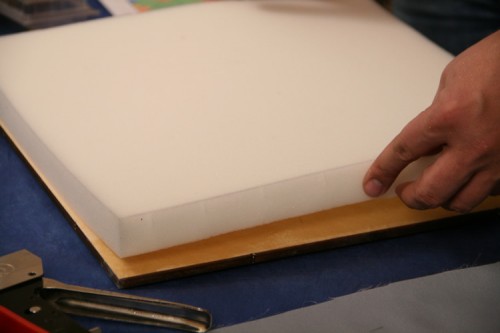
• Cut the substrate with a knife. As a substrate, a synthetone or foam rubber is used. The substrate must have the same size with a solid base.
• Shift the substrate on the phaneer. Experienced masters advise first to stick the substrate, and then do the holes in the foam rubber and plywood at the same time. Such a method is more difficult and requires special tools.
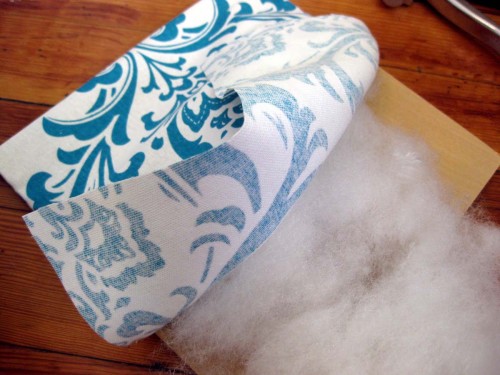
• Remove the material to be covered with the panel. For tight panels fits well. The panel, covered with skin looks very rich. The disadvantage is the high cost of the material. It is suitable leatherette, velor, velvet, dermatin, fabric for furniture tightness. Do not use cloth with a large pattern or striped. When working, the fabric is possible, on the fabric with the pattern it will be noticeably. Pobbled drawing on the panel looks inactively. Material cut out with a bunch of 5-7 cm, taking into account the thickness of the substrate, plywood and accounting that the material will need to bend on the opposite side of the panel.
• Credit Capron cord to the button of buttons. Buttons can be bought in furniture stores ready, or covered with the material yourself. From the reverse side of the panel with the hook, pull the cord. Make sure that the button is recessed into the material and the substrate.
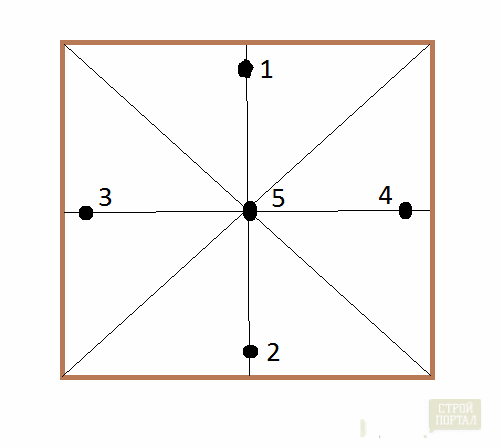
• Secure the cord with brackets using a stapler. The cord needs to be secured by several brackets, every time changing its direction. This will help fix the cord reliably and buttons will stay in their places.
Start securing buttons as shown in the diagram. With such a job, it is easier to avoid blocking material.
A simpler method of manufacturing panels - solid base tightness using a substrate.
For such a way, you can undermine a subtle plywood. It is better to suit the organity (DVP) - the panels will be easier to mount against the wall. The organic has a smooth base and well holds on the glue.
• After cutting on plywood or organic and floor cutting, fasten the stapler from the reverse side of the base on one edge.
• Place the substrate.
• Equally pulling the material, secure it from the reverse side.
Such panels are used to decorate the head of the bed.
How to fix soft wall panels
No special skills are required for mounting panels. The main thing is to correct the surface to make the panels smoothly along the vertical and horizontal.
There are several ways to attach soft wall panels.
Sticking panels on the wall
Tools and materials
- primer
- brush
- glue liquid nails or pva
- gun for glue
- level
- roulette, pencil
- thorough sponge
- hacksaw
- scotch
• Select the location of the panels. Main panels are attached close to each other or at a distance of 5 to 15 cm.
• Running or scalding wall to drive. The primer allows you to remove dust from the surface and improve the quality of the clutch of the panels with the wall.
• Using the level and pencil, make markers on the wall.
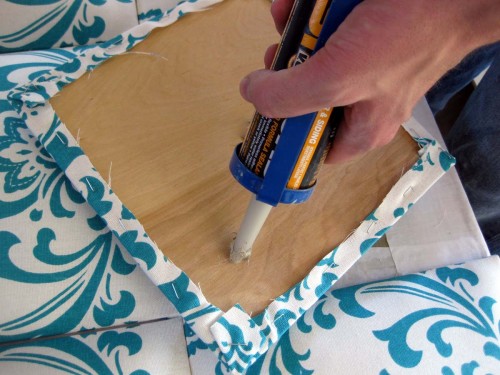
• Apply glue to the back surface of the panel. PVA glue is applied with a brush over the entire surface or zigzags. Liquid nails are applied using a pistol with dots or zigzag lines along the edges of the tile and in the center. Make sure that the glue does not hit the front side of the panel - you can spoil the panel. Do not apply glue too close to the edge of the panel - when installing the tile, it will become squeezed out and stains the side of the panel. If the glue fell on the material - immediately remove it with a wet sponge.
• Press the panel tightly to the wall markup. The panels can be glued in any direction - from top to bottom, or from the bottom of the wall. If the panels reach the ceiling - it is better to start mounting panels from the ceiling.
• Side panels that do not pass in size are cut off with hacksaw. Discover the material on the edge. Sink off the hack part of the solid foundation. Clamp your scope cutting. Wrap the material on the opposite direction and secure it with a stapler.
Cropped panels look not very beautiful. It is not scary if the panels will not reach the corner. The main thing is that the distance from the last panel to the wall is the same on both sides.
For gluing panels on the wall, you can use a special adhesive tape - double-sided tape. Cattle is glued on a dedicated wall. Then the protective film is removed and the panel is tightly pressed against the wall. Before pressing the panel, make sure that the panel is located strictly by labels without distortion. Sticking the panels with the help of Scotch is well suited for light panels with a smooth base. Plywood is not very good at such a scotch.
Fastening panels with magnets
Luxwall prepared panels are produced with a magnetic fastening system. Magnets are fixed on the panel. Magnets do not affect the operation of electronics. The attraction system is sufficient to withstand the weight of the panel. The number of magnets depends on the weight of the panel.
On the wall, metal strips are installed, panels on magnets are attached.
Soft wall panels Luxwal. Photo.
Wall Tights With Frame
One of the methods for creating soft panels - the frame tightness, fixed on the wall with a substrate with a substrate.
• Install the wooden rail frame.
• Clean the space between the rails foam rubber. It is easy to glue PVA glue.
• On top of the rails stapler fasten the synthetic hybecue. The material should not fall on the rails without a substrate.
• Secure the edge of the material on the upper rail.
• Exterminating evenly, secure the material on the bottom and side rails.
• Stick the decorative braid at the place of fastening the tissue to close the brackets.
• Furniture nails cover the material.
• Hammer neatly adjusted nails to the cheek. In order not to damage the material on the carnations, put a piece of the synthesis and score a nail on it.
Fastening panels on a dowel-nails
In this way, large panels are mounted with a thickness of the substrate from 3 cm.
• Drill the drill with a tree drill. Phaneur on the panel. Be careful not to drill the panel through.
• Mix the panel mounting locations on the wall.
• Perforator Make holes in the wall. Drink a dowel-nails, insert the screws.
• Singing holes on the panel with fasteners on the wall we swell the panel.
The panel can also be mounted with screws on wooden dohes. With this method, the material on the panel is disassembled. The panel is attached at the corners of self-stakes to the slats, then the material turns into the edge of the panel. The lack of this method is that it is difficult to make work neatly.
Some firms produce panels on self-adhesive basis. The wall under such panels should be smooth, without dust. The surface is projected. Separate the protective film from the plug-in base. The panel cluster to the wall tight.
Good lesson - how to make a carriage tie. Video in Portuguese. But all actions are shown so available and clearly that the video is understandable and without knowing the language.
Finishing wall cloth.
New comments
Add a comment
To send a comment you need authorize.




material - Code, Suede, Fabric - Your choice