Dryer for pipes from plasterboard: Manufacturing instructions Useful advice
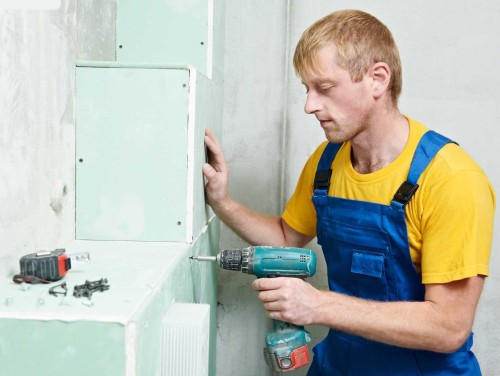
Currently, building supermarkets offer customers a large selection of finishing materials, with which you can create a beautiful interior and hide communications. The popular and demanded finishing material is drywall, with which you can embody any dream into reality and make your home cozy.
Content
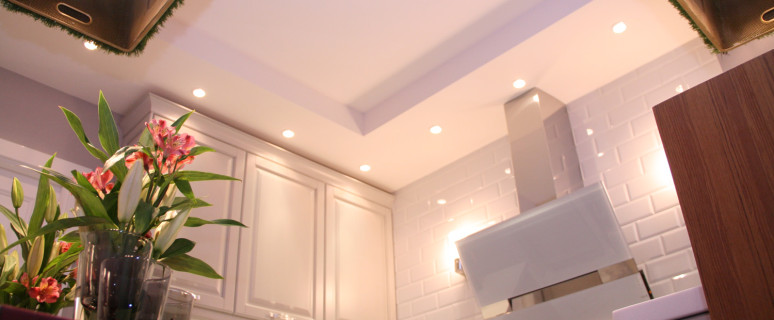
After the construction of a new home or repair in the apartment, there is a need to hide from prying communications, which spoil the appearance of the premises. It can be heating, tap and sewer pipes, ventilation. The box for pipes from plasterboard will help solve this problem. If necessary, the protective design can be supplemented with decor elements and even embed the lighting elements.
There are several options for the construction of a drywall box, when the pipes are closed in the usual way, throughout the perimeter of the room or when a certain geometric shape is performed from the finishing material. Each options have its advantages and disadvantages. In the first case, the design is easy to perform, but for the structure you will need more material, as it is supposed to sew pipes and capture the entire wall area. For example, if you decide to make a pad from drywall for heating pipes, you can sew them into the wall, without making the protrusion. If you want to hide sewer or plumbing pipes, it is advisable to make a box not to take the area of \u200b\u200bthe room.
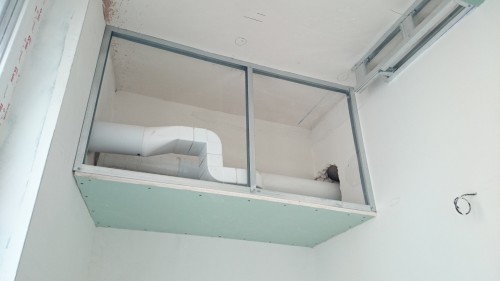
Duct pipe. Photo:
The advantages of plasterboard structures
Actually, why do anything, argue 30% of the adult population. Earlier, in Soviet times the pipe never stopped anyone. And very few people could have imagined them to hide, because the pipes were only metal and at any moment can come into disrepair. Yes, and materials to perform such works at that time had not yet come up. Now the situation is different - the interior beauty and convenience - in the first place. It is better to make a box of drywall and to hide superfluous? For example, if you are going to change the tile in the bathroom, and at the same time to install a new shower, and then it turns out that the pipe spoil the entire beauty. In this case it will be expedient to hide pipes in a box made of plasterboard, and on top of it to lay tiles. Such a decision - Great hide unnecessary pipe. Another advantage of the sewer and water pipes in the bathroom and that because they are often laid at the bottom, close to the plinth, the quality of wash and remove dust particles and other debris zabivshiysya be problematic. Better solution than to make a box of drywall for pipes, not yet invented. Of course, you can immediately shut down all communication and lay them on the wall, but if you have to perform the replacement of pipes, what to do in this case? It turns out that we have again come to a single opinion - works plasterboard box.
The choice of materials
Since we opted for drywall by reading the species and determine which we need a finishing material.
Drywall - a sheet inside which is the basis of gypsum mineral material, and the two sides - the paper that protects the plaster. In addition, strong paper allows you to perform different works with plasterboard. Also, the paper will hold the finished design and prevents deformation.
Depending on where the gypsum board is selected a suitable form of the fabric will be used.
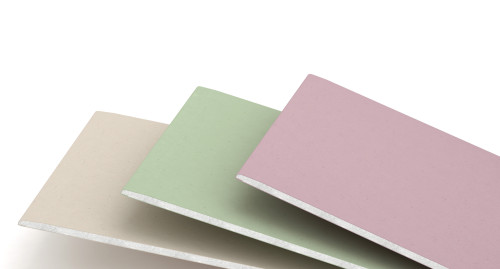
Types of Drywall:
- Normal. It is widely used for decoration of ceilings, partitions and walls. Acceptable only for dry rooms.
- Moisture resistant cardboard. It is impregnated with a solution of a water-repellent, preventing ingestion mold and moisture. Used for decoration with high humidity - kitchen, garage, bathroom, shower room.
- Fireproof - interior drywall consists of mineral fibers, gypsum and special additives which do not illuminate.
Depending on where plasterboard will be applied, the corresponding thickness is selected. For example, if you just need to stripped the wall, you can use drywall 2.5 mm thick. For the construction of a drywall box for pipes in the toilet, sheets, 6 to 9 mm thick, are used. If you need to make curvature and radii, then drywall is taken with a thickness of 9 mm, but stacked in 2 layers.
Some sellers in some building stores argue that thin drywall sheets can be used to build boxes on the ceiling, but specialists have a different opinion - thin sheets may not cope with the load and proceed.
What to pay attention to
Going to the store for building materials, it is necessary to have a clear idea how much you need to buy drywall, which additional materials are needed, and what a tool may be needed.
Buying plasterboard, pay attention to the following nuances:
- if you have scheduled to perform a large amount of work at once, then immediately purchase the appropriate amount of drywall. It is sold in packs for several sheets. Since it will be problematic to keep such a number of materials at home, agree with the seller that in the process of work he delivered you the required amount of materials. You should know that usually during transportation the lower sheet of drywall is more prone to deformation. At the factory, it is taken into account, and the manufacturer makes the corresponding mark "packaging", but sellers often neglect this rule. So during the transportation of materials, be prepared for the fact that it will have to buy a larger amount of plasterboard;
- buying materials, pay attention to what position the sheets of plasterboard are stored. According to the rules, they must lie on the horizontal surface. Look if they have chips or damage, this finishing material will be unsuitable for use;
- in addition, it is worth considering the state of the edge. If the materials are stored in bad conditions (humidity, outdoor field), then the quality of drywall can be impaired;
- check the rigidity of the drywall. Depending on the type of material (normal, moisture resistant, etc.), it must have sufficient rigidity. Even if you take the thinnest plasterboard, he should not create the impression that it is about to get and worry;
- the eck of plasterboard should be processed by the primer and not to crumble.
How to sew pipes plasterboard
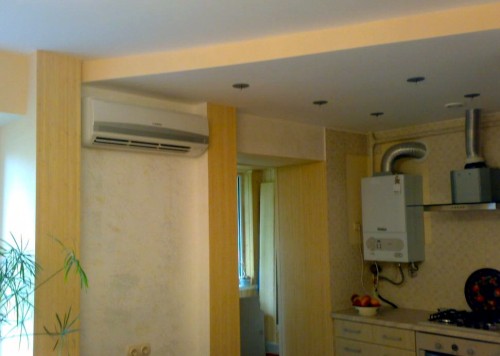
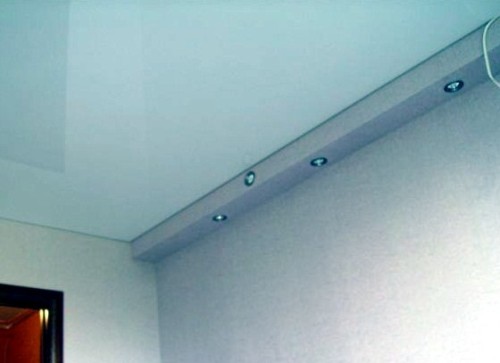
We need to hide ugly the tube protracted from the wall. We will not transfer it to a more convenient place, as it will take a lot of time, and it will not always work beautifully to remove them. We will construct a box of drywall to hide ventilation pipes under the ceiling and close the sewer pipe in the bathroom. In order for the design to look beautiful, we will make the box decor and insert the LED bulbs. We will have a beautiful suspended ceiling. This part of the work is considered not a time consuming, therefore it will cope with the task even a beginner. The main thing is a great desire, a little diligence and the presence of the necessary material and tools.
What instruments will need:
- laser or water level;
- perforator or drill;
- fasteners: screws and dowels;
- building knife for cutting drywall;
- corolnic;
- pencil;
- marking thread;
- roulette;
- scissors to cut the metal.
It is also necessary to prepare drywall (preferably moisture-proof) and metal profile in advance. You can make a frame of a wooden bar (size 40x40 or 50x50) or buy a galvanized profile. If you want to save and build a wooden frame, then the tree must be pre-treated with the primer to protect the material from rotting. If you plan to build a box for pipes in a drywall bathroom, it is better to work with a metal profile - such a frame will be more reliable and more durable.
When you buy a metal profile, pay attention to its rigidity and thickness. He should not bend when pressed.
How to make a box:
- Let's start with the preparation. Pipes are painted (metal), waiting for it when they get dry and cover the layer of primer. So we secure and extend the life of metal pipes. They will not be subject to corrosion.
- In addition, it is immediately put in order to the ceiling at the place of installation of the drywall box. Close up of cracks and holes, usually they are formed after replacing pipes and performing other construction work. Large holes are shooking or filling small holes with the mounting foam. We are waiting for the building material to dry up in order to immediately begin the performance of the main work.
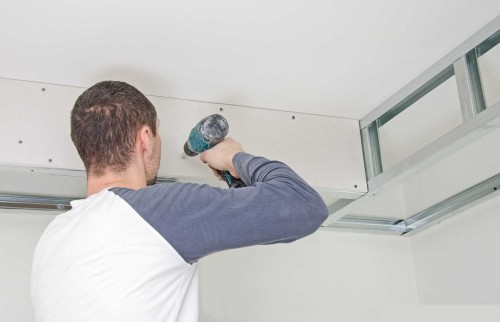
- Construct a frame from a metal profile. To fulfill this part of the work, you will need a profile, bollard or scissors and passage.
- Sut off from the metal profile as much as we need to attach to the wall in the case of a factor of a box for ventilation pipes on the ceiling. Measure with a small margin of +70 mm to bend. On the face of one side of the profile, we make an incision and bend it to the sides. It remains to drill holes for screws.
- We prepare the second part of the profile and make cuts (up to 50 mm) on each face.
- In order for the middle to prevent us, bend the profile on each side.
- Using the level, make the markup horizontally and proceed to screw the profile to the wall. During this part of the work, it is necessary to ensure that the profile is located smoothly relative to the lower edge of the drywall design.
- According to a predetermined markup on the ceiling by mounting the profile. Screws screwed up every 60 cm.
- The edge of the plasterboard will be attached to the metal profile, so we try to work accurately and without distortion.
- After one piece of work is made, cutting the pieces of the profile (length 60 m, the edges perpendicular) and insert it into the profile from the side where the edge remained. Fresh profile screws straight on the box.
- The ends of the suspended profile can be beaten or trimmed.
- For the organization of lighting, it is time to enjoy laying wiring. To mount the wires, it is advisable to make markup in advance and think about how to attach the wires correctly so that they do not interfere during the installation of plasterboard.
- And now the final stage is the fastening of sheet cabarton sheets. We measure the length and width and proceed to cutting sheets. To the line be smooth, we make a markup, using only a simple pencil for these purposes. The handle and the marker is better not to take, as it will be difficult to sharpen the traces. We make markup immediately in 2 places - in the upper and lower sheets. To get a flat line, it is better to use the laying thread.
- Cut the plasterboard with a sharp knife. The blade length is regulated so that it is no longer than the thickness of the sheet. Spend several times with a knife for the intended line. Do not remove the rule yet. Now turn the sheet to the other side and knock on the knuris line. Now fold the sheet on the laying line and cut the paper with a sharp knife.
- Thus, cut the desired elements from the leaf of plasterboard. Crepe plasterboard with screws to a metal frame.
- If you want to make lighting in the box, then you need to make a hole in advance for lamps.
When the sheets are fixed, you can proceed to the final part of the construction of the box for pipes from plasterboard and apply a layer of putty. This part of the work is better to entrust professionals, since it does not all get a high-quality surface.
Buy 2 spatula in advance: one will be worked, second - auxiliary. The width of the first 200-500 mm, the second - 50-100 mm. Divide the mixture according to the instructions or use the finished putty. It is applied to the working spatula, and then transferred with the auxiliary main tool. An auxiliary spatula can be immediately aligned with a layer of putty on plasterboard. Do not overlap too large layer of finishing material. After completing the work, wait when the putty will dry out completely, you need to handle the entire box. On such a design of drywall, it is very difficult to remove the corners. To make a clear angle, it is better to install a perforated corner.
It is very important if the box will close the sewer or plumbing pipes, then it is necessary to provide in the trigger of the hatch for revision and service of communications. In addition, since the sewer plastic pipes are very noisy, it is necessary to additionally be laid under the layer of drywall soundproofing material.
How to make a box of drywall for pipes, you can watch this video:


