How to paint wooden windows Window
Most people keep up with the times - choose new finishing materials, installed modern doors and windows. But there are people who do not want to part with wooden windows. And such owners are enough. Every year you have to pay attention to the old windows to keep them in the appropriate order: twisted, change the strokes and paint wooden frames. So that the process is not delayed, and the windows coped with the tasks set, you need to prepare all materials and tools in advance.
Content
DIY repair of wooden windows - the task is not easy. This time-consuming process, since every year of operation, wooden frames are exposed to atmospheric precipitation and constant temperature fluctuations. Especially wearing a tree after the autumn-winter period, when cold air is blowing from the street into the windows, and from the side of the room the temperature is more than several dozen degrees. As a result of such drops on the windows, condensate is formed, the wooden frames are freezing, then swell. The tree can refine, performs mold. So that this does not happen, it is necessary to properly care for the windows, namely, stick to the technology of painting wooden windows.
Preparation of instruments and materials
In order to paint the wooden window frames, you must first lead the frames in the proper condition. We start with inspection, then you prepare the necessary tools and materials.
What can you need:
- electric grinder or drill plus nozzles;
- roller for staining foam;
- the spatula for removing old paint;
- scraper and several brushes;
- fine graveling grinders;
- construction Scotch;
- film or old newspapers;
- rags;
- paint container.
From materials it is necessary to prepare the following:
- putty;
- paint;
- solvent;
- primer.
It is still necessary to consider in advance support - it can be a strong chair or stool, and the best of all is a stepladder. In addition, immediately prepare the hammer, a little nails, a chisel and a screwdriver. And this is not all: it is necessary to take care of the means of protection: buy glasses, gloves, mask or respirator, cap on the head (or turn a handkerchief).
Now about choosing materials: for painting of wooden surfaces, choose a special paint on an oil base - alkyd. This is for the work indoors. Outside the best paint wooden windows acrylic paint. By the way, the paint can be purchased one - universal, for work indoors and outside. The price of painting wooden windows can differ significantly and depend on the cost of materials.
Where to begin. Preparation of the surface
Each owner knows that the surface preparation is no less important than the painting process itself. If you pay a maximum of attention to this issue, the wooden frames can be maintained for many years. No weather conditions should affect the state of the tree: shower, blizzard, heat or dust. Therefore, the rule is first - choose the optimal day for painting. It's good to work when it's not hot on the street, it's not raining, and there is no wind. The frames are dry well when the air temperature will not lower the mark +5 oC, humidity should be high enough - up to 80%. If the day is cloudy, on the street is raw, the tree will dry out badly. The paint will grab, but can "take" bubbles, and this is bad for wood. After a few months, it will have to redo all the work again. By the way, paint can be lazy not only because of raw weather, but also non-compliance with painting technology. If the surface is poorly purified by contaminants and old paint or when the primer is not used.
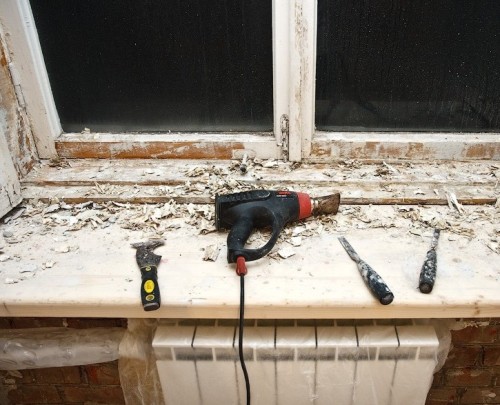
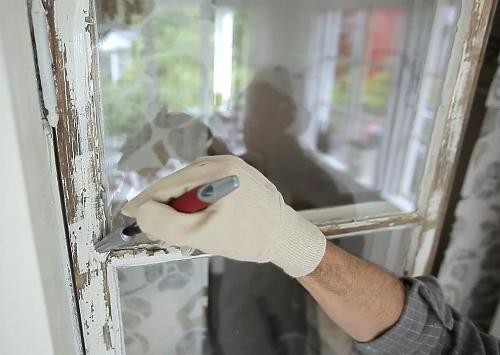
How to clean the frame from old paint? This question is asked by many. For work it is necessary to prepare sandpaper (coarse-grained) and scraper. Before you start work, check whether a wooden frame is well closed. If it is bad - the tree was damaged and the paint swollen, then you need to fill the frame using a drill with a nozzle or grinding (grinder). Performing this part of the work, be extremely attentive and neat so as not to damage the tree. If this option is too difficult for you, go to the construction store, are now sold special paint removal tools. You only need to apply liquid to the surface and wait a bit. Then the removal process does not take much time. Pay attention to the removal of the old paint of the company "Tikkurila" or "Hama". If there is nothing suitable in construction programgations, go to the car shop, there is a large selection of similar means suitable for paint with wooden surfaces.
Means are applied to wooden frames (we work in gloves and respirator). We are waiting for the paint to rise, shriven. Then we take a spatula in my hands and remove the layers of paint. Remains cleaned with sandpaper with large grain.
Before you begin painting wooden windows, you need to remove all unnecessary, metal parts need to be unscrew (latches, knobs, locks). If you fail to unscrew something interfering, you can enclose these places with a construction scotch, so that you accidentally do not paint these places. Of course, the perfect option is to remove the old fittings and, after painting a wooden frame, fasten a new one.
Now a few words about the preparation of glasses. If you have never stained wooden frames before, then you should not hope for your accuracy, but it is better to immediately take the glass at least with a scotch next to the frame so that the paint does not get on the glass.
Tip from experienced masters: Before you begin painting wooden windows, stick the greasy tape on the glass, only retreat 2 mm from the frame. The paint will fill the emptiness and gap between the glass and the frame. There will be no moisture in these places.
Do you know why the glasses "tremble" with strong wind? They hold badly in the frames. This means that it is time to change the rails. New planks are painted separately and nourished last, after painting the frames.
Primer and putty. Is this important?
The preliminary inspection is completed, you can move to the next step - the primary processing of the tree. Once again, we draw attention to the wooden frame: if there are metal fasteners, which cannot be removed, it is necessary to process the parts with a special primer for metal (special attention will be paid to the "Hats" of nails, mounted hinges, etc.).
To prevent the destruction of the wooden frame, it is necessary to treat the surface with a special antiseptic solution. This will make rid of insect reproduction and prevent rotting. We fulfilled these items, then you need to warm up to a wooden surface again. Saw the depressions, irregularities or potholes? All these places need to fill with putty. Just try to apply every layer gradually and do not rush. Otherwise, the tight layer of putty will not have time to dry. If you hurry and immediately proceed to the color of the windows, then the putty will disappear from the tree along with the paint. We have to tinker to correct errors.
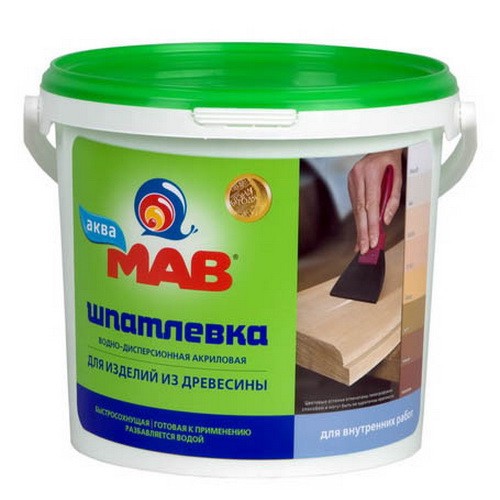
What should put putty? Only special, intended for wooden surfaces. Such a putty for sale in any construction store in small jars. The alkyd putty on the tree "Lakkakitti" has proven well.
Several simple tips for staining wooden windows:
- bought paint? Then just apply putty on the tree;
- if you use a varnish, before the disposition of damaged areas you need to apply in several layers of the veil so that the processed places are not stand out;
- the tree for wood can be prepared independently of very small sawdust, resin and glue.
How to properly apply smear:
- Clean the surface from old paint.
- Come on the frames of the grinder to smooth out irregularities.
- Remove the garbage and dust, with a wet rag.
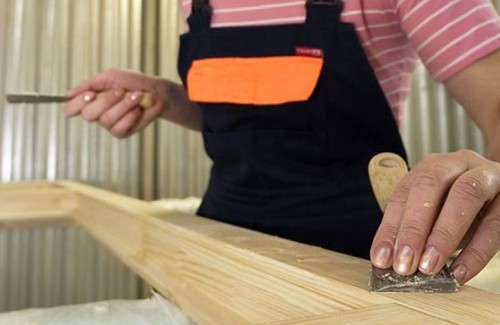
- We apply a spatula with a thin layer putty, smoothing irregularities.
- We are waiting for 1-2 hours when the layer will dry up. Clean the emery small-grained paper.
- Looking the particles of dry putty with a rag.
- We look at your work: if necessary, we repeat all actions again to achieve an ideally smooth surface.
Now the second preparatory stage is to apply primer. It is designed to provide reliable paint clutch with wood. Choose a proven primer with an additional surface disinfection function. Good reviews from primer-antiseptic firm "Pinotex". After applying, the primer forms on the surface an invisible protective film, which allows not only to protect against insects and rotting, but also retains the optimal balance of humidity. Still primer on a tree retains the structure of a natural material. Therefore, it is so important to choose the material for its intended purpose. Metal primer is not suitable for wooden frames.
Before applying the primer, it is necessary to degrease the tree. For these purposes, the White Spirit is suitable. Apply a roller fluid, work in gloves and a protective mask. How to understand, dried out a putty or not? Once you apply a degreaser, wet areas will darken. This means that the putty still does not dry. It can happen and such that you did everything right and started staining wooden frames. After drying, the paint found that the surface was processed not exactly - dark sections appeared. This means that the putty did not dry finally or you missed the tree section and did not appline a layer of primer.
In a good way, this work is better to remake immediately. To do this, it is necessary to clean these areas by sandpaper to the base, apply a layer of primer, and then a layer of paint.
How to paint wooden windows
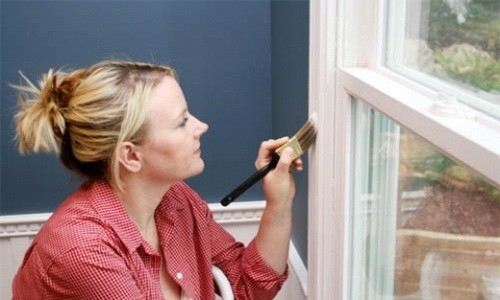
Wooden frames are ready to paint. Now most newcomers have questions: "How to paint wooden windows neatly"? There is nothing complicated here, you just need to stick to simple rules. The main thing is to remove it in the room so that there are no garbage and dust around. It is also necessary to wipe the windowsill so that when dyeing you do not hurt anything.
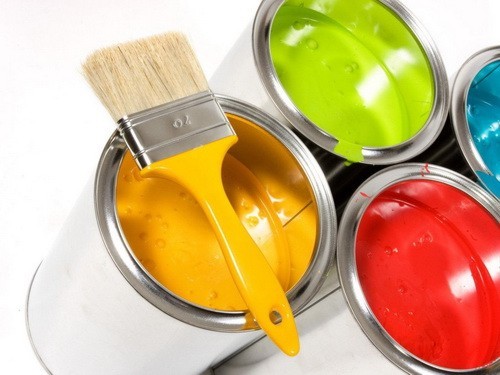
For staining it is better to use water-based paint, alkyd enamel or acrylic paint. The main advantage of this material: strength, stability, ease of application.
How to paint wood windows:
- Open the can with paint. Make a comfortable wand for stirring paint from the old plank. Mix the contents of the cans very carefully, since the paint could be detached when stored.
- Ideally, if you strain the paint through a metal sieve into another container to get rid of lumps. But if it is impossible, skip this item. Not every owner has an old metal sieve, which is not sorry to apply in work.
- Fill a small portion of paint into a comfortable jar (you can apply a tin can from under canned).
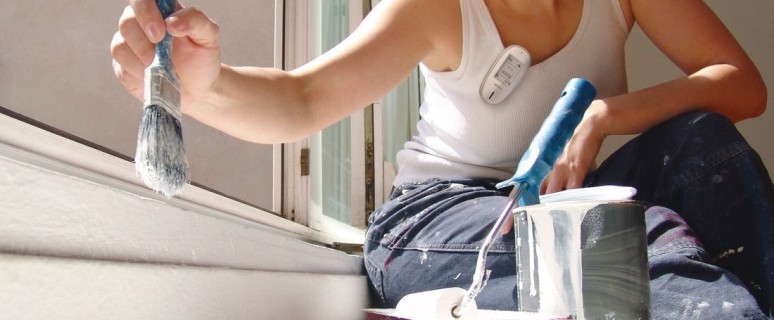
- Pulk brush into the paint, squeeze out of the tassels, so as not to blame the paint around.
- Apply the first layer of paint on wooden frames. At first it will seem to you that it lies not exactly and there are bright areas. This is normal, since the first layer impresses the surface and fills all the irregularities.
- The second layer will be lying better.
- If you see that the paint is thick, then it is necessary to add a little solvent.
- After applying the first layer, you need to wait when the paint is completely dry, and then proceed to re-staining.
- Two layers of paint are not always enough. Here everything is individually and depends on the state of the wooden frame and the quality of the paint itself. It also happens that it is also necessary to apply the 3rd, the final layer, but only after the complete drying of the previous ones.
- Remember that staining the wooden frames of the 2nd and 3rd times, do not make paint, it should be a bit thick than when applying. So you will avoid paint flux. And if they appeared, try to immediately remove the extra rag moistened in the solvent.
- If you missed this moment and immediately did not get rid of paint flux, then be prepared for the fact that you will have to be superfluous (with a knife or large sandpaper), and then cover the paint this area again.
- Do not forget to pre-glue the construction tape on glass or thin paper. You can remove the protection even until the moment when the paint dry is finally.
- Try to apply paint along wood fibers, so the material will go better. Make short and "light" smears. Corners Also try to cry easily, do not pour a lot of paint.
- We try during the work not to immerse the tassel completely into the can with paint. Excess needs to be left on the edge of the tank.
- We start painting the surface from the street.
- Prepare for work several brushes: narrow to get to hard-to-reach places, wide - to paint a large and smooth area. Tassels should be flat, 2 to 5 cm wide.
- After dyeing and complete drying, the paint must be installed in place accessories.
Look at the video to reinforce the theory in practice:


