Installation of the profile under plasterboard Ceilings,Walls

Plasterboard designs have become a popular way to finish the interior for many reasons, including economic. Wanting to reduce costs, many are climbing to install a profile under the plasterboard with their own hands. But before starting work, the basics of this case should be studied, because the quality and reliability of suspended ceilings, partitions and false walls depends on it.
Content
Planning profile design
We note that you should pay attention to the preparation of the design plan:
- location of sockets and switches;
- the arrangement of furniture in the room;
- the location of household appliances;
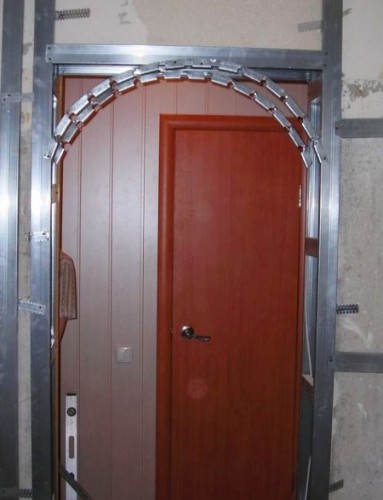
- mounting place of decorative niches and arches.
Knowing it, you can calculate the required number of profiles and elements of its fastening.
Choose a profile for a frame
The type of profile used should be considered when preparing a plan of a future design. The profile on the wall under plasterboard (for the trim) is classified as follows:
- Guide (type UD), length - 3 m, cross section 50 × 40, 60 × 40, 75 × 40, 100 × 40 mm. It is installed along the perimeter of the frame and mainly forms it.
- Carrying (type CD) - designed to strengthen the frame, giving it hardness. Plasterboard is directly attached to the carrier profile.
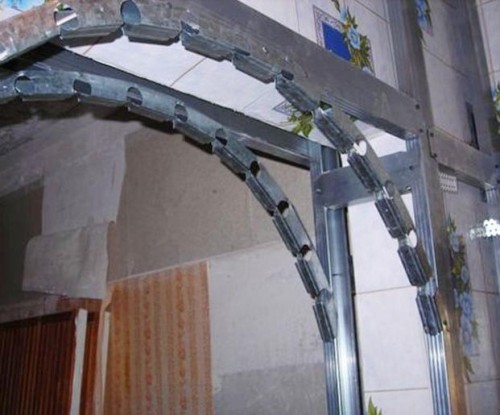
- The arch - similar to the sound, but it has special notches, allowing to bend metal.
- Light, with a comb 10 or 6 mm.
- Angular cross section 31 × 31 and 25 × 5 mm.
Profile Lights are used for plastering. Corner is secured on top of the drywall to protect and align the outer corners.
Profiles for gypsum board ceiling using the same (except for the arch), as well as:
- ceiling, section of 27 × 60 mm;
- ceiling guide, section of 27 × 28 mm.
Mounting the partitions are selected profile for gypsum board, whose dimensions correspond to the width dimensions of the structure. Width profiles - from 50 to 150 mm. The width of the baffle is selected according to the availability of utilities partition in the free space and the need for heat and noise insulation packing materials.
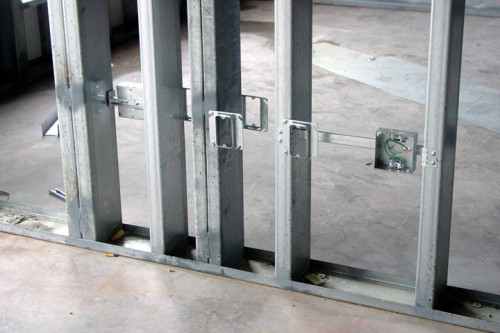
- The guide profile (such as UW) is set on the perimeter of the partition (attached to the walls, the floor and ceiling) and thus defines its plane.
- The rack profile (type CW) is needed to give the frame strength, fixed at 400-500 mm to the guide profile.
Setting profiles for gypsum board is performed using special fasteners.
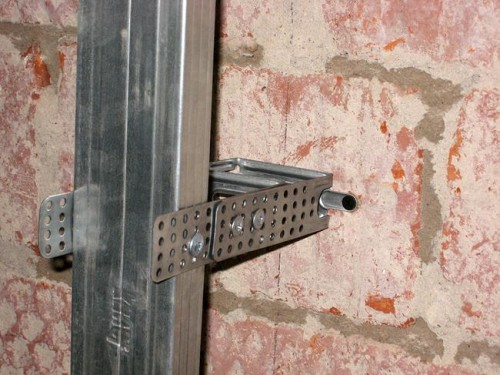
- U-shaped bracket: is used for connecting profiles with walls and ceiling. The middle part of using precast anchors attached to a finished plane, and edge - the metal frame.
- Bystropodves: is a needle with an eye and a suspension, which is fixed in the CD profile. These parts are connected to each other by a spring, allowing to adjust the position bystropodvesa relative to the horizon.
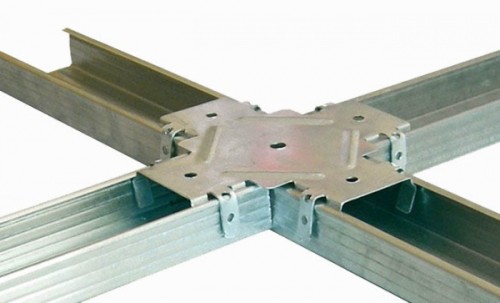
- Crab connector: used for cross-shaped profile of the compounds. The connector is fastened to the profile, and then fixed with screws. In the same manner the transverse bridge is screwed.
- CD-connector is needed when it is required to lengthen profile. The ends of the side sections are inserted into the connector and screwed with screws.
- Duplex connector - is used for fixing the frame to the hardwood floors.
Installation Tool
For work you need the following tools:
- water level (ceiling) or construction (laser);
- generally house painting;
- hammer and drill;
- cordless screwdriver;
- scissors for metal;
- screwdriver;
- passatia;
- handle and a cord;
- roulette, square;
- plummet.
We perform a counting frame of the profiles
Installation profile for gypsum board on the wall begins with the markup. From how well it will be executed it depends on the reliability and appearance of the assembly. At this stage of the work, do the following.
- It is noted for a new perimeter wall. For this purpose, from the outermost point on the surface to be covered is required to delay a distance equal to the width of the profile and add a few millimeters.
- With the marker string and tapes applied to the line on the floor and, using a plumb line, it is transferred to the ceiling.
- Starting from the door opening, we note the vertical lines and rack profiles fixing points at a distance of 400-500 mm from each other. The distance between the fastening points on the same vertical - 500 mm.
- Along the perimeter of window and door openings create additional rail, which performs the appropriate markings.
Mounting profile for gypsum board ceiling is also performed after the markup. According to the perimeter of the ceiling on the level calculated with the help of a cord bounces a horizontal line. After application of the marking ceiling in a grid, all the locations of U-shaped mounting bracket for ceiling profiles.
Tip: Plan mounting frame for ceiling profile should be such that the drywall sheets were placed along the propagation direction of natural light. So the joints will be less noticeable.
How to strengthen the profile for gypsum board
Step by step instructions for the installation of the profile consists of the following items.
- Cooking guide profiles: cut to length (if necessary), and glue the ribbon of foam rubber in places of contact with the wall, floor and ceiling.
- Combine one of the edges of the profile of the line and drill holes for dowels precast puncher. Fasten profile.
- For vertical lines fasten U-shaped brackets.
- Set the rack between the guide profile and fastened with screws to the brackets. The distance between elements should not be more than 1000 mm.
- At a distance of 400-500 mm from each other similarly rackmount install and fasten the vertical guides.
Mounting to the ceiling framework has some peculiarities.
- The first guiding profile is mounted on the perimeter of the room at the ceiling.
- On rough ceiling according to the applied markup 700-1000 mm distance from each other are mounted hangers. The distance from the opposed walls selected to be equal.
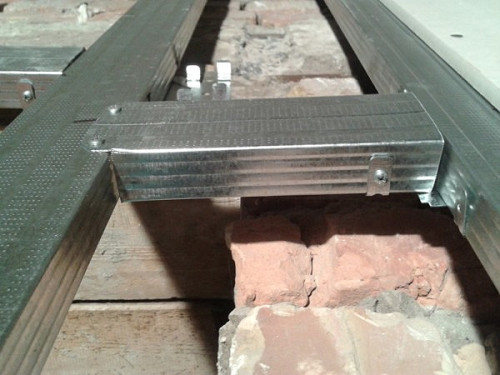
- To the suspension between the guide screws mounted ceiling profiles. In the case of overlapping profiles mounting used to connect the element "crab".
Important: during installation of horizontal profiles check building level 2 m long, vertical profiles check plumb and level with horizontal spirit level.
Profile for gypsum board (pictured below) can be connected and without brackets and connectors, but it will be more difficult to perform.
In conclusion - a visual aid to the expert comments on how to mount the profile for gypsum board (video).


