Kraspult do it yourself Instruments
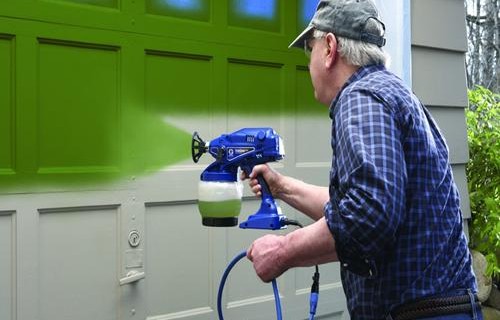
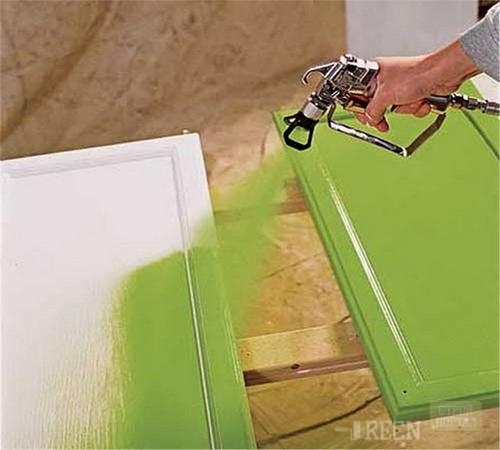
To quickly and evenly paint any surface, the device is best suited as a paintopult, which is essentially a pulverizer. With it, they create high-quality covers on large areas, without divorce, strips and spaces. By the way, there is nothing complicated in making paintopult with your own hands.
Content
Advantages of using homemade paintopult, region of its use
Advantages are as follows:
- uniform dye layer;
- on the stained item does not fall from the brush of a bristle or a pile from the roller;
- work moves much faster;
- paint is consumed more economical;
- compact device size, low weight;
- easy to use.
Most often, this tool is used for such purposes as:
- staining of details of furniture, fences, courtyard structures;
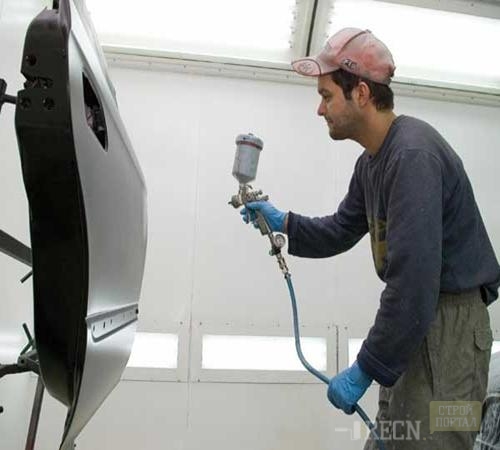
- paint car;
- getting a dense structure.
If we decided to paint the car yourself, then the paintopult will help to save significantly, because the paint intended for this is very expensive, and the pulverizer consumes it as much economically.
Not many are known that in some cases factory sprayers work worse than homemade, leaving on the stained surface of irregularities and drifts. But it is also important to have a certain skill painting with spray gun.
Varieties of kraskopult
This tool is a few species:
- manual paintopult;
- pneumatic paintopult;
- airless crawle;
- krascopult combined;
- electric paintopult.
1. If there is no experience in using the sprayer, then for the first time the manual device will be most convenient and understandable. It is easier in this in operation, at the same time is the most reliable. The only drawback is lower quality painting.
2. The pneumatic method involves surface staining, as a result of the impact of the stream of compressed air on a stream of spraying paint. This method is used in large industries and in almost all industries. The main advantage of pneumatic staining is its versatility. Used both when painting small parts and when applying paint on overalls. But the air, when staining with a pneumatic method, is very much polluted and requires purification with water or dry filters.
3. Also very comfortable Pneumatic Pressure Pressure Pressure. For them, they do not need a special compressor - this is the main convenience of such devices. They can function even from a vacuum cleaner with a blowing function. The device is connected to it by means of a hose. To achieve maximum performance, it is better to remove the lid and filter from the vacuum cleaner.
4. The airless principle of staining is based on the fact that the paint, due to the pressure drop when exiting the nozzle, is applied to the surface. In this case, the air performs the braking medium, which reduces the flow rate of the paint. The advantages of this principle applies:
- economy;
- high speed;
- easy in painting large surfaces.
This method is used in staining railway cars or when applying anti-corrosion coatings. The disadvantage of the airless principle of staining is that the paint is applied a very thin layer, which involves the briefness of the stained product. Also, with the help of such a collapral, it is very difficult to achieve aesthetic surface of the surface.
5. The combined staining method connects two previous methods. The paint comes out of the sprouting nozzle due to the pressure drop, as in airless staining. But the spraying occurs due to the effect of the stream of compressed air, like a pneumatic method. With such a staining, the air is not so much polluted and there are no lumps on the surface in the surface. This principle of staining is used in the furniture industry, aircraft and other industries.
6. The pump is built into the electric sprayer, and the dye is sprayed simply under pressure. Such a paintopult for the house is very good, but for professional use it is better to choose pneumatic.
How to make ankopult yourself: Method number 1
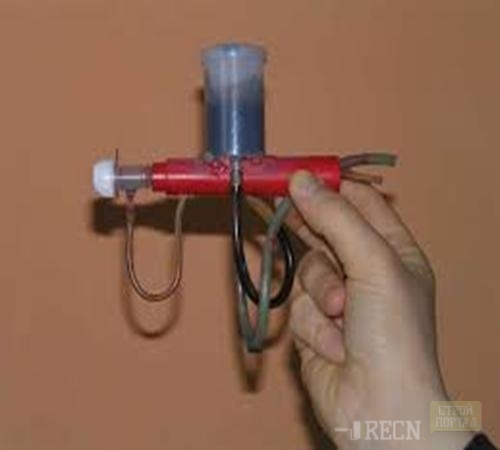
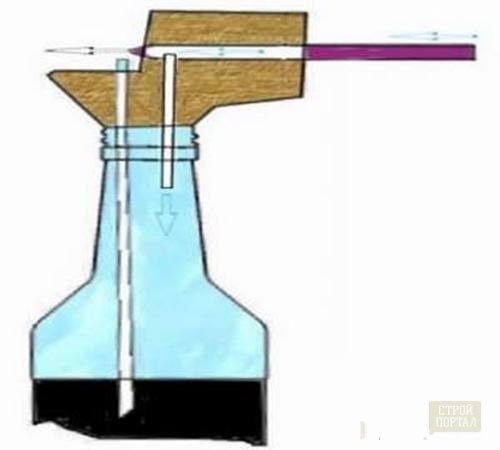
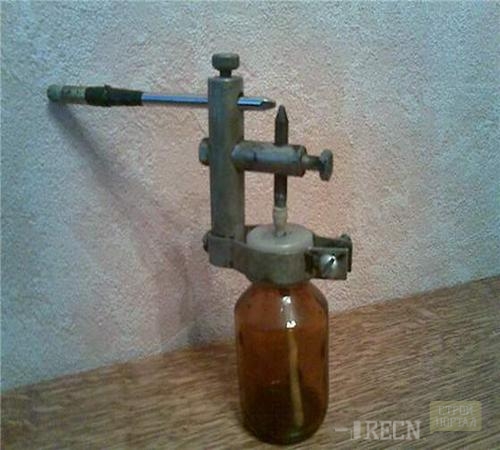
- A bottle having a wide neck is suitable as a container for the dye.
- Next of the dense foam, you need to cut the part shown in the picture. Its end of it must accurately coincide with the neck diameter and enter it tightly. Since the polystyrene foam has a compressive property, it is better to make the bottom of several mm more in diameter.
- In the foam drill several holes. If you try to pierce them or cut through, damage the material, so it is best to drill. The first hole should go from top to bottom and hold the long rod from the ballpoint pen. The second is to right to left and accommodate the handle housing;
- Now the paintopult remains to be collected and use for its intended purpose.
The jet adjustment is carried out by moving parts of the fountain pen, relative to each other. This device is indispensable if you need to make a dense paintwork or get any texture. Start better with wood imitation, stone or other materials. Later, when confidence comes and the skill will be produced, try this spray gun in staining, for example, renovated furniture.
To extend the service life of this device model, replace the rods of the fountain pen tubes from the refrigerator. The size of the tank for the dye you must determine yourself, because It completely depends on the amount of work and your convenience.
Tip: Watch the blank tightly adjacent to the plug, otherwise the dye will flow through it. Fill the spray with paint and spray it onto the working surface, by means of a blow to a fountain pen.
How to improve homemade paintopult, and what nuances take into account when making it
If it is necessary to make a more subtle spraying, then for this tool it is necessary to modify a little. In the foam part, you need to do an additional hole in the direction from top to bottom. It should go parallel to the hole in which the rod is inserted from the handle, and have the same thickness. This operation will cause the pressure to increase the pressure in the dye tank, so that the outlet jet will be increased.
Another hole must be done in the handle housing. The second rod is told in it. Now the layer of paint will go to bed more subtle and efficiently, it will be possible to work with dyes of various consistency.
To make your own hands, the device did not disappoint you, you need to know the following:
- polyfoam used as one of the elements of the pulverizer is compatible not with all dyes, it is recommended to use it only when the water-based paint is involved;
- if it is necessary that the device is universal, then change the foam on rubber, it is not afraid of the actions of chemically aggressive substances;
- the paintopult made in the way described above is unlikely to serve for a long time.
Printing: Method No. 2
To make a device that is suitable for a wider range of works, you need to take a bottle of plastic or glass, having a neck with a diameter of at least 2 cm.
- Take the tube from copper or aluminum and bend it. The tube must be a diameter of 4 mm and a length of 200 mm. To its lower end, connect either a hose from the vacuum cleaner, or a tip for a spray from the hairdresser's spray gun.
- On the other end of the tube, the nozzle is pre-made from brass. The knob can serve a bakelite handle. If the billet has a decent thickness, then the pump should be cut into the tube profile. Next, both elements of the handle are to be connected through screws and screws, and after - grinding.
- Now take a copper suction tube with a diameter of 2 mm and insert it into the brass jack. The tube must have a length of the bottle used.
- Make out of steel bracket with an oval hole for the nest. Now the upper end of the tube must be reduced to the cone and carefully clean up.
- Now you can proceed to assembling the tool, while simultaneously moving the suction tube into such a position in which the upper end is on the nozzle axis.
- Next, you need to test the device, adjusting the height of the end of the tube in such a way that the dye is applied with a thin layer and most uniform.
- After the ideal position is set, you should stick or solder the suction tube to the nest, which in turn is fixed on the bottle lid. Now tighten the first nut.
- The second nut will keep the tank with the dye at a certain angle relative to the nozzle.
- To make the scope of applying the sprayer you made even wider, it is worth producing several nozzles having different holes in the width.
Method number 3.
This option is more complicated and time-consuming. It will take longer, but the device will turn out more reliable and functional.
It will be about making kraskopultum from the old refrigerator.
To work, we will need:
- compressor from the old refrigerator;
- any capacity of 3 to 10 liters;
- hoses: the first - 400 mm, the second and third - 100 mm;
- clips 1.5 or 2 cm;
- automotive or fuel filters;
- wire;
- wooden board and selflessness.
Instruments:
- laner knife;
- drill;
- hammer;
- pliers;
- screwdriver.
Sequence of work:
- as a receiver, select an old fire extinguisher, a balloon, a canister or another tightly closed vessel;
- first you need to attach the compressor to the base: wooden or metal;
- three tubes are located on the compressor: two open and one common;
- turn on the compressor into the socket and move the hand to these tubes, the one from which the air leaves will be our output, and the one in which it comes in - will be the entrance, to the entrance and exit, the two hoses are dripped, one of them leads to the receiving, and the other - in a gasoline filter;
- the sealed tube is better to crop immediately and drain the exhaust oil from it;
- with the help of a syringe, pour new oil into the compressor, and screw the bolt into the tube, for periodic oil change;
- in the receiver, drill two holes, secure the hoses in them, one is more authentic, and the second is shorter, the first hose is the entrance, and the second way;
- to measure pressure - a pressure gauge is installed, it is mounted only on a metal receiver;
- receiver Breppy based on the compressor;
- connect the hose from the receiver to the compressor, the second hose on the receiver is connected to a gasoline filter, the main purpose of which is to clean the air from dust and small particles;
- on a hose that comes out of the receiver, set a diesel filter that removes water from the air;
- we put on the clamps, connect the pulverizer;
- wheels are attached to the base, for more convenient movement.
Collecting Tips
Upon completion of the assembly of the homemade tool, you can proceed to work. To be successful for it, take advantage of several advice from professionals:
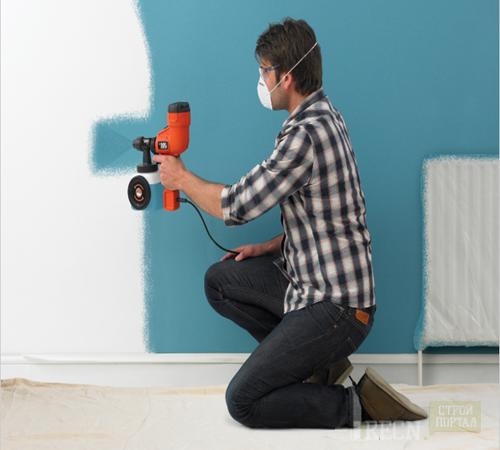
- During paint spraying, do not delay in one place, otherwise the thick layer is formed there, which will look bad, and with time it will radiate.
- The stream of paints should be directed perpendicularly painted surface. If it will go at an angle, then some of her quantities will not fall into the target, but will fly in the air and in time will fall on the surrounding items.
- To get the most smooth layer of paint, the paintopult needs to move the circular movements.
- Apply a second layer of paint only after the first will dry.
- The painted surface should be cleaned before the start of work, otherwise the particles of garbage and dust will be created under the layer of paint ugly roughness.
If you decide to try to make a crash, the video, placed below, will allow you to better understand this process.


