Printing: Step-by-step instructions paints and varnishes,Useful advice
You have a grand renovation. After removing old wallpaper, suddenly it turned out that the walls look loose and the plaster begins to paint even at the slightest pressure. What to do in this case so that the wall is stronger? Experts recommend to strengthen the surface with a special mixture. Applying primer is an integral stage in repair work.
Content
The primer is the basis that is used in any finishing work. It is necessary to remove dust from the surface and reduce absorbency. If the wall is plastered with cement mortar with the addition of large amounts of sand (so used to build houses of Khrushchev and Stalinki), then in this case, it is necessary to process the surface of the primer mixture. This will help further use a smaller amount of glue with wallpaper or paint walls. In addition, the applying of primer to the surface will help increase adhesion, increase the wear resistance of the surface and if it is necessary - water resistance. Special primer mixture will reliably protect walls and ceilings for many years.
What is the primer
The main task of the primer mixture is to protect against bacteria. If there is a mold in the room, then it is necessary to use a special mixture with antibacterial properties. Such primer will prevent the reproduction of fungus and bacteria.
Regardless of which work you have to do: Bloom the wallpaper, make painting, put a tile or shuffle the walls, it is necessary to cover the surface of the primer, in which case the materials will be securely to stay on the surface and repair does not have to redo several years later.
The main rule that should learn every person who has decided to make repairs is to cover the surface of the primer. It doesn't matter what kind of surface is brick, concrete, from a tree or metal - the primer can penetrate into the upper layer (up to 1 cm) and provide good adhesion. As a result, the coating wallpaper or paint on the surface of the walls and the ceiling will hold a long time. For example, before applying paint on the walls of plasterboard, the surface must be projected, to apply a thin layer of putty, wait when it gets dry and put the primer layer again. If the walls are preparing under painting, it is advisable to immediately use the soil with a paint tone.
Grinding for walls. Views
Primer can be made on a different basis and from different components. Based on this, there are several types of this building material: acrylic, mineral, quartz, alkyd, phenolic primer.
Consider each other type of primer:
- Acrylic. The main component is an acrylic polymer. This mixture is suitable for the bases of brick, cement, concrete and wood. Acrylic primer can be water-based to process walls with water-soluble emulsion paints and enamels. The undoubted advantage of this material is a complete absence of smell and good drying speed. In just 2 hours the surface will be completely dry and you can proceed to the next stage of repair work.
- Mineral primer is made with the addition of lime, plaster or cement. It is used for processing brick, concrete, gas-silicate brick and plastered surface. The packaging should be indicated for what type of base can be used mineral primer. After processing, the coating will dry in 2 hours.
- Quartz primer. The main component is sand. The perfect means for improving adhesion, because after processing the wall on the surface there remains a grungy layer. Ideal material for working with decorative plaster and paint.
- Alkyd primer - its composition includes phosphate and zinc chromate, which prevent rust formation on the surface. Such primer is suitable for processing wooden surfaces, glass, metal and ceramics. Alkid primer is prohibited to use for walls of plasterboard and concrete. It will dry for a long time, so you have to immediately be patient and after applying the primer to take a break at 12-15 hours.
We listed the main types of primer. In the construction supermarket you can see a large selection of different primer mixtures. Remember that all of them are divided into 2 groups:
- Adhesive.
- Strengthening.
Therefore, to make the right choice, you need to decide on the type of finishing material.
How to breed the primer
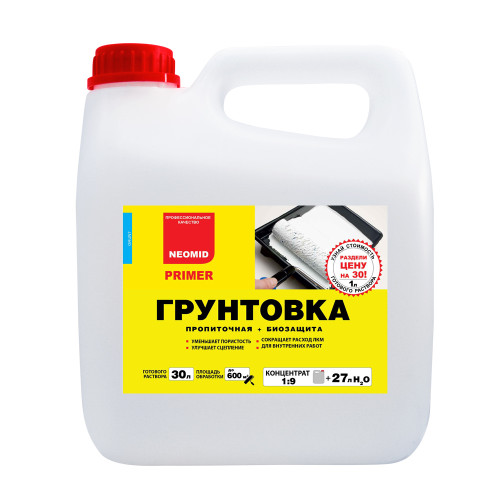
The primer can be purchased in the construction supermarket already diluted or as a powder. If it is not possible to go to the store, you can make a primer mixture yourself.
To do this, you need to prepare the following:
- lime hated - 3 kg;
- economic soap - 200 g.;
- oxol (Olifu based on vegetable oil) - 100 g.;
- water is 7 liters.
Pretty primer at home this way:
- Pour into the loose capacity of 3 liters. boiling water.
- Sattail on a large grater. Economic soap.
- In boiling water dissolve soap and add Olif.
- In a separate container, turn into 4 liters. Hot water lime and connect both solutions together.
- The resulting mixture must be thoroughly mixed and strain.
- After complete cooling, the primer will be ready for use.
And now we calculate the amount of primer (home cooking or finished). Its consumption will depend on the type of primer mixture and the type of walls. If you use undiluted primer to impregnate wooden or metal surfaces, then on the processing of the metal surface at 20-30 m 2 It is necessary to prepare 1 kg of primer. For walls trimmed by a tree ranging from 3 to 10 m 2 - You also need to use 1 kg of dry primer.
For the processing of walls from concrete, bricks and plastered surfaces, consumption:
- high penetration primer - at 7 m 2 1 kg of dry mixture is used;
- universal composition - 15 m 2 - 1 kg;
- water-based - 1 kg per 10 m 2;
- adhesive primer depending on the type of surface per 1 kg from 3 to 10 kV 2.
Dilute the finished mixture is much easier than to prepare on your own composition. You must open the bank and mix the contents so that the axial components are evenly distributed. Now you can cast the required amount of funds in a convenient container.
How to breed a primer mixture:
- If the primer is one-component, then the mixture is divorced according to the instructions with solvent, water or oil.
- In a two-component primitive mixture, a hardener is added (read the instruction, usually 1 part) and add a diluent to get the desired viscosity.
- Walls with stucco or putty are treated with an acrylic mixture. It is usually sold already in the finished form. Before use, the primer is stirred.
- Dry water-soluble primer is divorced only with water, the proportion of 1: 4.
- Water dispersion primer is first thoroughly mixed, the mixture is poured into the clean container, water (4 parts) is added. The viscosity of the composition is regulated by the addition of water.
- Alkyd primer is divorced by a solvent (Mark 649, 650). Instead, it is possible to use solvent or xylene in proportions 1: 1.
How to apply primer on the walls
Application of primer on the wall is an important stage in repair work. Newbies can skip this moment by ignorance, and some do it consciously, because they do not consider the action necessary.
The grinding of the walls is performed before applying the putty, paint the surface or take it with wallpaper.
What advantages:
- dust is removed from the surface. Paint / glue will be applied evenly;
- regardless of the treated surface, adhesion increases;
- the wall is strengthened, the primer prevents the formation of cracks;
- with the help of soil, such troubles like stains and divorces can be avoided;
- the walls will be reliably protected from moisture.
Printing technology:
- An important point is to work with the soil at a certain temperature of the air - not lower than 5 oWith and not higher than 30 oC. Permissible humidity of air - 75%.
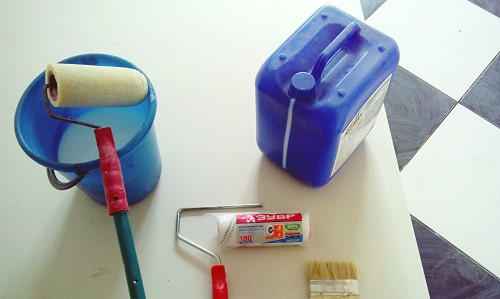
- Prepare a brush, roller, telescopic handle (with extension), soil tray and a stepladder (if necessary).
- The preparatory stage is as follows: it is necessary to wash off the plating layer with water. Remove the old wallpaper from the walls. The places where the paper remains remains, you need to wet and remove with the spatula.
- Check out the instructions and cast the primer.
- Stir the solution (it is convenient to make a construction mixer or use drill). If there are no such devices, try to mix the composition manually well.
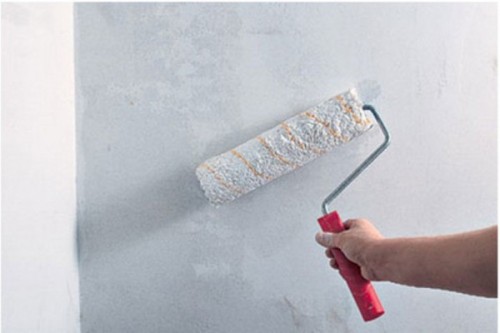
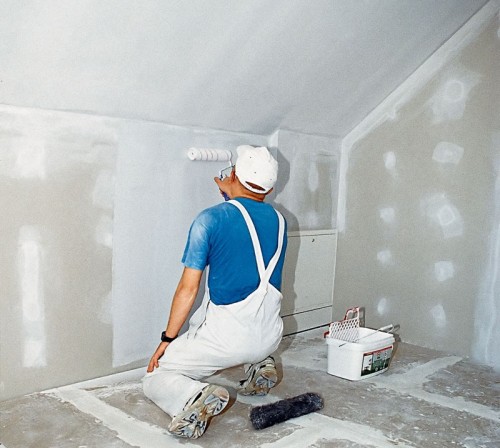
- Pour a small amount of soil into a special tray, take a roller or brush and type a little soil. Make sure that the fluid does not flow and not sprayed on the sides.
- Target the wall thoroughly so that there are no dry areas and, on the contrary, make sure that there are no flows. From the walls should not block the streams of primer.
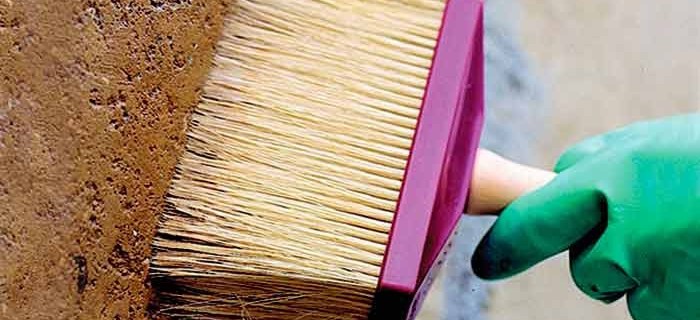
- Inaccessible places are better additionally missed with a brush.
- After the wall is processed, you need to wait 2-3 hours. During this time, the first layer must dry up (the drying time of the mixture will depend on the type of primer).
- After a few hours you need to apply the 2nd layer of primer. This method of applying primer will prepare walls for the next stage of repair work (painting, plating wallpaper, laying of tiles).
Application of primer on plaster
For the processing of walls immediately after plastering, it is necessary to apply a special primer - concrete contact. This type of primer provides good adhesion, because deep penetrates the inside of the concrete. In addition, the ground provides protection against moisture.
Regardless of the type of primer and its composition, the main task of the soil is to ensure the porosity of the surface so that the next coating is easier to apply. For example, if you apply a brick or concrete wall of a layer of soil of a blink before laying a tile, then the primer mixture will help glue it is better to grab with the surface.
Or another example: it happens that the old tile holds firmly and if it is removed, then you can break part of the wall. The hosts decide to stick a new tile on the old surface. This task is not out of the lungs, since the slippery surface of the tile makes it difficult to work. If you use concrete contact, the surface will become rough and slightly sticky, which will be ideal for attaching new materials.
How to apply primer to plaster:
- Prepare the wall. If shuttering was recently performed, then you need to wait a few days to dry the plaster.
- Now it is necessary to prepare the necessary tools: roller, brush for processing hard-to-reach places, container, several tissue napkins.
- Open a bucket with a finished primer mixture. With the help of a wooden stick or a long spoon, it is thoroughly stirring the primer so that the particles themselves can be distributed evenly.
- Place the desired amount in a special tray.
- Plug the roller and wait until the excess fluid stalks. Do not try to recruit a lot of soil, since then it will be spread along the walls and ceiling, and this is an extra consumption of the material.
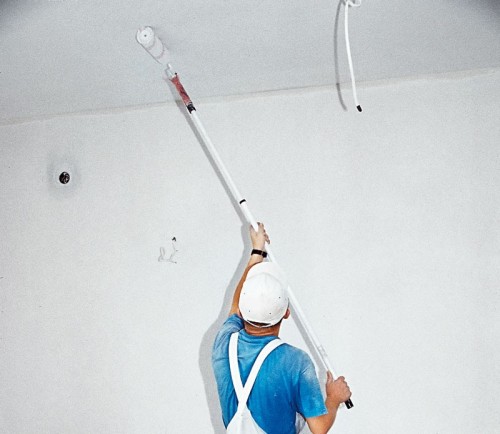
- Start working from top to bottom. With the help of a special telescopic handle it is much more convenient.
- After applying the first layer, check your work for the presences. If any sites on the wall were missed - do not forget to process them.
- Wait a few hours until the first layer is dry.
- After 3 hours or more (read the instructions), you can apply the 2nd layer.
- Inaccessible places and corners are better additionally treated with a narrow brush.
- The 3rd layer is applied after complete drying of the two previous ones.
- You can apply the 2nd layer at night, and in the morning to continue repair work. Just during this time, the wall will finally dry.
- Open areas are convenient to process the roller, and all the others are ordinary and square brushes.
- Do not forget to thoroughly flush the tools after applying each layer.
Methods of applying primers
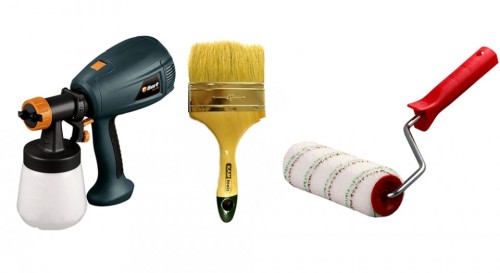
There are several methods for applying a primer mixture to the surface. Traditional - with a special roller or brushes and special means - spray gun, sprayer or sprayer.
For each case, you can apply your own method. So, if you need to process 1 or more walls, it is better to use the roller. And when large-scale work is coming, it is better to work with a sprayer. So you can save strength and time.
What else do you need to know
The application of primer seems simple, but it is only a side view.
These useful tips will help you cope with the task of 2 times faster:
- Walls before processing must be clean.
- If the primer got into clothes or to the floor, then it is necessary to immediately wash the drops or erase them with a damp cloth.
- No need to immediately breed the whole mixture. As a rule, only a certain part of the primer is used.
- During the work, try not to do on the walls of the flows and puddle of the mixture.
- Put comfortable clothes, work in gloves and glasses.
This video tutorial will help you in your endeavors:


