Clinker panels for facade: installation features Walls
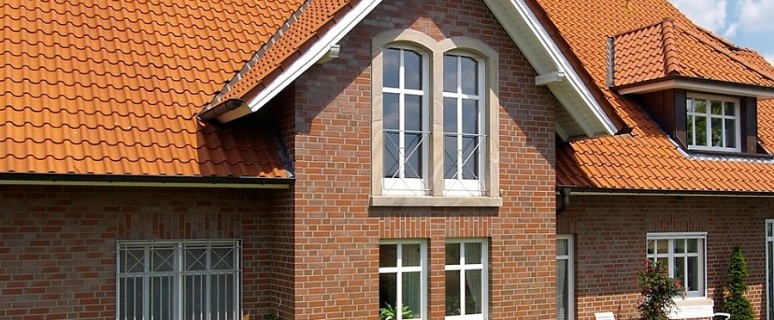
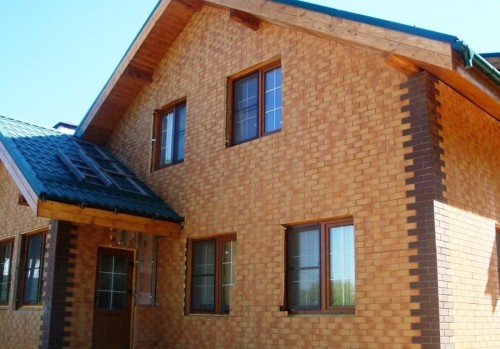
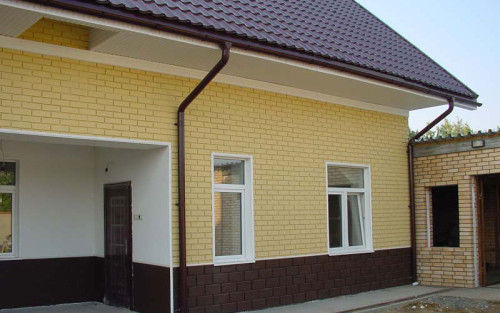
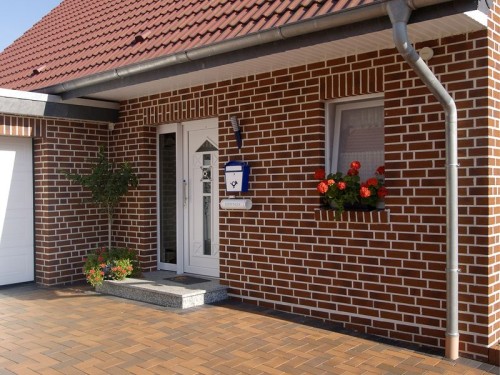
To date, clinker panels are very popular in the facing of buildings. This material serves not only by high-quality insulation, but also has excellent decorative properties. The wall covered with clinker panels looks smooth and neat.
Content
What is clinker panels
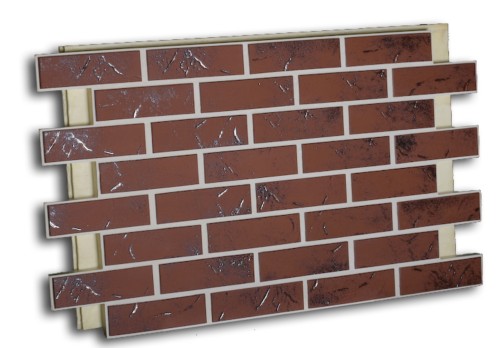
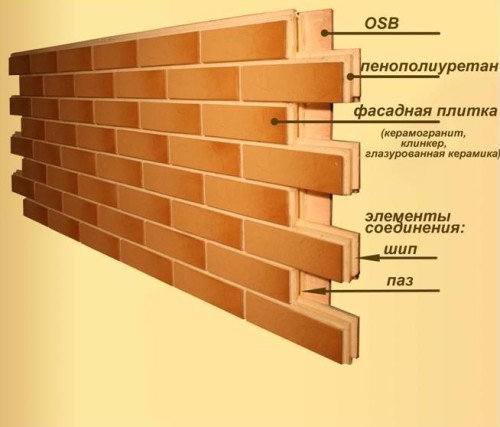
The clinker panels for the facade are a two-layer material consisting of polyurethane foam insulation, as well as clinker tiles that performs decorative functions. The polyurethane foam layer is of different thickness, as a rule, this indicator is 2, 4, 6 or 8 cm. Polyurethane foam density ranges from 48 to 53 kg / m³.
The decorative element of the panels, clinker tiles, is inserted into the insulation in a special way, excluding any possibility of falling out individual parts. The thickness of the tile can also be different, the indicator varies within 12-15 mm. The dimensions of one decorative brick, as a rule, are 2.4x7.1 cm. To cover the ground floors, a tile is used with a format of 302x148 mm.
Sometimes in the production of clinker panels with insulation, the material is equipped with an additional third layer, with which the facing will be attached to the surface of the wall. Such a layer is an OSB3 plate made from coniferous chips compressable and combined under the influence of high temperature. The third layer provides not only additional thermal insulation, but also performs the function of the bearing base when assembling individual structural elements.
Pros and cons clinker panels
The facade panels with clinker tiles have a huge amount of positive qualities:
- This material is considered expensive and high-quality facing due to the peculiarities of its production and raw materials, which is used in the process. Clinker tiles are performed by high-temperature firing of purified clay. In the process of manufacturing material, no synthetic additives are not used, all components have natural origins. The clinker brick of the front panels is painted in the desired shade due to the correct selection of natural raw materials, no artificial dyes in the manufacturing process applies.
- The second weighty advantage of this type of finish is considered high strength, reliability and durability. The strength of the material corresponds to the M-400 indicator.
- The clinker panels do not fade into the sun, do not crumble, do not crack, while maintaining high decorative qualities for many years. The building is covered with such material for a long time will look beautiful and tidy.
- The reliability of the material is also manifested in its resistance to the temperature changes and the effects of atmospheric precipitation. The material is able to withstand at least 150 frost and thawing cycles. The sun rays also do not affect the strength and decorative qualities of the panels.
- Clinker tile is not affected by aggressive chemicals, it is also not afraid of the development of mold and fungi. It is not damaged by insects and other parasites.
- The material cannot be called completely waterproof, but the degree of its water absorption is rather low, it is no more than 3% of the product volume.
- Polyurethane foam used as a warming layer is considered one of the best thermal insulation materials. Its excellent qualities are preserved when the temperature drops from -180 ° C to + 150 ° C. In addition, the polyurethane foam is not flashed, since it has the property of self-effect.
- Like a clinker brick, polyurethane foam is not separated by household solvents, does not absorb moisture and is not exposed to insects, fungi, mold and rodents.
- Clinker panels can be used on any type of walls, since they can be attached to both directly to the surface of the wall and to the pre-prepared crate. Thus, it is even a wooden log house with a similar tile.
- The service life of the material is quite significant. Most manufacturers guarantee that their goods will not lose their decorative and practical properties for 25 years, in practice the service life can be twice as large.
- Parry permeability can also be attributed to the weighty pluses of this type of cladding. Such an ability will prevent the walls of the walls under the panels.
- You can carry out work on the construction of the building at any time of the year. If there are minimal construction skills, you can cope with installation yourself, without attracting specialists. The process of cladding will take relatively little time, besides, this procedure will combine at the same time two types of work: the insulation of the building and giving the walls of the completed decorative species.
- Due to the carefully thought-out system of interface elements, it is almost impossible to be mistaken in the process of performing finishing works. Having placed the initial bar and setting the desired direction, perform masonry crooked or incorrectly will be practically unrealistic.
- Thermopanels will allow the owner of the house to reduce the cost of heating the premises. However, if desired, you can bind the building with clinker panels without insulation.
- The range of goods is represented by a fairly wide variety of textures and shades, which makes it possible to implement almost any designer idea.
The shortcomings of the clinker panels are not so much, the minuses can be attributed:
- High cost, which, however, is justified by the high quality and excellent characteristics of the material.
- Fragility. Clinker is ceramics, and any ceramics breaks away from a strong blow.
Installation of clinker panels
Facing Wall Preparation
Before starting the installation of clinker panels, the surface should be carefully prepared. If you do it well and qualitatively, the lifetime of the facing will be as long as possible. So, the preparation of the wall to the installation of the material includes these steps:
- First you need to carefully examine the surface and clean it from all unnecessary speakers. It is also necessary to remove air conditioning, shutters and other designs at the time of work.
- Then the old facing coating should be removed from the wall. If the old coating was paint, whitewash, decorative plaster, then remove it easier for a rough brush on metal or chisel.
- To protect the walls from the development of mold or fungi, the surface is desirable to handle antiseptic compositions. It is best to use deep penetration fluid and apply it in two layers. After drying, the antiseptic wall should be covered with primer.
Creating a frame for fastening clinker brick panels
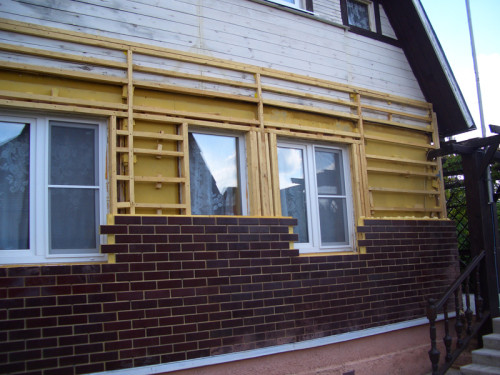
It is believed that the clinker panels can be mounted directly to the surface of the wall, however, if the design has any irregularities, it will be difficult to provide high-quality bumps of individual elements. To ensure a perfectly smooth surface and reliable fastening of all the grooves, it is worth installing a crate. The frame can be made of both metal and wood. In the latter case, all wooden elements should be pre-covered with a layer of antiseptic impregnation to protect the material from pests and rotting.
Creating a crate is carried out in several stages:
- First you need to find the level of the panel plane. First of all, it is worth identifying all the irregularities of the wall using an ordinary thread. It is stretched between the diagonals of the plane and look at what level it will be necessary to raise the rails for fastening. In the right places put special beacons.
- The next stage can be disconnected by the lower mounting level - it should be placed parallel to the ground. So as not to be mistaken in measurements, the label is put on the desired height, then it is transferred to other walls with the help level. Note that the level of the coating must overlap the floor line by 20 cm, otherwise moisture will accumulate indoors.
- With the help of the Capron thread, knock off a smooth line throughout the perimeter of the room.
- According to the designated line, a wooden bar is attached or a metal profile. To adjust the height, you can use special gaskets.
- It is attached to the wooden walls of the doomle to be attached by ordinary self-draws, and in the concrete surface they will have to pre-hold the hole to the hole, to subsequently attach the frame of the dowels. Please note that the lamp must be fastened reliably and efficiently, since it will have to withstand the weight of all the facing.
- After mounting at the bottom of the walls, you should repeat the same procedure at the top of the room. Then you need to make the framing around the door and window openings. Please note that you will subsequently have to do, therefore, during the work, leave around 2 cm around the windows.
- When the main attachments are made, you can fix the planks, having them perpendicular to the Earth. All planks must be on the same level - it depends on how even the end result will look. The fastening is easiest to leve out on a fishing line, stretched between extreme rails. Adjust the level is convenient with the help of pads.
- After completing the crate, you can finish with clinker panels. It is important to remember that the connection of parts is not performed canopy, it can be done only on a solid surface.
Install clinker facade panels
Installation of facing material is carried out in such steps:
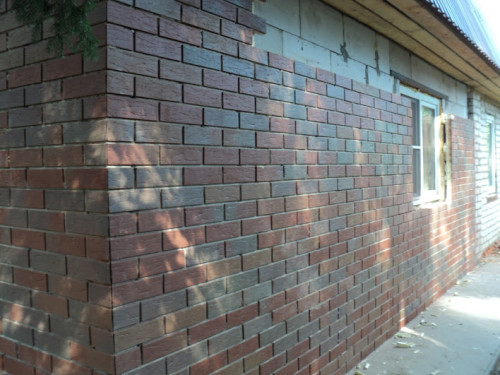
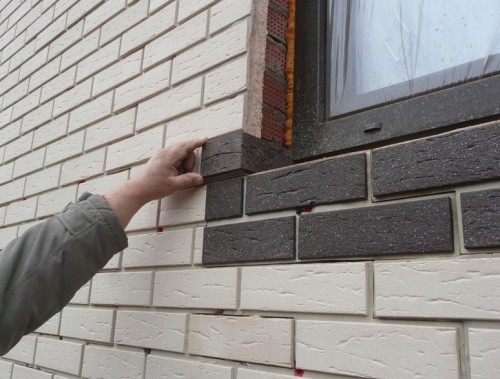
- Start work follows from the angle of the first row. If the angular elements are not used when installed, the edges of the tile should be made at an angle of 45 °, so the elements will be tightly and reliably to fit together. But still, a simpler and proven solution is to use a docking angle, which not only visually hits the connection of parts, but also protects the seam from external influence.
- The next stage of the panel is installed on the lower bar and are fixed using self-samples. In the event that the facing is made directly along the wall, the holes should be done in the surface and insert a dowel. The fastening of the material is carried out in dowels.
- After mounting the first panel, you can start installing the second part. All work is carried out in a circle. The installation of the next row can only be implemented after the previous level is completed.
- When all clinkers are fixed on the wall, the seams between them should be bleed by mounting foam, to ensure high reliability and tightness of the joints.
- After installing each element, it is necessary to thoroughly check as far as it is aligned at the initial level. If there is a need, the panel is customized to the desired position. If you do not align all fragments as it should, the design will turn out to be a curve, and the joints will be unreliable.
- In some cases, it may be necessary to cut the material in the process of work. Do this, based only on preliminary measurements, is not recommended. It is better to test the panel to the wall surface and apply the desired marks.
- The final stage is the decoration of the slopes and the door box. The finish is performed using plaster, and smooth edges are provided by applying a plastic corner.
Clinker panels, photo:


