Arrangement of loggia do it yourself Useful advice

Initially, the loggia was an open space from two or three sides under a canopy, the entrance to which was decorated with columns. But today the palaces gave way to ordinary apartments, where the loggia is called a modernized balcony. The landscaping procedure itself is quite simple and does not require special skills. It is only necessary to comply with certain rules and the algorithm of actions.
Content
Appointment of loggia
From the usual balcony, the loggia is characterized by the fact that it, first of all, has a neat appearance, secondly, refers to residential premises. What goals use this space is highly dependent on its size. Based on the functional, the most common options are as follows:
- game room,
- place for recreation and smoking,
- wardrobe,
- pantry.
If the balcony area is more than three square meters, then this space is quite enough to make a cozy game room for your child, where toys will be stored. In addition, the space will fully belong to the baby. If he wants to draw on the walls or do something else in such a spirit, then it will happen precisely in the game and relieve the need to transfer the wallpaper.
Considering that the loggia is almost from all sides outdoors, it is necessary to think through heating. Most often use a warm floor, but if a double boiler is installed in the apartment, it is better to hang one battery for 6-8 sections, depending on the area.
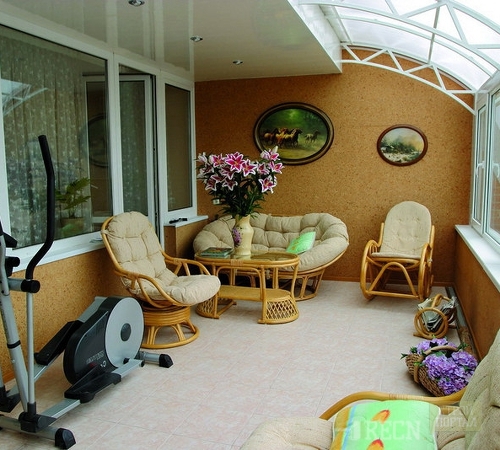
Most often loggias are used as lounge recreation areas and relaxes. A small coffee table, a few chairs, an interesting book or a new magazine, in one word, a small corner of privacy, where you stay alone with your thoughts. This is relevant for smokers, especially if guests often come to you, which also smoke. As one of the varieties of personal space, the loggia is sometimes equipped in the office or workshop.
The arrangement of the balcony-loggia under the wardrobe is relevant for those who have an apartment area does not allow you to install a large roomy cabinet or trite lacking places for things. The part of the room is discharged under the shelves for clothes, and the other is drawn up as a fitting room, a dressing table is installed there. A large mirror from the floor fits in the interior is relevant to the interior.
Use the loggia under the pantry is an extreme option, since a similar solution will turn the room into a warehouse of unnecessary things. Nevertheless, in small apartments, this solution is most often the only one. To at least somehow optimize the space, recommend installing racks.
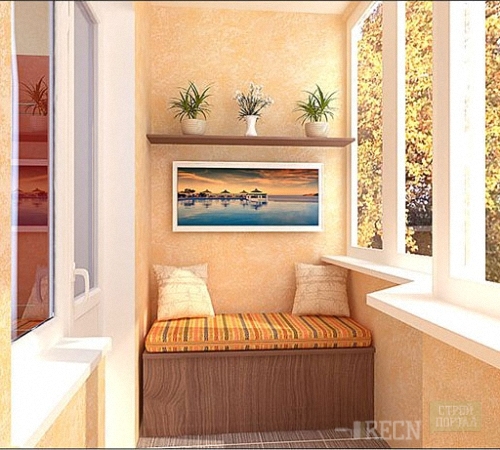
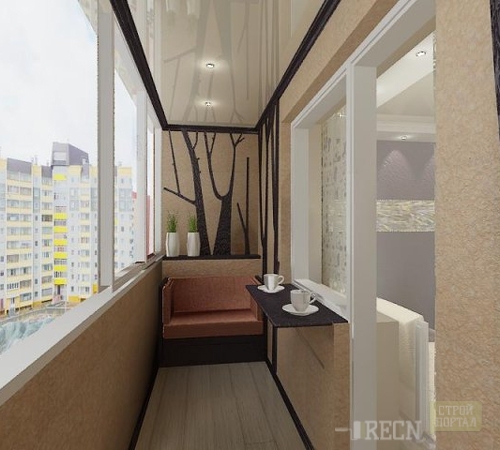
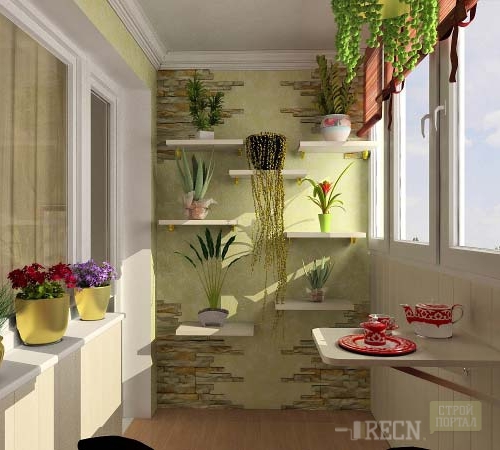
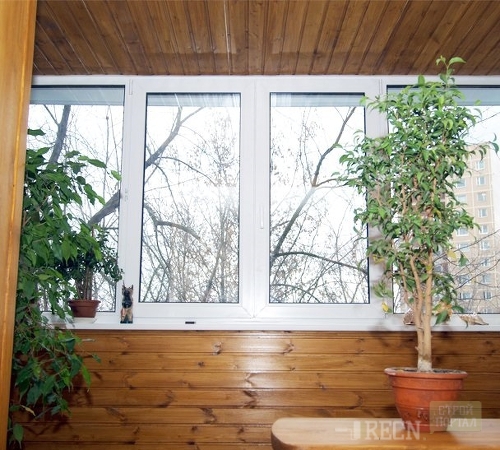
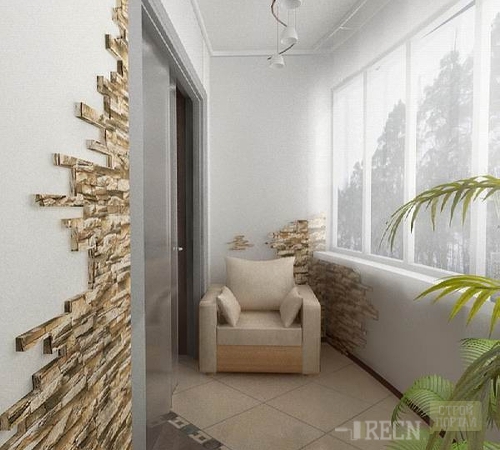
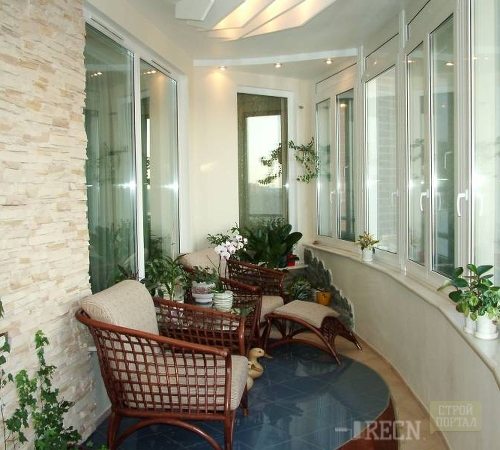
To make a final decision, see the organization of the loggia in the photo.
Preparatory work
First you need to prepare a balcony for re-equipment. The most important thing is to completely clear it from all things have accumulated there. The next step, to inspect the floor, the ceiling and windows for a worn out (if the windows are not and the balcony is open, you will have to remake it into the indoor). The following is the work plan, which includes:
- list of essential materials
- tool,
- main repair tasks,
- the procedure for performing work.
Tip: Most likely, you will have a question with heating, for the owners of independent systems there will be no problem, but the owners of apartments with centralized heating will have to either receive permits, or wait for mid-June, it is during this period that water from the system completely comes out and heating is reworked without risk Be flooded.
As a rule, hot water is served separately from the heating system, so there should be no problems. In the event that for some reason in your house the pipes are constantly under pressure, the output is only one - to find a stop valve (it can be both in the house and on the pipe supply), block it and quickly install your own crane which will allow you to spend all the necessary work. The procedure is desirable to have time to perform within 30 minutes, since then the public utilities are most likely reacting and fined the intruder.
IMPORTANT: The crane must be placed at the calculation of pressure up to 10 kg if your home is close to the boiler room, then up to 20 kg.
Construction of an indoor balcony-loggia
Before moving to a more detailed analysis of the procedure for creating a loggia, briefly consider the process of creating an indoor balcony. There are two generally accepted options that have proven durability and reliability:
- assembly of metal-plastic frame
- assembling plasterboard frame.
There is an option to do everything "in the old manner" using a stone masonry. But the weight of such a design will be quite large, which will negatively affect the balcony supports.
Metal-plastic frames are ordered from manufacturers, their installation is performed in one day. The neat appearance and the speed of installation are undoubted advantages, but plastic - cold material, insulation that is impossible for aesthetic considerations. Even the installation of the batteries is not too solving the situation. The temperature in the winter will be close to 0, and if in the regions, severe frosts, then in general a minus.
Therefore, experts recommend spending a few more time and make high-quality gypsum design. Installation procedure, as follows:
- collect the wooden frame (set the support beams in the corners of the balcony, they are attached to the floor, and from above will be linked with rafters),
- install additional supports, at a distance of 1 m from each other (it is desirable to use a board with a cross section of 5x5 cm),
- collect rafters for the roof
- attach them to a wooden frame and the wall of the house,
- set a profile for drywall (leave space under the windows),
- fasten the outer layer of drywall, pre-treated with hydraulic protection materials and soil,
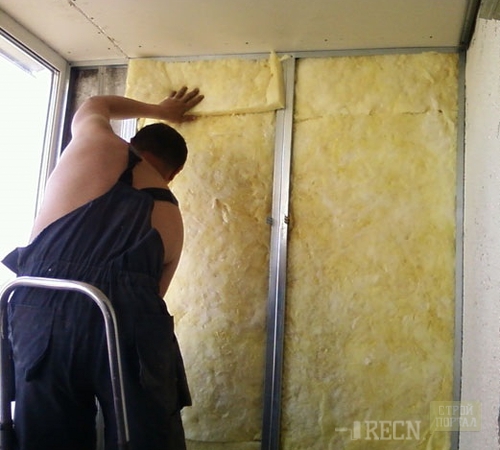
- install the insulation between the external and inner layers of the gypsum (used min. Vata),
- secure the inner sheets.
Internal finishing works are carried out by their own efforts, but to perform external, if there is no desire to do climbing, you need to invite professional glitters. Outside, the design is better additionally insulated with foam.
List of essential materials
As a rule, the re-equipment of the balcony implies overhaul, so we consider the process of choosing materials in a global context. Main elements:
- floor,
- ceiling,
- walls.
For the floor it is best for a tree or laminate. This will save on warm floors. Another inexpensive version, Would you like to wall or OSB plates, on top of which carpet is mounted. It is advisable to choose a material with a minimum long pile. Linoleum is not desirable, as it is not resistant to mechanical damage.
Ceiling options Several:
- plaster,
- PVC panels,
- plasterboard,
- stretch ceiling.
The easiest thing is mounted by PVC panels, but they look cheap enough. Plasterboard allows you to make an even monolithic coating (the sheets are pasted on top of the sheets, which is painted in the desired color). The plaster is quite expensive pleasure, besides, this type of ceiling improvement is already in the past. Stretch ceilings are definitely looking prettier, but they will retain an attractive appearance only when complying with the temperature regime. In winter, the situation is solved using heating, in the summer - air conditioning.
The issue of wall design is only in the event that they are made of stone or drywall. Naturally, metal-plastic bags are trimmed with plaster, but this is a rather complicated procedure that leads them into disrepair. The holes, in the fields of the profile, will become a cold bridges through which condensate will be formed. As a result, the inner part of the design will be constantly mocked. It will help to solve this issue to insulate the installation foam, but the feasibility of all of these works is present only if the package has been installed before you and you do not want to change it.
As materials for decoration of the walls are suitable:
- wooden siding
- PVC panels,
- plaster,
- glassbobumag
- wallpaper,
- drapery.
The choice of material depends on the purely from aesthetic preferences, there is no practical or operational difference in the proposed versions. The only thing that is worth paying attention is to choose paint for plaster and glassbobumages. It should be washing.
Tool
The arrangement of the loggia involves the presence of a specific inventory:
- saw on metal or Bulgarian,
- saw on wood or jigsaw,
- screwdriver or screwdriver,
- hammer with iron and rubber shoes,
- putty knife,
- a set of painting brushes,
- building boat
- rule
- level,
- drill with droke or perforator mode (for houses from the sewer - drilling mode).
In addition, some building materials should be prepared in advance, in addition to those used to finish:
- priming,
- antibacterial impregnations (to speed up the process are immediately added to the primer),
- wood putty,
- stone putty
- 200-300 chickelton or wood screws
- 50-100 sets of dowels with screws (or anchors),
- several spare disks for a grinder or saws for hacksaw.
The main objectives of the repair and the procedure for performing work
Under the main tasks understand the purpose of the loggia and the works that need to be performed to achieve the result. Since there are quite a lot of solution options, consider the full list in order of priority:
- installation of electric separation,
- warm floor mounting
- installation of electrical appliances connecting points,
- interior decoration
- installation of heating,
- cutting works,
- installation of lighting devices,
- interior design.
Methods of most of these works were described above. Separately, it should be stopped only on the mounting and electrician.
The wiring cable is better to take with a cross section of at least 2.5 mm, although according to construction standards, such wires are used only for very powerful electrical appliances, given the features of the domestic network better to be restrained. Since the loggia is almost completely in the air, it is always necessary to ground each connection point. As a switch, it is more convenient to use a dimmer, it will allow you to control all the lighting devices at the same time. It is especially true for a cabinet loggia, since it allows you to maintain optimal lighting.
Options for arranging heating are only two:
- from the centralized network,
- from an independent source.
In the first case, exceptionally steel high-pressure pipes are used, which are fixed on fittings and fu. The second option involves the use of plastic pipes, any connection method is suitable.
If you still have any questions about the arrangement of balconies and loggias, photos and videos from the article will help make the final choice.


