Laying tiles diagonally Tile
When finishing various premises in some cases, laying tiles on the floor diagonally is more appropriate and attractive. Causes may be different: This technique is used for a visual increase in area or to hide some defects planning. It is important to correctly fulfill the calculation: with the right approach, the consumption of the material may be even smaller compared to traditional stacking. Errors can lead to an increase of up to 20% or more.
Content
How to put a tile diagonally: recommendations of specialists
The main problem is how to put a tile diagonally with minimal material costs. To do this, we recommend adhere to the following rules.
- When the area is marked, it is not necessary to carry out the main diagonal: the corners of the room are not always straight, and therefore, as a result, uneven diamonds are formed. Tile consumption will be large. The use of a method of an equifiable triangle will be more rational: from the angles lay the same length of the segment and then combine them.
- It is important that the laying of tiles diagonally began from the full element: so it will be a more attractive type of floor covering.
- It is necessary to solve the base: large differences in terms of level and irregularities are the cause of a large consumption of materials. Significant defects are eliminated by cement-sand tie, minor - with tiled glue, the thickness of which is adjusted during operation.
- In rooms with high humidity it is recommended to use special, moisture-resistant tile glue.
How to calculate tile diagonally
To calculate the number of tiles there are two methods.
- The area of \u200b\u200bthe base should be divided into one tile area. The resulting number is round to the whole side. I add 10% on the "trimming" and round the result obtained to an integer.
- Calculate the integer number of tiles required for a specific area. Taking into account the need for a "trim", add several tiles. In the case of using a tile with a large pattern and, when finishing a small room, you should add another 5% of the resulting quantity and round up to the whole value.
How to glue a tile diagonally: laying technology
First, you should correctly perform markup, selecting the direction of laying (where the first tile will be laid). All work can be divided into several stages.
- At the edge of the laying of the first row, the caprochy thread is stretched between two dowels scored in the screed. The thread should be stretched by level: it will also limit the height of the first floor. You can use for marking with a special laser device.
- The base of the floor is cleaned and processed by primer deep penetration: it will improve the adhesion of the adhesive mixture with the surface of the screed. Keep the primer must take two hours.
- The adhesive mixture is prepared: kneading is performed according to the technique specified by the manufacturer on the package. Such a quantity should be prepared as it will be developed within an hour.
- The first, necessarily a whole tile is stacked from the place of start of work. This is necessary to reduce the number of "feeds". In addition, the whole tile is easier to accurately set up the level. The glue is applied and distributed on the base and on the back side of the tile with a toothed spatula with a tooth width of 10 mm.
- The tile is tightly pressed to the base, tapping on it with a rubber hammer. The glue at the same time should perform a little along the edges.
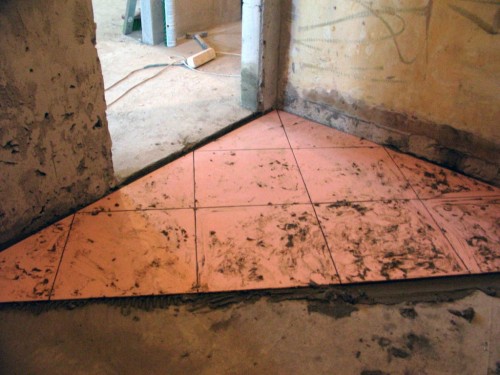
- The quality of the laying of tiles is controlled by Waterpas.
- If necessary, the floor tile is cut with stoveturis or grinders with a special abrasive circle (by stone or with diamond spraying).
- In order to form the same seam between the tiles (if special ribs are not provided), plastic crosses with a thickness of 2-5 mm are used.
- Excess glue from the surface of the tile is cleaned with a dry vet.
- A day later, the cross are removed and fill the seams with a special grouting mass, selected in color. Act with a rubber spatula (for light tiles - from white rubber, not leaving traces).
Important: The tile should be high quality, as the tile is diagonally (the photo of the most successful solutions - to your attention) is stacked with a large number of subs.
Laying tiles diagonally: video with specialist comments will help to deal with the basic rules and some nuances of this work.
How to glue the ceiling tile diagonally
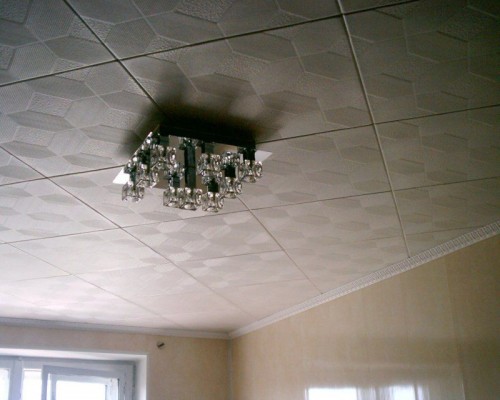
The budget, but effective way to finish the ceiling is their cladding with polystyrene foam tiles. All small irregularities and defects will be hidden. At the same time, there is no need to specially prepare the surface of the base of the ceiling, subject to the absence of significant differences in terms of level and bulk coating.
The ceiling tile diagonally looks original, and most importantly - visually increases the size of the room and hides the defects of the walls and corners.
Materials required for work
- Ceiling tiles. Its amounts, taking into account the trimming, is calculated in the same method, which is used for ceramic floor tiles. It must be borne in mind that the seamless tile diagonally laid will not look like effect. It is necessary to purchase a white polystyrene tile: after painting with water-emulsion, all fingerprints and glue stains will be hidden.
- Grinding of deep penetration: necessary to bind microparticles on the surface of the base. After processing the base ground, the tile will be glued more reliable.
- Brush, roller and bath for applying soil.
- To glue the tile, it is better to use glue-putty. They can pre-close small irregularities. In addition, the thickness of the imposed layer can be adjusted to the level of tile sticking, which is not achieved using polymer transparent compositions. You can make glue yourself: for this, the finish putty is thoroughly mixed with PVA glue.
- Stationery or construction knife with replaceable blades for tile cutting.
- Malya cord for applying markup on the base of the ceiling.
- Narrow spatula: They can remove the old coating from the surface of the base of the ceiling during the preparatory work.
- Rubber spatula: With it, the seams are filled between tiles.
- Rafting and clean water for cleaning over glue
Ceiling tile sticking technology diagonally
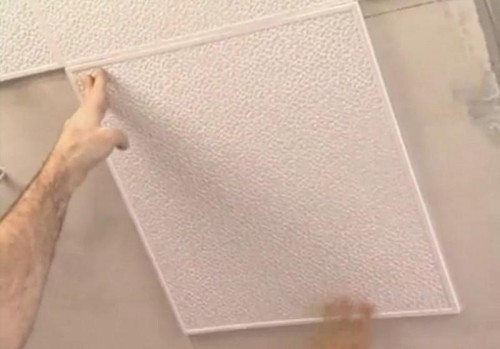
After the acquisition of all the necessary proceeds directly to the cladding of the ceiling by polystyrene foam tiles. Work is performed in stages.
- A basic surface is prepared. It is necessary to clean the ceiling from whitewashing, loose plaster, fatty spots and glossy oil paint. Cracks, seams between overlap plates and other significant irregularities are appleed. It is recommended to cover the base with a thin layer of water-level paint so that the seams between the tiles had a more aesthetic appearance.
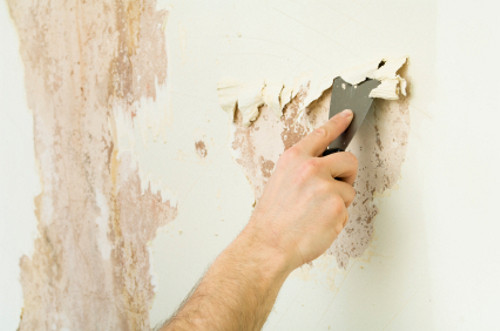
- The center of the ceiling is determined and markup is applied, for which the mid-opposite sides are connected to the line defined using a painting cord.
- Diagonal connecting angles are applied to the base. These lines must intersect in a previously defined center.
- In the center of the ceiling, the square is separated from the side equal to the length of the shortest wall (for rectangular premises). Conduct diagonals that will intersect at right angles. Along both of the diagonals, tiles are pasted, after which the rest of the area is filled. Square can be shifted from the center of the room in any direction.
- In the event that the diagonals intersect at right angles (for square rooms), the first tiles are pasted in the center of the room along both diagonals.
- The adhesive mass protruding between tiles must be removed by the rag.
- The rubber spatula is filled with stitches between tiles.
- Ceiling plinth passes.
- If desired, the water-making paint is applied, chosen in accordance with other materials of the interior finish: this technique will help hide small defects.
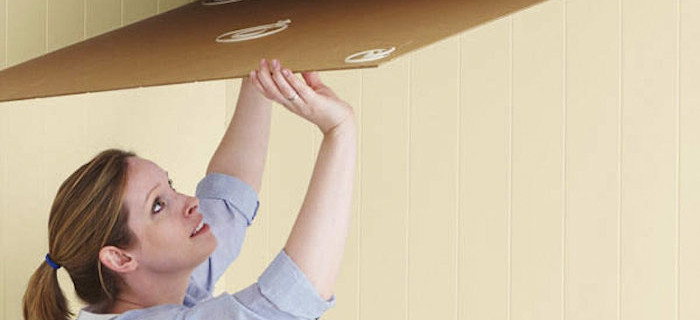
Important: When sticking the tiles, try not to put it with your fingers to her so that no dents remain. Hands should be clean. It is recommended to use gloves or cloth.
To deal with some nuances of this process will help the video tutorial.


