Installing interroom bathing doors Doors

According to the opening method, there are various types of door structures. Nevertheless, it is the swing doors that are traditionally used in the arrangement of residential premises. Such a historical attachment of humanity is quite understandable: swing doors are well maintained heat, protected from the penetration of cold, noise, smells and dust, are functionally convenient. Modern swing interior doors are made from various materials, they have a variety of shape and finishing. Perhaps their only minus is that they grind part of the useful area. In order for the swollen door to work normally, it did not open spontaneously, it was easily closed without a lull, did not creak and did not scratch the floor, the correct installation is necessary. Knowledge of the installation rules of the interroom swollen door does not interfere with the customer, if the master is invited to install, and it is simply necessary when performing work with your own hands.
Content
- How to choose the right interior doors
- What are swing doors photo
- The procedure for installing interroom opening doors
- Required tools and materials
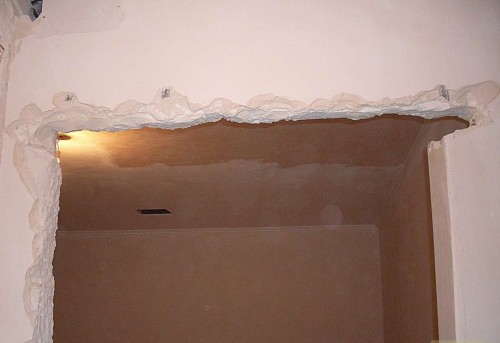
- Preparation of the doorway
- Installing a broken interior door
- Installing the door block of the finished assembly
- How to install a broken interroom door in a wall of timber
- How to properly shorten the door leaf
- How to change the height of the door hollow
- How to install glass pendulum doors
- How to install bivalve interroom doors
- Automatic swing doors
- Care rules for interroom bypass doors
How to choose the right interior doors
First of all, the door must be chosen correctly. It is best to go to the store for buying with a specialist in installing the door. When choosing an intercommercial swing door, several factors have to be taken into account: ecology, quality, design, size, side opening, material.
What are swing doors photo
The form of the canvas:
- rectangular
- arched
- stroke
- with Framuga.
By the number of sash:
- one-
- two-,
- four-
- one and a half times.
The number of flaps is determined by the width of the doorway. In the standard mounting opening, the door with one cannol is installed, wide with two. Two-faceted swing doors have two canvas of different widths.
By dimensions:
When choosing a door, first of all take into account its size with a box. The height and width of the door box should be slightly smaller. Ready-made doors of domestic production have standard dimensions: width from 60 to 90cm, height 2m. For the finished factory door, the opening is brought into line with the dimensions of the door block, and, on the contrary, the door to order is performed under the size of the opening.
The opening should be wider than the canvas on a double thickness of the door frame plus a gap between the wall of the opening and the box. The height of the canvas other than the same parameters also depends on the presence of a threshold. For import doors, the standard of height is 1981mm, and the width of the canvase varies depending on the manufacturer's country.
In France, we produce one-board doors wide from 690 to 890mm wide, bivalve - 1530mm, two-way - 1330mm, and 2080mm height. Single-bed doors of Spanish production have a width of 600 to 1000mm, bivalve - 1200-1400mm and a height of 2000-2030mm.
Door boxes are also selected different widths, which depends on the walls of the doorway. 108mm width box is suitable for opening in a brick wall with a thickness of 75mm, for a wall of wooden bars with a thickness of 100mm with a trim from dry plaster, it is better to install a box of 120mm.
By structures of the web
- deaf
- violent
- milled,
- glazed.
Deaf, swing doors are solid-missy and frame. Door canvases are made of rails, wooden bars, fine-flow or solid aggregates from polyurethane, plywood, veneer, spiral chips, insulating and solid fibreboard. For decorative finishes, milling, thread, veneer, glass and metal inlays are used.
Pilented doors
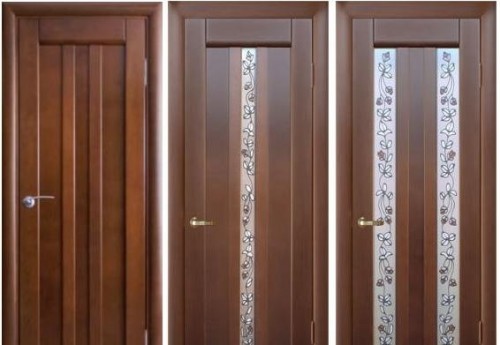
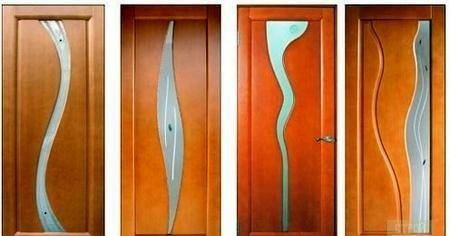
Most often, violent swing doors are installed in the residential room. Pilented doors are also made of wooden array and wooden materials - decorative MDF panels. They are a wooden frame and fililers inserted into it from wood, glass, fibustar plate, and other materials.
There are smooth and convex (profiled) panel layout. With an even layout with time between the sealers and bars, the strapping appears a gap due to the natural shrinkage, therefore, inter-invinary swing doors with profiled layout are preferable.
Milling doors can be massive, mazonite, fillets. Deep cutter is used on a thick material. With an increase in the thickness of the canvas, heat and noise protection properties are improved, the door acquires a good and solid look.
Swing doors with glazed
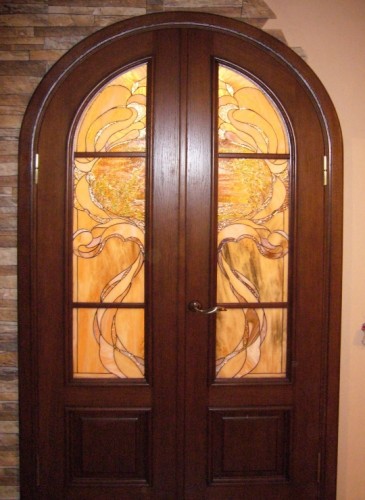
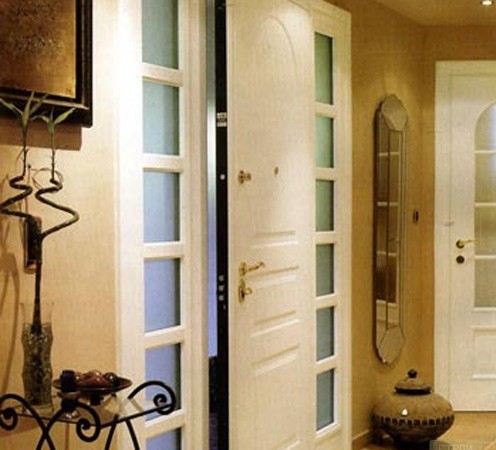
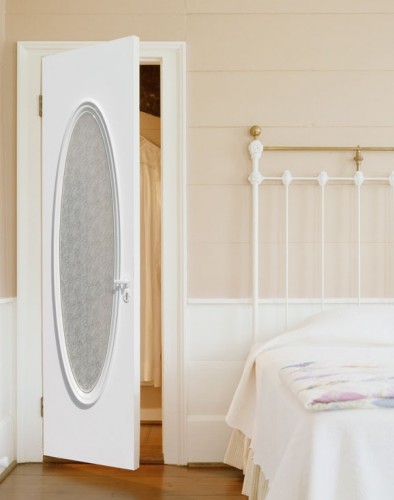
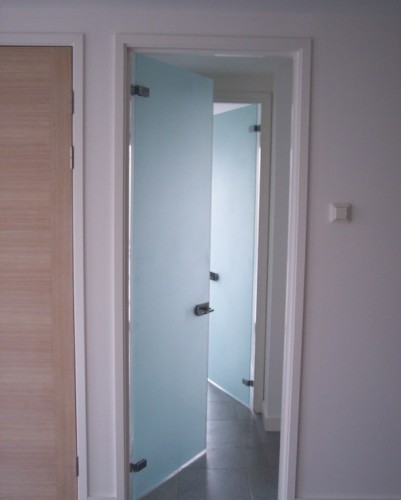
Glazed swing doors visually expand the space and add light. The glass can occupy almost the entire area of \u200b\u200bthe door leaf, only a part or serve as a figured decorative element. The glasses themselves for interior opening doors also have different types: embossed, smooth, matte, transparent, colored, engraved, stained-glass, mirrored. Swing glass doors less durable and unsafe.
They do not have enough heat and sound insulation. To reduce the likelihood of injury and improving the functionality of glazed doors, thick tempered glass is used or choose a canvas with a small glazing area. Majonite doors are made of extruded wood with fine fractions. The facial surface is covered with veneer veneer. Majonite doors are strong enough and durable.
Plastic doors
In the modern interior, plastic doors are increasingly used. They differ in light weight, a variety of color gamut and stylish design. At the plastic door, the canvase cannon are rounded, there are no usual ribs. Additional benefits include: Opening in both directions and disguised door loops. Doors of this type are painted or covered with an additional layer of plastic.
On the side of the opening
Depending on the side of the opening, the right and left swap doors are highlighted. The opening side determines the location of the door loops. It is possible to distinguish the right-sided door from the left-hand-sided way: if you get up at the door from the side, in which it will be ok, then the right door loops are located on the right, the left door is on the left. There are pendulum doors with swinging canvas. They will be revealed in both directions, inward and outward the premises, returning to the original closed position. For the glazing of swinging patunities, transparent glass is used for safety reasons.
The procedure for installing interroom opening doors
- Determine the floor level if the door is installed indoors with an incomplete finish.
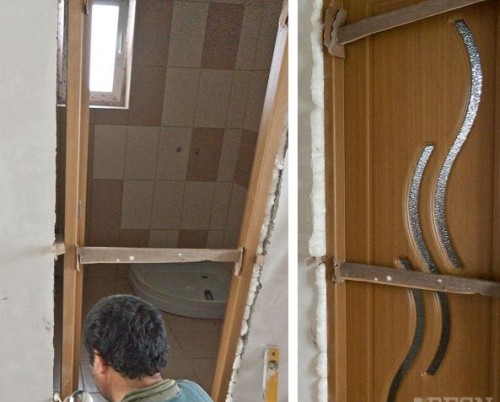
- Insert the door frame into the mounting opening and secure the wedges. Carefully check the vertical location of the racks and the horizontal placement of the upper crossbar.
- The magnitude of the assembly gap between the box and walls of the opening on both sides should be the same.
- Under the bottom ends of the racks of the box to put pieces of cardboard or organity.
- Measure the distance between the side racks above and below. They should be equal.
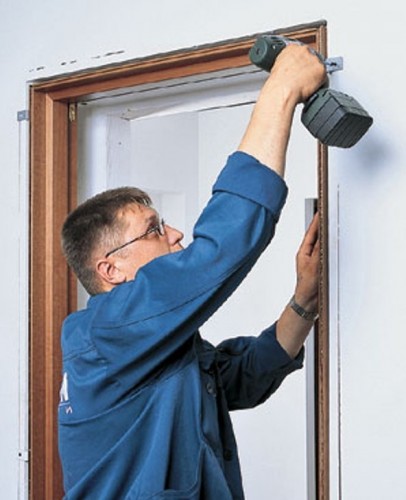
- After that, consolidate the doorframe in the opening of anchor bolts that allow you to adjust the stands vertically.
- Insert the cloth into the door frame, align it, observing the gaps, and make the markup under the loop.
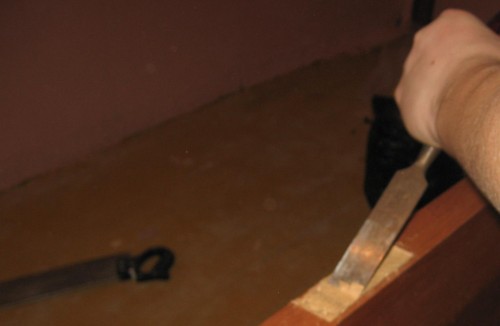
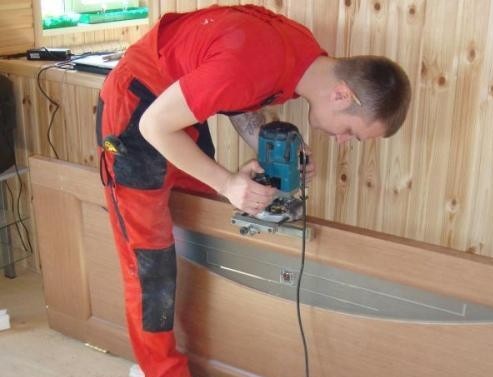
- A special milling cutlery or chisel cut down in the end of the door leaf and on the box on the thickness of the loops.
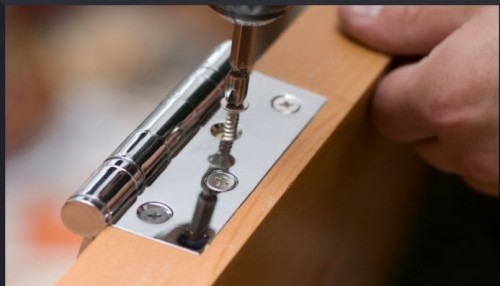
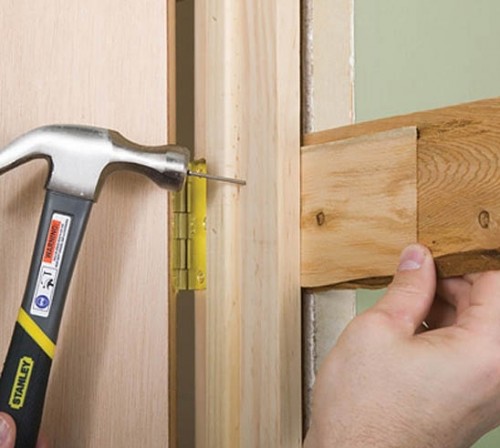
- Disassemble loops, lubricate and secure self-stairs to a box of a loop with a sleeve, to the door of the door - with a leg.
- Wear the door on the loop and adjust to the desired position.
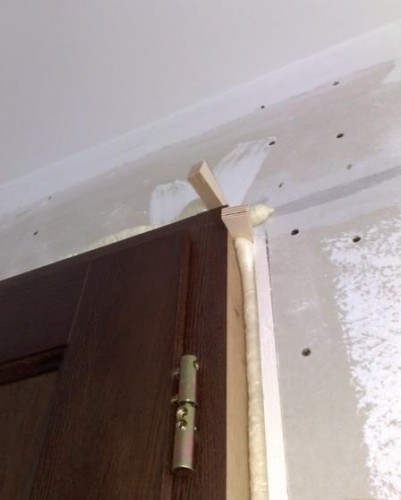
- Tightly close the door and fill the emptiness between the slopes and the door frame of the mounting foam. After drying the foam, cut the surplus with a sharp knife.
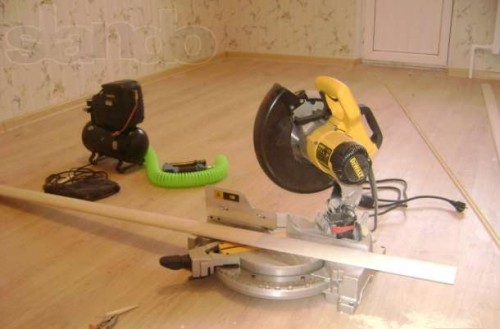
Using the stub, trim the platbands at an angle of 45 degrees and fasten the finish nails on the box. The platbands serve as a decorative frame that hides the design of the box, a layer of mounting foam and uneven walls of the doorway.
Check the correct installation of the interroom swollen door. If the door canvas in a semi-open position still, opens and closes without effort, then the installation is made correctly.
Required tools and materials
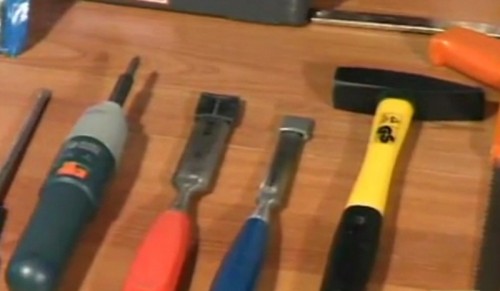
To mount the swollen interior door, you will need:
- Door block.
- Circular Saw.
- Installation wedges.
- Hammer.
- Nails and selflessness.
- Chisel.
- Screwdriver.
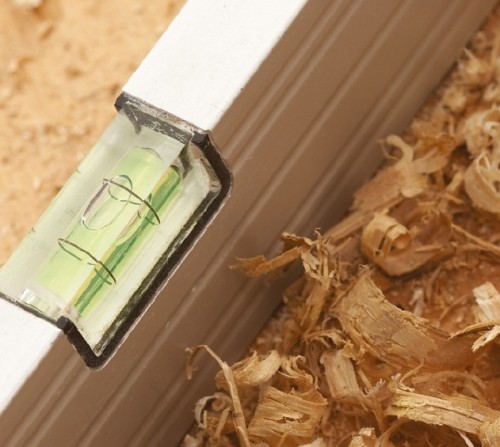
- Building level.
- Mounting foam and silicone sealant.
- Drill.
- Knife.
- Corolnic
Preparation of the doorway
Typically, assembly loops are made in standard sizes, and doors, respectively, do the doors. In such cases, additional materials for installation doors are not required.
But sometimes the size of the opening does not correspond to the construction standards and rules (SNiP). Too big, the opening is coating, using a mounting bar, a wood board, a drying sheet (GVL) and a fibreboard (Fiberboard). Leave the clearance for foam not more than 20mm. The opening is close to each of the parties no more than 40mm, otherwise the joint between the wall of the opening and the skeleton bar will not be closed by a platband.
If you have to increase the doorway more than 40mm on both sides, they use good.
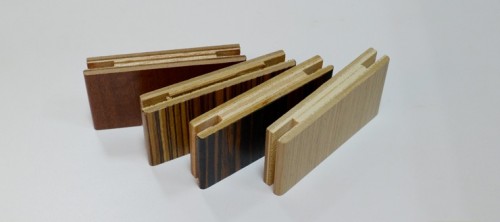
Dogs are called wood panels, fiberboard, MDF, veneer of various thickness and different installation methods. Their installation is not distinguished by complexity.
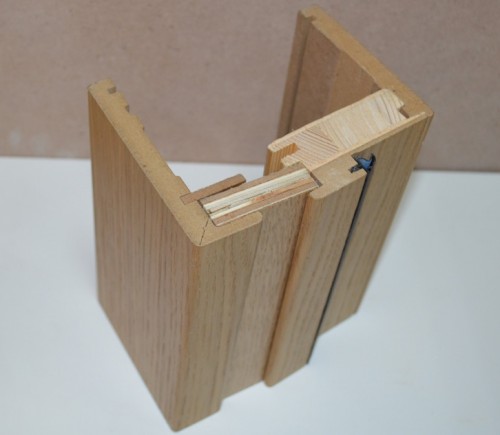
Measure the distance from the edge of the box to the wall. A knife or an electric bike is cut off a challenge of the same length with a groove. Insert a good in the groove and fix the mounting foam in different places, waiting for the full drying of the foam.
If the maximum width of the standard factory dobor (230mm) is less than the thickness of the wall of the opening, use the connecting plate, which allows you to connect a few of the samples and arrange the doorway without installing the box.
When preparing the doorway, it is necessary to check the floor level. The construction level is applied horizontally inside the mounting loop parallel to the walls. On the walls of the outlet on both sides, marked marks to which orient when installing the box. The distance from the floor to the label shows the difference between the side of the box in height. This difference should not exceed 3mm.
Installing a broken interior door
The installation of a new interior door is proceeded after the completion of the repair work associated with paint and plaster so that the walls are dried and normal humidity. It is undesirable to carry out such works and in the adjacent room.
If repair work is impossible to postpone, then the door canvas are removed, and the box is closed with polyethylene film.
Installing interroom attempting doors are made using a plumb and a square. Before starting work, check the position of the wall vertically and determine the dimensions of the doorway.
- The construction level check the floor throughout the radius of the movement of the door leaf. The detected floor level drops are taken into account when adjusting the length of the side racks.
- On the door canvas, a sharp knife and the square mark the place of attachment of canopies.
- Next, the milling makes the socket under the loop and drill holes for screws.
- Composite parts of the box are unfolded according to the direction of opening the door.
- Vertical box racks need to be tightened, observing the necessary gap from the floor to the door leaf, taking into account the thickness of the floor covering.
- According to standards for residential premises, the clearance under the door is 10mm. After assembling the door box, the upper ends of the racks cut off and prepare the grooves under the loop similarly to the door web.
If there is a seal in the door box, the interval from the edge of the loop to the gunner on the box is the same as to the edge of the door canvas. On the frame without a seal, the distance to the River makes 1,5mm more to exclude the touch of the door canvase. The slice at the ends of the crossbar is performed at an angle of 45 degrees.
- The distance between the side stands of the box should exceed the width of the door leaf by 5mm. All parts of the door box are fastened with screws.
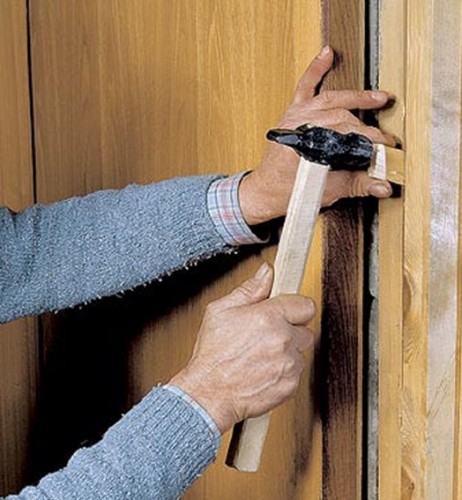
- The assembled door box is placed in the prepared opening and expose it with the help of mounting wedges accurately in horizontal and vertical planes.
- The upper wedges are installed at the crossroad level of the crossbar and side racks.
According to the rules, the length of the wedges should be 20mm more than the depth of the box profile. The lower edge of the rack is combined with the surface of the finish floor. Installation of the interior swing door is carried out after laying a clean flooring (laminate, linoleum, parquet).
Compliance with the installation technology is simplified if there is a threshold in the door block. If in the future the floor is renovated, it is necessary to correctly determine the clearance value under the door.
The loop rack of the box is equalized, check the construction level in two planes. Measure the distance at the top and bottom of the box with the addition of 5mm on the gaps. Assembly wedges fix the opposite rack of the box. Insert the struts exactly opposite the lower wedges.
The door canvas hangs on the reinforced loop rack. If the hryser stand of the door box is fixed strictly vertically, the canvas will be resistant in any position. Next strengthen the castle rack. On the doorway, they remove the gap between the side racks and the transverse crossbar.
A 3-4mm clearance is observed between the lockable stand and the door blast. A greater gap looks nonethetically. Little gap leave risky, as due to fluctuations in temperature and humidity, shrinkage of the building, loop wear is possible to reduce the gap and the appearance of a problem with opening and closing the door. For concrete and brick walls, the opening before the mounting racks of interior opening doors pre-prepare mortgages for screws.
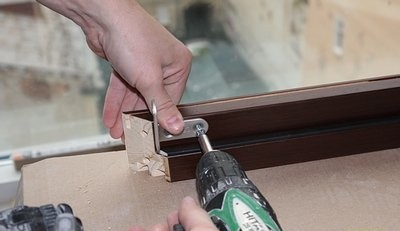
The door box is mounted in the opening of the wood screw. The use of large anchors requires professional experience.
It is enough to secure the door frame in three places. Additional fasteners are applied depending on the size of the box. Fastenings are closed with a response plate of the door lock and loop.
The gap between the box and the wall of the opening is sealed by mounting foam. The gaps from the wall to the door frame should not exceed 5mm, they are filled with foam immediately after installing the doors. Mounting foam requires accurate circulation. It is important to use a low expansion foam to avoid box deformation.
It is necessary to exclude the entry of the mounting foam to the surface of the door block, when drying, the foam leaves the traces. A cleaning agent can spoil the decorative coating of the door. The time of frozen of various types of mounting foam is 1-3 hours, complete drying - day.
When foaming, it takes place its subsequent extension 5 times, therefore, the mounting foam mounting foam is intended specifically for the interior door and the appropriate fill method in order to prevent the curvature of the parts of the door block.
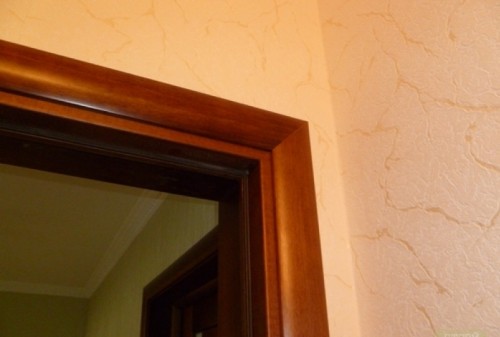
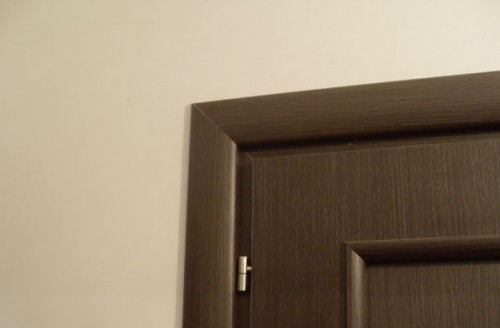
The final stage of installation of the door block is the installation of platbands. The platbands will mask the slots between the box and the wall and give the doors tidy and completed.
Measure the desired lane of the platband. Putting off the platbands (with the exception of the platband with the "beak") with a knife using a stouch or a skidney at an angle of 45 degrees. Fasten the trimming of finish nails into pre-drilled holes with a diameter of 1.5mm. The platbands with the "beak" are inserted into the grooves of the box (part of the "beak" at the top are pre-removed) and fixed on liquid nails.
Installing the door block of the finished assembly
Plants manufacturers produce interior swing doors assembly, which greatly simplifies assembly work. In the door kit enters the canvas, ready box, stop, loop, locking plank, platbands. Door platbands have already been washed at an angle of 45 °.
The door block is installed after complete drying of the plastered surface or finishing with dry plaster, but before laying the flooring and plinth. Before starting the work, the direction of opening the door and, accordingly, install the door frame. Better if the door declines towards exiting the room.
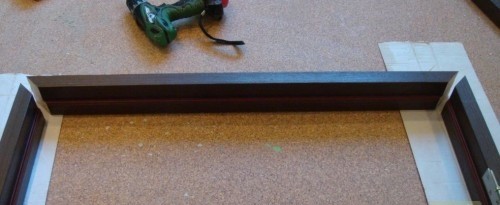
The doorframe is collected from the upper crossbar and side racks. To do this, place three parts of the door frame on the floor. First do the door stop - it is a plank inside the box to limit the turning door after the closing. Insert the assembled door frame into the assembly opening so that it occupies the central position.
Check with the help of a construction level and a square correct position of the parts of the vertical box, horizontally and observance of the perpendicular between them. If necessary, put a seal.
In the places of contact with the walls with walls, the openings are put on plywood pieces and again control the verticality of the side racks. The box is naked to reinforcing bars with nails of 65mm without a hat, if the wall is made of wood, or screw 65mm screws, if the wall is stone. Remove the bar and check the horizontal position of the upper crossbar again.
The loops in the finished door sets are already attached to the frame. To hang the doors, the fastened parts of the loops are separated by driving the axis, and fasten into the grooves cut on the door. When the door hinge is on the loop, lining is placed under it, and connect the coaxial parts of the loops. Adjust the position of the locking plank for smooth opening and closing the door.
Complete assembly work by installing platbands around the box. At first the top platband is applied above the door. It is tested by its position horizontally and nails 37mm nails. The first nail is driven at a distance of 75mm from the corner. The second nail is clogged at the same distance from the opposite corner. The interval between the following nails 150mm.
Next attach lateral platbands to the frame, carefully performing the joints of the bevelled at the angle of 45 ° ends with the upper platband. Start a side elements from the top angle. Do the same on the other side of the door.
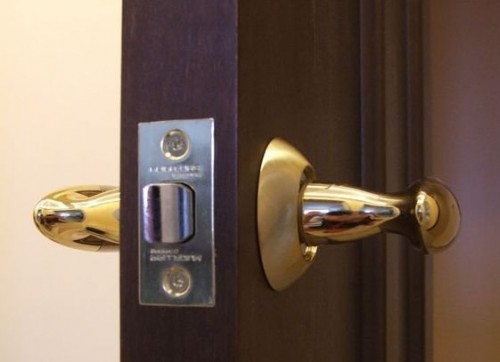
Last Step: Fastening of door handles in the hole provided by the factory manufacturer. Lastly, the decorative design of the box are performed and close up the uneven edges of the wall around the goat.
How to install a broken interroom door in a wall of timber
Installation of the door block in the wall of Bruusyev is characterized by some features. In the framework of the partition on the site of the intended passage, the vertical bar is removed and the hard support structure is built, which performs the role of the door frame. Thus, the doorway is limited to two vertical bars, nailed from the inside.
In the upper part of the opening there is a short crossbard, which is naked between reinforcing bars. There are short bars between the ceiling timber and the top of the strapping. They are support for dry plaster above the door.
The installation of the door box starts with the attachment of two bars. After that, the seal is set to 6mm thick through the perimeter, two reinforcing timber 5cm wide and the door. Reinforcing bars are attached from the outside of each external bar of the doorway. The outer bar hold the foot and nails the second timber with nails of the circular cross section with a length of 10 cm. The interval between nails 40cm.
To install the upper part of the strapping, the bar is harvested in a cross section in 10x5cm. The length of the bar is equal between reinforcing bars. Blocks put in place with a gap of 6mm. This clearance is designed to seal over the door. The bar nailed to the vertical bars of the nails of the circular cross section with a length of 10 cm. Nails are clogged from above and below at the end of the bar.
Then install the backups. Unlock the bars with a length equal to the interval between the upper strapping and the ceiling timber. Attach the backups with nails of the circular cross-section with a length of 10 cm to reinforcing bars. At the last stage of the arrangement of the doorway, the section of sexual bar is cut off between the auxiliary reinforcing bars. The door block during installation should be approached by the dimensions of the door web.
How to properly shorten the door leaf
Sometimes after purchasing the door block, it turns out that it is required to shorten the door canvas. Fitting a new door, especially plastic better entrust to experts. The door leaf of a wooden array or MDF is shortened with a fine-shaped hacksaw or manual disc electron. When working with a circular saw from the reverse side of the canvas, the board is fastened to produce smooth, without burrs, the lines dug.
The lower part of the strapping of the lung door leaf (with filling) is made of an array or one-piece bar, taking into account possible shortening. If the site from the bar is narrow, then clipped the cloth over the necessary size, and the cocked bar is inserted into the open cavity.
When shrunking the cloth of the panel door, the proportionality of the dimensions of all parts of each other should be observed in order not to distort the appearance of the door.
How to change the height of the door hollow
The change in the height of the door leaf is usually required after laying the floor coating. If the supervisor is sufficiently sufficient, then there is a puck between the batuts of the detachable loop. Roaming surfaces of canopies are lubricated. If the upper gap is small, then the top quarter of the door box is trimmed. It is much easier than shocking the door canvas. The top quarter of the box is grinding so that the door is easily closed.
How to install glass pendulum doors
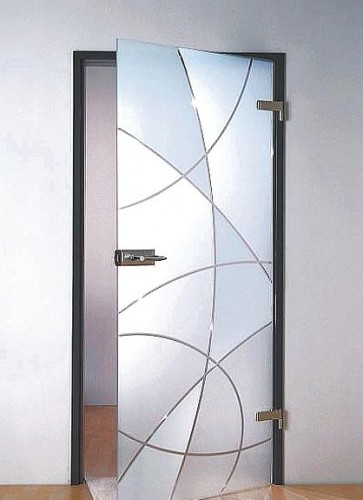
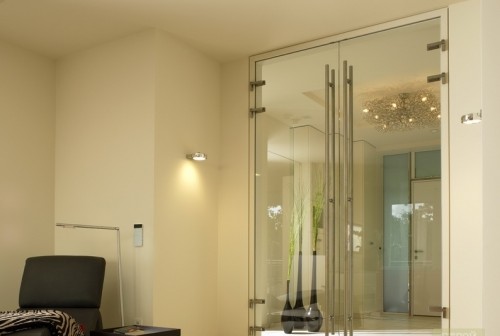
Glass doors of pendulum type are often found not only in public buildings, but also in apartments and private houses. Pendulum glass doors are inserted into the prepared opening without a door box. The device with the rotation mechanism is at the top of the doorway and on the floor.
Such a design of glass pumping doors allows you to install the cloths of significant dimensions without fastening to the walls.
When installing glass pendulum with the lower support from the hinge or the closer, it is necessary to check the coaxiality of the upper and lower support, which is very important for the uniform distribution of the load on the rotating mechanism and its long-term uninterrupted operation.
There are design of glass-type glass jammed doors with side mount loops. Most often, this kind of glass doors is installed in the dining room, hallway, hall, living room, as partitions in the shower.
When mounting the pendulum doors, you need to remember that the radius of the coverage of the area of \u200b\u200bthe blade passes on both sides of the door. It should provide free space for the movement of the door leaf and prepare a flat surface of the floor.
How to install bivalve interroom doors
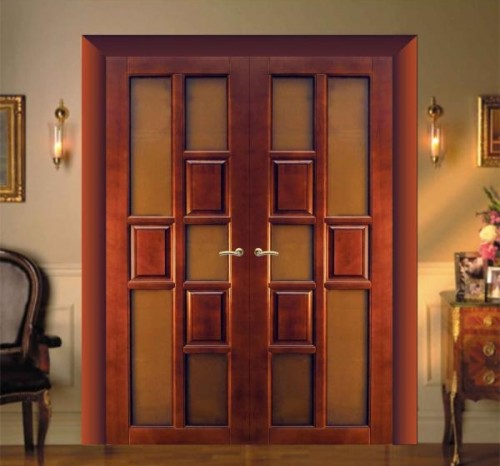
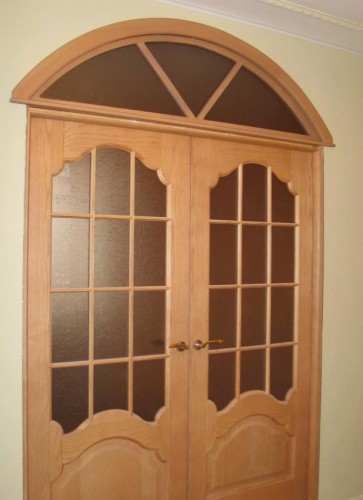
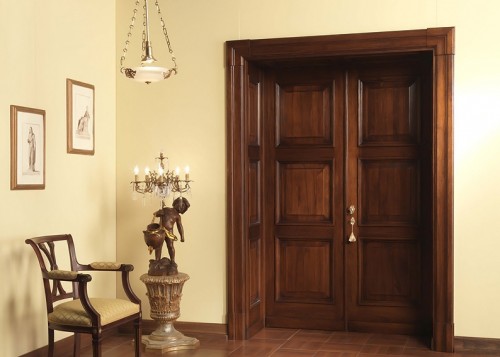
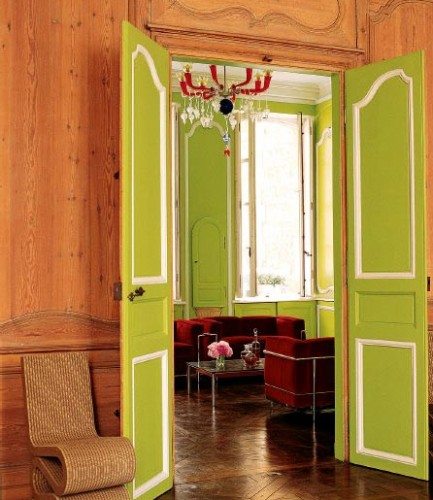
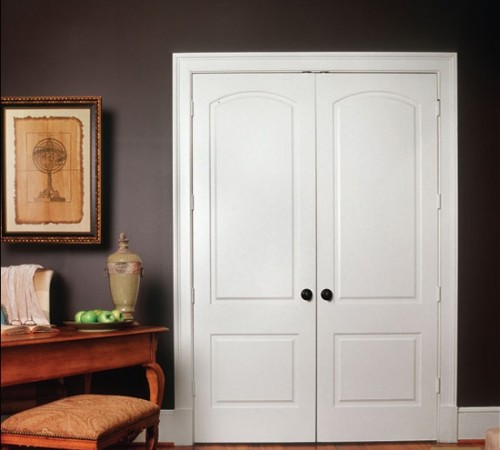
For apartments and cottages with spacious living rooms and halls, the optimal choice is two-sided swing doors. Interior doors of this type are a sample of a classic style, give the interior a solemn and solid look.
Bivalve doors have two door canvases that open the same easily inward and outward. The distinctive convenience of two-dimensional doors is that when they open it, you can go straight, without retreating aside, as in the case of single-layer doors.
Interior double-type double doors are usually equipped with special seals throughout the door jamb. Such doors provide good heat and sound insulation and protection against strangers.
The installation of double interroom doors has some differences. To calculate the length of the transverse crossbar of the double door, the width of both powered is measured and added 6-7mm to the gaps.
Expose the level of the vertical box of the box, the door canvas hang out, on which the lock and the handle will be. Then at the top point is pre-fixed the second side rack. Door canvas with the Rigel (latch-locking double door) are put on it. The position of vertical racks is installed so that the door cannols are strictly in the same plane.
Before installing and final fixation of a double swollen door, carefully align the doorframe. The transverse crossbar is fixed with one screw. The mounting space should close the rigletel response. It should be carefully applied to the mounting foam, since in the process of solidification, its volume increases 5 times. After the installation of the hintage doors is completed, the smoothness of the opening-closing and adjust the locking bar.
Automatic swing doors
In modern housing construction, automatic swing doors appeared. The main advantages of automatic type doors: versatility, reliability and durability. The design of automatic doors contains mechanical and electrical components. Automatic doors open from light touch, close smoothly, work silently. They are simple and convenient during operation. The opening time of the sash is 12-15 s. In order to avoid the failure of the drive V.Zone, the sliding door flaps should not be obstacles.
Care rules for interroom bypass doors
Purchase and installation of interroom attempting doors require significant financial expenses. The price of the door is determined by different factors: material, design, decorative trim, equipment, sizes, manufacturer. The doors of the valuable tree of the tree are the most expensive, skeleton doors with MDF are much cheaper.
The key to the durability of the doors is the correct installation, normal microclimate indoors and gentleproof.
Interior doors are spoiled from high humidity, the permissible level of humidity is not more than 70%. Interior doors made of array and wooden composites are not suitable for the arrangement of baths, saunas, pools, buildings without heating or room with cement and earth flooring.
To care for interior doors, specially intended means and napkins for furniture are used. It is impossible to use acids, alkalis, solvents. The door should be protected from mechanical damage to avoid the appearance of chips, loss of sections.
The intercommercial swinging door of good quality in proper care for many years will retain an attractive appearance and functional properties.


