Fence from the grid Rabitsa - from choosing to install do it yourself Construction,Plot.
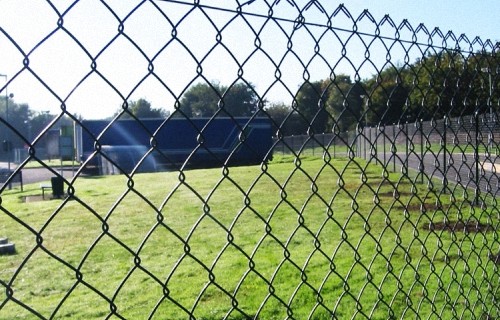
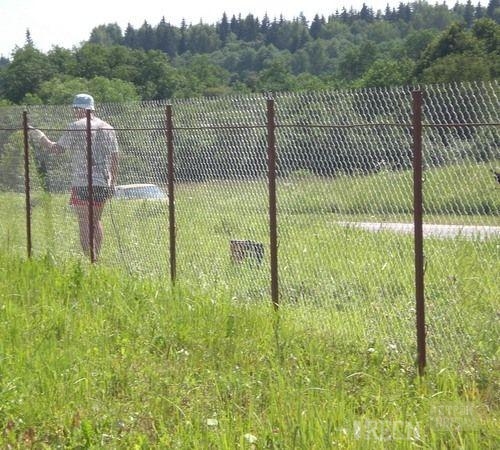
The arrangement of the fence between houses or gives, often becomes the cause of quarrels between neighbors. After all, a high, dense wall of stone, slate or metal profile shadow the territory. Thus, it is impossible along the fence, something to plant, because there is no light. The way out of this situation will be the installation of a slaughter from the chain grid. It will allow the rays of the sun and air without obstacles. And also reliably protects from penetration on your section of neighboring pets and uninterested guests.
Content
Application
The fence, built from the chain grid, is most often used to enhance:
- private ownership
- cottage or garden plot,
- technical zone,
- sports fields and tennis courts
- lake or reservoir
- chicken coop
- pattern for animals.
Advantages
- Affordable price is much cheaper than other types of fence.
- Prevalence - you can buy in all building stores, supermarkets or markets.
- A large range - there are three types of chain grids (galvanized, not galvanized and plasticized) as well as many forms of cells and sizes.
- Quickly mounted - you do not need to be a big professional to establish such a fence.
- Functionality - not inferior in reliability by other types of fence.
- Not a galvanized grid quickly rust if it is not painted on time.
- Not aesthetically use the grid for the fencing of architectural or public buildings and structures.
disadvantages
- Not a galvanized grid quickly rust if it is not painted on time.
- Not aesthetically use the grid for the fencing of architectural or public buildings and structures.
Types of grid Rabitsa
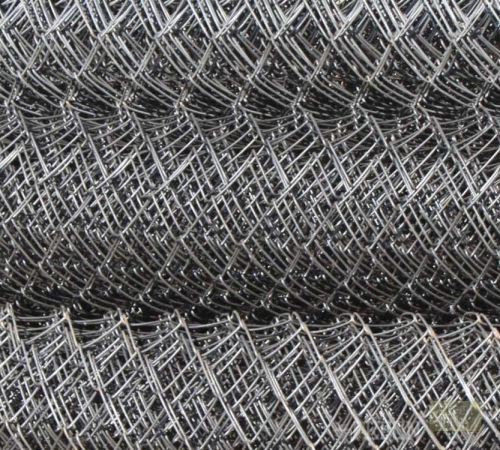
On sale you can find 3 types of mesh, differing from each other with the material from which are made.
- Non-scattered mesh is made of metal metal. It is necessary to paint immediately after installation, because it is very fast rust. And it is also necessary to repaint every 3-4 years.
- Galvanized grid is more expensive than the previous species and more popular, because it does not rust.
- Plasticized grid is a relatively recent appearance. It differs from the first species, the fact that is covered with a protective polymer, which makes it an anti-corrosion and more aesthetic.
Types of fences from grid Rabitsa
The stretch fence is much easier and cheaper to mount, just pulling the grid between the columns.
Sectional fence requires some additional costs for the frame from the corner. It is usually worth it more than the grid itself.
Choose a grid for fence
Before you buy a grid, you need to determine the desired shape and size of the cells. Cells can be rectangular, diamond-like or other variations, but it does not matter if you do not use it as a fence for chickens with chickens that can crawl through it. It is more important to choose the size of the cells, which varies between 25 and 60 mm. The greater the cell size, the better the light will pass through it, and the grid is less durable and the price is respectively lower. For normal fence, select a grid with cells 40 or 50 mm.
Determine what kind of future fence will have a photo of fences from the chalk grid on the Internet.
Choose pillars for installations fence from the grid of Rabita
Wooden poles. The remaining pieces of the bar from the construction of the roof or other parts of the house are suitable. It makes no sense to buy them specifically for the fence. It is better to purchase metal, because they are more durable and durable.
If you decide to buy metal poles, then they must have a diameter from 60 mm to 120 mm, and the thickness of the section is more than 2 mm, and a round or square shape.
Applies and column or asbate agers are used if they are in your farm. The grid is attached to them with a cable, which is woven into the grid and around the pillar, or clamps.
Cooking the necessary tools and materials
You will need:
- roulette,
- a few pegs
- cord,
- gloves,
- shovel or bur.
The following materials will be needed for mounting:
- anti-corrosion mastic
- cement,
- sand,
- crushed
- water.
Wooden bars cleanse from the bark, and cut the desired length. Usually about 3 meters, with the calculation of the height of the grid and the depth of the dug hole. Treat carefully waterproofing mastic part of the bar, which will be underground.
Prepare hooks with which you will mount the grid to the post. For this, any infringement materials are suitable, which are easily bent:
- nails,
- pieces of iron rods
- long screws,
- thick wire.
Mounting tensionment from the chain grid
Make marking areas. In each corner of the plot, install one peg, and stretch the cord or thread. Which length will be a thread, so many mesh meters need to buy, plus 1-2 m, for insurance. Now determine the places where you will mount the pillars and make marks. The length of each span should not exceed 2.5 m so that the grid does not begged.
Drop the pits for concreting pillars, at the place of marks, with a boraner or shovels. Find out the depth of the primer of the soil in your area plus 10 -15 cm. So it will be the distance to the bottom of each pit, except for those that are in the corner. They make them deeper than usual about 20 cm, because they will have the greatest pressure.
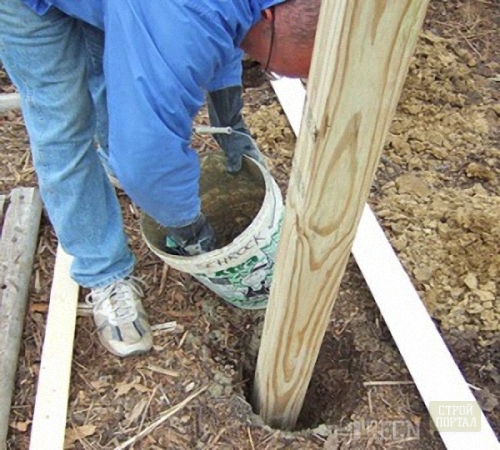
Set the first posts at the corner of the territory. The bottom of the pit is crushed with rubble and sand and free to confuse. Prepare a solution for fixing as follows: Take 1 part of the sand, 2 parts of cement and 2 parts of rubble. Mix well. Add water and mix again. Try to make it not too liquid. Fix posts and pour with cement mortar. Rock it slightly with a shovel. Take a plumb and make sure the pillar is located under direct angle. Thus, install all poles. You will be able to continue the installation work, only after the concrete fully hardened, depending on the temperature, after 3-8 days. In hot weather, concrete must be watering with water, so that it does not crack and retain strength.
Carefully straighten the roll, and pull the uniformly grid on the poles, starting from the first. Attach it with nails or cooked with crochets. So that the grid does not sink and do not be bitten, to the grove to it vertically the reinforcement rod near each pillar. Holding to its upper and bottom edge, you will pull the grid of the tight. Prut certainly attach to the post.
Tip: Do not go around the grid of the corner post. Better disconnect the grid after attachment, and continue with a separate web to reduce the load.
Color the fence immediately after its installation to protect it from corrosion.
Twist the upper edges of the grid and wrap them down to avoid injury.
The fence from the grid Rabita section
To install this type of fence, follow the steps that were just indicated. The only difference is the mounting of the mesh in the frame.
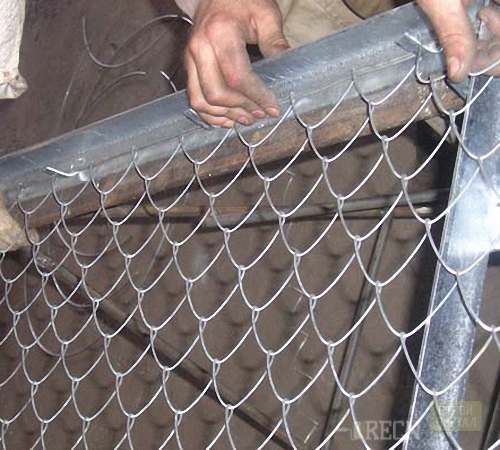
The frame length is equal to the distance between the pillars minus 20 cm. The design will have a height equal to the length of the post from the ground, minus 15 cm. Mark and cut the brotcast corner and create a rectangle with welding. Using reinforcement rods, which have grown through all 4 edges of the grid, thoroughly pull it out and breed the rods to horizontal and vertical edges of the frame.
To the columns, at a distance of 25-30 cm from the upper and lower edge, breed, horizontal metal stripes. At these with welding, attach the section. Color fence.
In this way, the fence from the chain grid with their own hands is mounted.


