Tree arbors for a private house with their own hands Construction
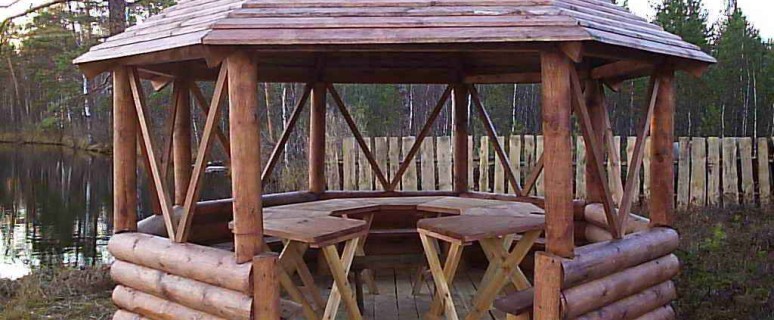
There must be a gazebo on any decent country. This is a completely indispensable in the summer building, where all family members and friends are going to enjoy the cool evening air and comfortably relax. The gazebo combines home comfort and natural naturalness. For construction, you can use any materials, but most often it takes wood for this, as it is cheap and affordable. In this article, we will analyze in detail the construction of the arbor from the tree with their own hands and consider some interesting projects.
Content
General recommendations
Any hardworking person will be completely able to build a gazebo from the tree, even if he first keeps drill and plans in his hands. It requires only the most superficial knowledge and joinery skills. Moreover, work will allow you to "fill your hand" and in the future to be taken for more complex projects, for example, the construction of a roof or terrace.
Selection of a place for a gazebo
Half success depends not from your skills and skills, and not even from the quality of the materials used, but from the place you will assign under the arbor! It is worth repelled from the purpose of building - for noisy fences with friends in the fresh air, for family gatherings or for a secluded pastime. So, if in the gazebo it will often sit the noisy company, it is better to arrange away from a residential building, so as not to interfere with those who prefer silence and peace. If you are planning to dinner or dinner in a gazebo with the whole family, it is better to place it nearby at home or near the summer kitchen so as not to run with plates around the site.
If you decide to build a gazebo in the depths of the garden, the crowns of trees will protect it from the direct rays of the sun, snow and other precipitation, but in the fall, it will be necessary to remove the false folia from the roof. Arbors standing in the open area require additional protection. To do this, with a leeward side, it is desirable to have a fence or some plantations (thick shrub or trees).
What is needed for construction of a tree arbor
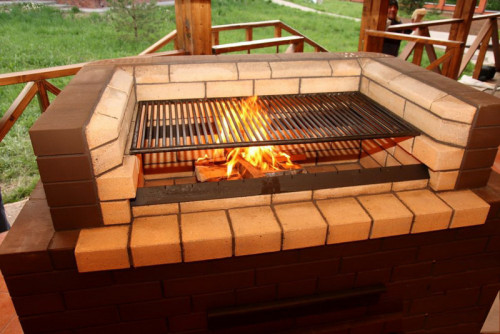
Before you go for the materials, you need to carefully plan the drawing of the arbor from the tree. The construction must fully fit your needs and tastes, to accommodate the specified number of people plus another couple just in case, to be beautiful and comfortable. Inside there must be shops or other seats, in the center you can install a brazier. Determine the size of the gazebo and wood in advance so that then it does not have to expand it. At the same time, remember that each additional feature entails additional costs. For example, if you want to put a mangal in the center of the arbor, then you need to make a hole for the exit of smoke, and all the inner surfaces to hamper with fire-resistant materials.
When you were determined with the "filling" of the future building, you can decide which design it will be, that is, the stylistic orientation. The design should be harmonized with the landscape and the appearance of a residential building, so that the gazebo does not look faded the spot on a general background. You can make a classic lattice gazebo or stylize it under ancient with carved wood details. Recently, it is highly popular with purposely simplified and strict geometric forms. In the Instructions below will be described by step-by-step construction of a tree arbor to give a classical configuration.
Required tools and materials:
- tubular formwork - 4 pcs;
- adjustable anchor - 4 pcs;
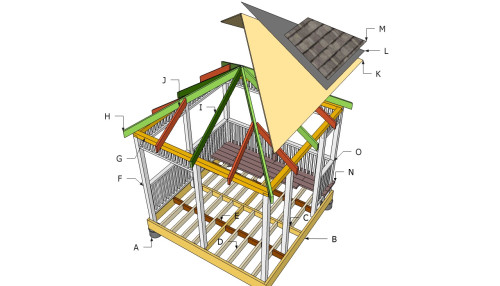
- lower blockage (B) - 2 bars 5x15 cm 3 m, 2 bars with the same cross section with a length of 3.07 m;
- for the average beam frame (C) - 1 Bar 5x15 3m;
- lags (D) - 16 BRUSEV 5х15 cm 1.48 m long;
- struts for lag (E) - 18 bars 5x15 cm long 0.36 m;
- racks (f) - 9 bars 10x10 cm with a length of 2.7 m;
- upper cutting of the frame (G) - 4 vehicles 10x10 cm with a length of 3 m;
- corner rafters (H) - 4 beam 5x10 cm with a length of 1.98 m with ends, cut at 55 °;
- netigarps (J) - 8 5x10 cm bars with a length of 1.05 m;
- plywood 12 mm (k) - 18 m²;
- ruberoid for roof waterproofing (L) - 18 m²;
- soft tile (m) - 18 m²;
- boards per floor (N) - 10 m²;
- fencing (O) - railing 5x10 cm from below and on top, bales 5x5 cm;
- crushed stone, river sand, cement M300 for foundation;
- screws 6 cm for racks;
- screws 10 cm for rafted and rail;
- screws 15 cm;
- steel corners;
- self-tapping screws 6 cm;
- roofing nails 1 cm;
- drill with a set of drilled;
- a circular saw;
- hammer;
- roulette;
- level and plumb;
- garden drill;
- ladder.
Instructions for construction arbors from wood
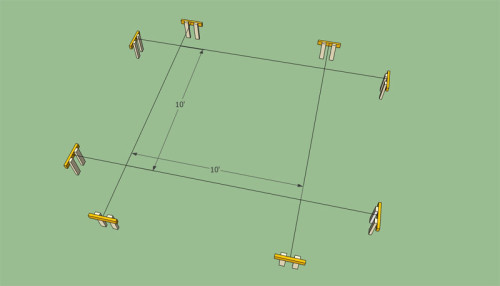
Carefully read the design of the tree gazebos and prepare all the required materials with a reserve of 10%. Even if the materials remain, they can later come in handy for repairing gazebos or other buildings in the country. Prepare the selected area, clearing it from vegetation and removing the fertile layer of the soil (thickness 15-30 cm). Then with the help of pegs and the twine, stretched between them, make the markup of the future foundation. To make sure the square of the square, measure it is diagonal - they must be the same. Each angle should be strictly 90 °. To check it out, use the rule "3-4-5" (in a rectangular triangle with 3 m and 4 m and 4 m hypotenuse is always 5 m).
How to make a gazebo from a tree:
- When the markup is ready, you can start the mounting of vertical racks. There are several options: install in concrete or using metal products. In the first case, it is necessary to dig a garden brown of the pits to the depth of a little more of the level of ground freezing, on the bottom of the crushed stone layer at 20 cm, the ramp, then pour a layer of sand 10 cm, again tumped, after which it is pouring the cement-sandy solution and to the center of each such pit Stick the rack, aligning it vertically with a plumb. Racks need to be fixed and left until the concrete bases are completely frozen for 3-5 days.
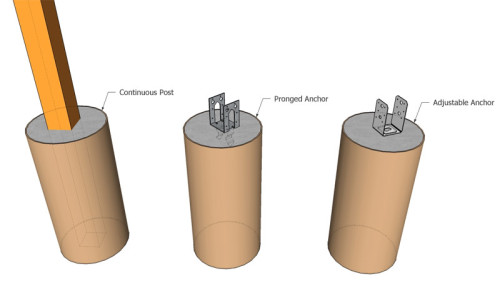
- There is another way - in each of the pit it is necessary to put on a tubular formwork (piece of plastic tube) and pour into the concrete. When it grab a little, set the adjustable anchor bolts from above, bringing them into a single horizontal plane relative to each other.
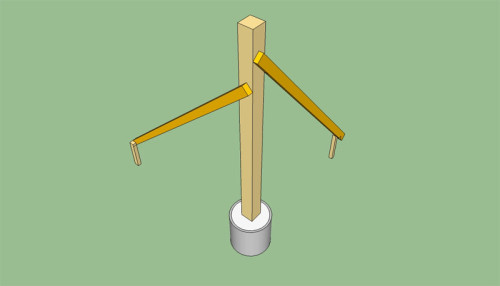
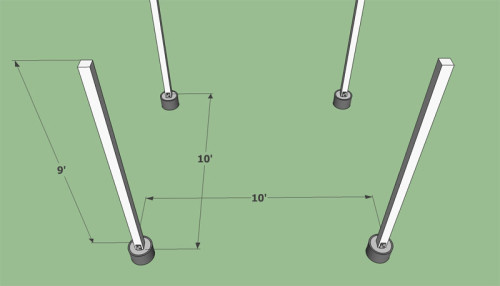
- Install the racks, aligning them using an alcohol level.
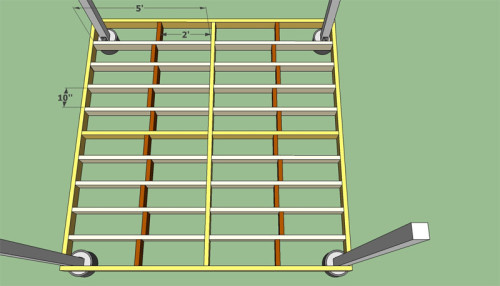
- Construct the frame of the 5x15 cm barcas, laying the lags with a distance of 40 cm so that they can withstand the weight of the board. So that all lags are on the same level, first install two lateral logs, pull the twine between them so that it takes place along the top face of the BRUSEV. All intermediate elements can be quickly set up the level indicated by the twine. However, before finishing the anchor, check the horizontality of all lags again.
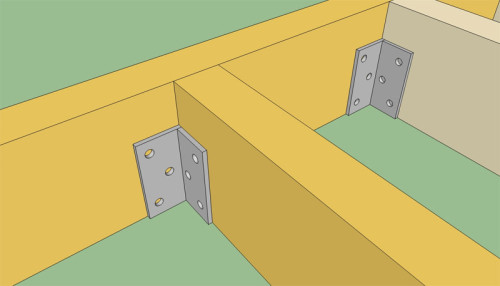
- You can fix the lags with 10-12 cm screws, driving them into the end of the lag through the perpendicular lump bar, or steel corners and clamps for fastening the ends of the beams. Specialists advise to use the last option because it is faster and more convenient for beginners. If you still decide to fix lags with screws, before screwing, be sure to make a hole drill, otherwise wood can crack.
- Mount the remaining racks that will serve as a support for the upper strapping and the rafter system. To increase strength, it is recommended to fix the racks with 15 cm of nails. Before fixing each of them, check its vertically with the level and plumb.
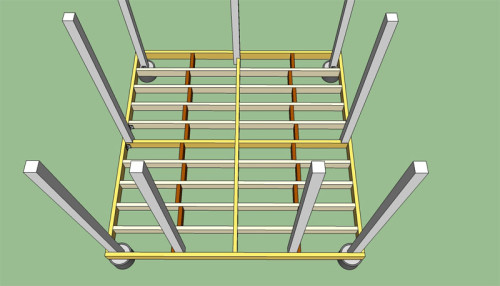
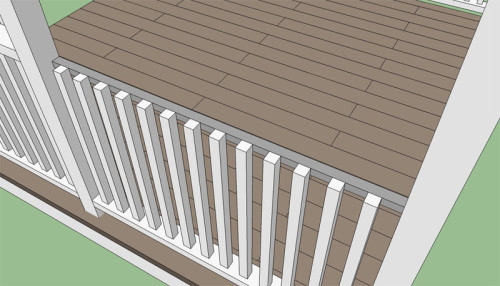
- After that, you can be taken for flooring. To do this, it is best to use the weather-resistant floorboards for the terraces, since any other material outdoors will quickly come into disrepair.
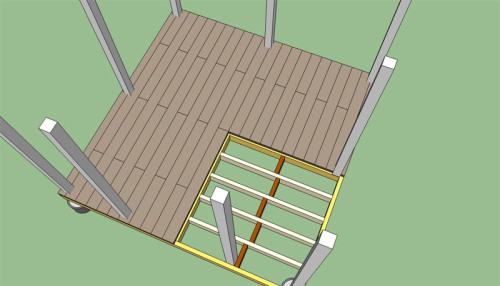
- Secure each board by screwing on 2 self-press on both sides. If you decide to nail it with nails, you will pre-wind the holes, otherwise the boards are cracked.
Roof
For the manufacture of roofing gazebos, you can use a variety of materials used and for ordinary roofs of residential buildings. Straw coating or shale tile look very original. In our case, an inexpensive and practical bituminous tile will be used, for the attachment of which 1 cm nails will be needed.
How to make a roof:
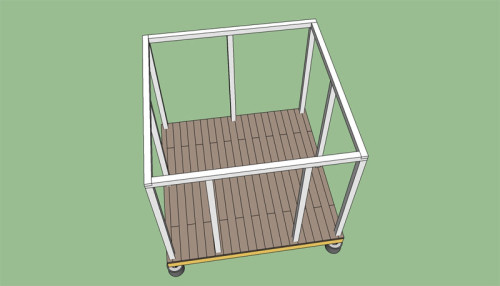
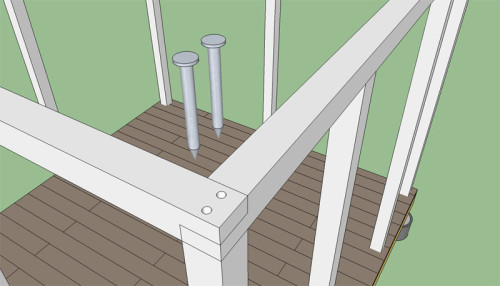
- Fix the upper strapping of wooden frame racks using 10x10 bars. See the image below shows how to lock bars correctly. At the ends it is necessary to make the feed in the form of the letter "L", after which it is to combine them on the top of the vertical racks. To increase the stiffness of the design, make the strapping only from solid bars.
- Drill holes and take 150 mm nails in them.
- Install the roof frame, drinking the carrier bars of the rafting farm and pairwise fixing them with nails (drive at an angle). At this stage you will need an assistant to support elements on top.
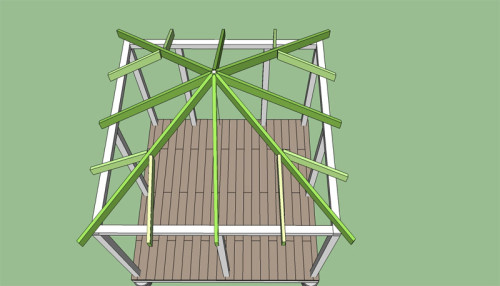
- Install these people, placing them strictly symmetrically. Fix them with screws 10 cm.
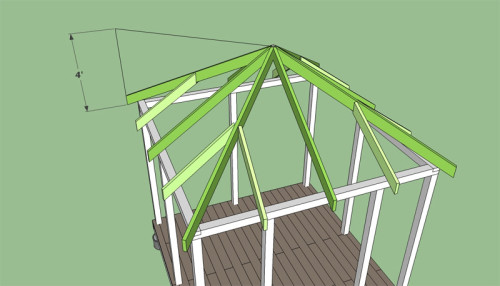
- The basis for bituminous tile can be moisture-resistant plywood or board. With plywood newcomer will work easier and faster. In any case, screw the material to the rafters every 25-30 cm.
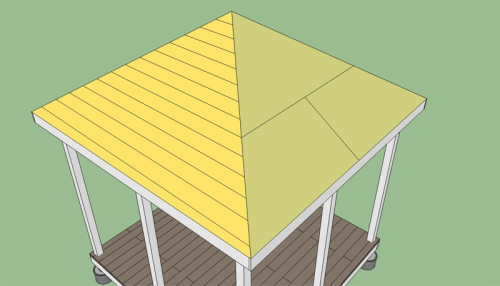
- On top of the roofing flooring, attach the runneroid, navigating it with a furniture stapler or nails.
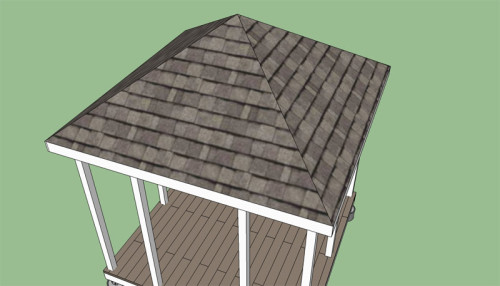
- After that, you can kill soft tile, professional flooring, wooden shingle or other selected material. Use for this short 1 cm nails so as not to damage the integrity of the roof.
Wooden arbor fence
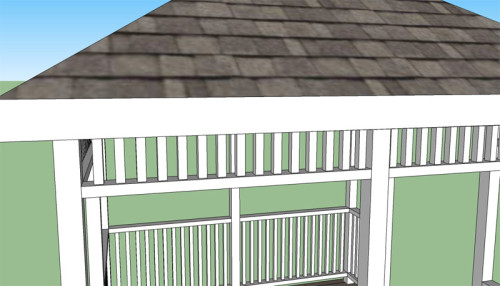
In conclusion, it is necessary to make the fence of the gazebo. Without it, the design will seem unfinished. Although the fence does not protect against wind or prying views, it creates a feeling of isolation and security. You can make balusters and railing with your own hands or purchase ready-made products with decorative carvings in a specialized store, for example.
Most often for arbors, balusters high up to 1 m high, leaving gaps between them at 20-30 cm.
Secure the lower and upper bars with steel corners or self-drawing. Do not use nails for this and all the more do not drive them into the ends of the balusne through the railing. For such compounds, the optimal fastener will serve as angel.
All elements of the fence, and even more than the railing, it is necessary to care carefully several times - first sandpaper of large grain grain, and then smaller. After that, all the gaps and holes from the bitch should be filled with a putty on a tree. This applies not only to the elements of fence, but also gender, benches, etc. After drying the putty composition, you can cover a gazebo with varnish or weatherproof paint. And varnish, and the paint is recommended to apply in 2-3 layers for reliability.
Below on video - a ledge from a tree, made on another technology:
In order for the gazebo to serve as longer as possible, it is necessary to think over all the smallest nuances:
- For maximum durability and reliability of the design, pay special attention to preparatory work. So, the foundation must necessarily stand on a drainage pillow, so that it takes out an extra moisture from the concrete. In addition, if the site is on the bunched ground, the base posts must be opened below the level of the freezing, otherwise the powered strength can push out and check the gazebo in the spring.
- Since wood is chosen for the construction of the arbor, it must be protected from the encroachment of insect parasites. For this, all elements of the design (even hidden) should be treated with several layers of antiseptic. If inside the arbor, it is planned to build a brazier, in addition to the antiseptic, you need to cover the surface with the flame.
- Do not use wood coofer woods for the construction of benches, since it can allocate resin in the hot summer months.
- For the winter, an open arbor can be labeled with polyethylene to protect against the destructive impact of humidity and snow.
- Design design must be harmonized with an exterior of the house. To enter the construction in the landscape design, you can put on its walls curly plants, for example, maiden grapes or ivy. Photo Arbors made of wood for the cottage, presented below, will inspire you for successful design solutions.
Tree arbors do it yourself: photo
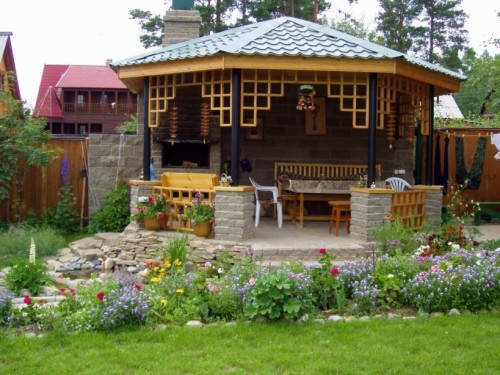
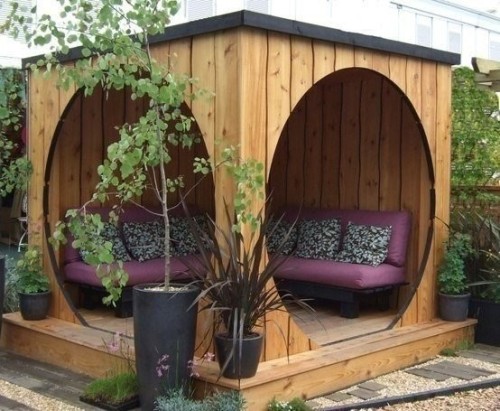
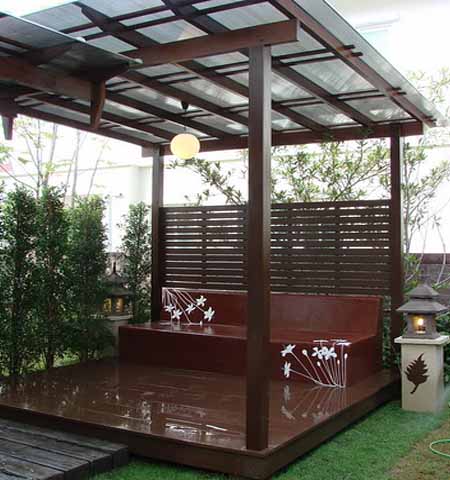
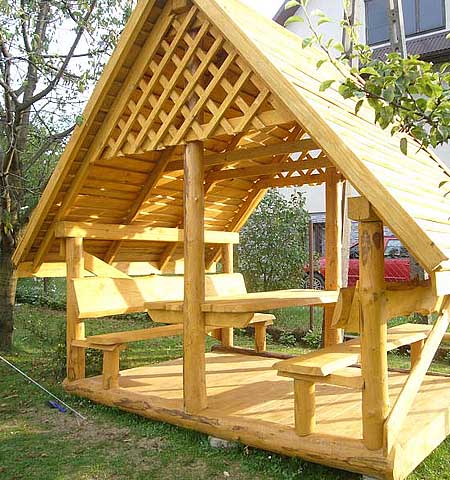
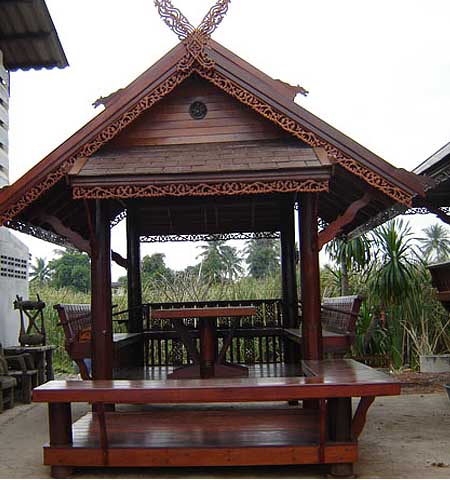
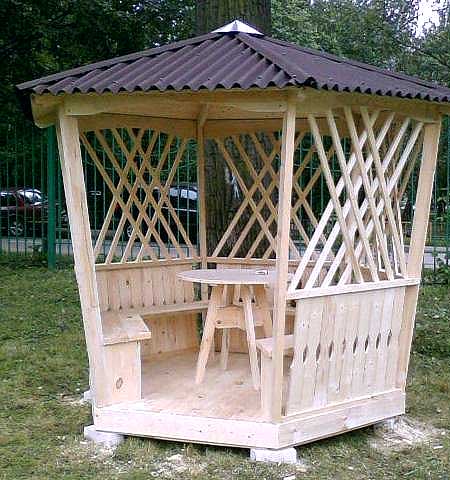
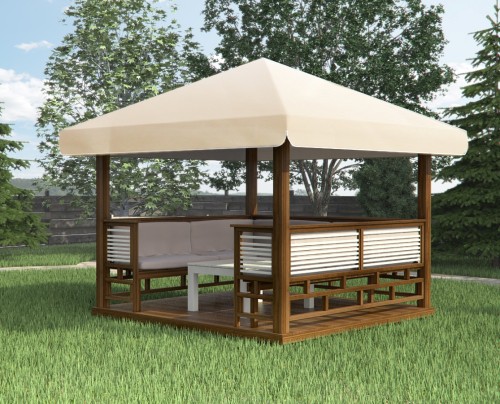
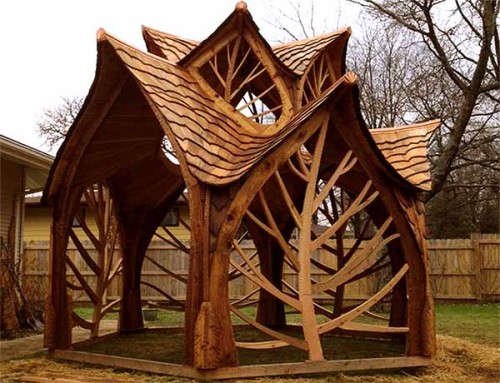
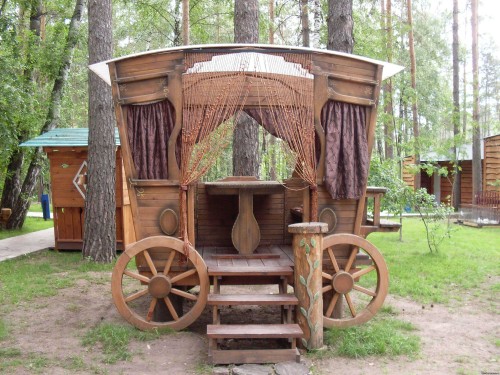
Finally, we propose to take a look at the original versions of the wooden arbors.


