Wooden windowsill do it yourself Window

To date, convenient and practical plastic in our homes almost pushed out a tree. But some are still preferred by this material, because It takes a special warmth, and the interior looks noble and beautiful.
Content
What is wooden windowsill better plastic?
Despite the fact that the tree for the manufacture of windows and their components is less popular, high-quality windows from this material are much more expensive. It is mainly chosen by true connoisseurs of comfort, which have a means for this.
The advantages that wood possesses:
- environmentally friendly, natural material is absolutely safe for human health;
- wood from nature has a very beautiful drawing, so wooden windowsills need only processing against fungus and lacquer coating;
- if in the process of operation on the wooden surface, small damage appeared in the form of cracks or scratches, they are easy to eliminate, which you can not say about plastic;
- dust and dirt from the street attract plastic, and there is no.
Due to the safety of the tree, some even install wooden window sills for plastic windows. The fact is that in the winter, when heating is included, the windowsill of plastic is heated from the battery, which is often located right under it, and begins to allocate harmful substances into the atmosphere. This does not happen to the tree, so some people who are not able to pay fully wooden window structures go to such a combination.
What kind of wood make window sills?
1. Array:
- wooden window sills from oak;
- wooden window sills from beech;
- wooden window sills of pine;
- wooden window sills from larch.
Of course, there are much more types of wood, but the above is most often used.
2. glued wood.
3. LDSP, MDF.
The most high-quality, beautiful and therefore, expensive, are window sills from oak and beech. It will be much cheaper by pine and larch, due to greater softness and less aesthetic appearance.
The first thing wood is carefully dried. Her humidity should not exceed 10%. Next, the polishing and impregnation of mastic consisting of oils and wax, after which the water permeability of the material decreases significantly. Then there is a decorative coating, for example, painting, veil or varnish. And the latter is obligatory, if the windowsill will be placed flower pots. On the lacquered surface there will be no stains from accidentally spilled water.
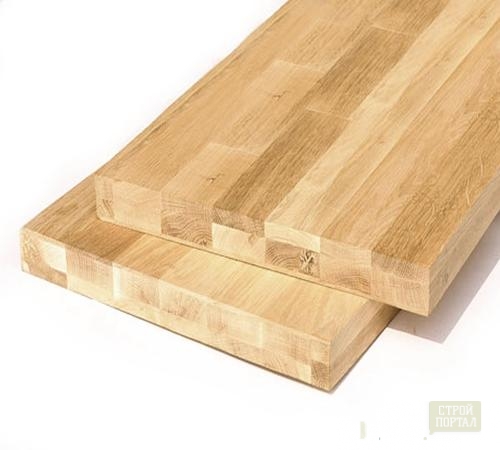
The glued wood is good because it does not breed from humidity as an array. In addition, it is an order of magnitude cheaper and at the same time it is not necessarily worse. The glued wood is a multi-layer pie from slats glued under the action of high temperature and pressure. After cooling, it is treated with special means, thanks to which it becomes immune to the action of humidity and UV radiation.
An even cheaper option is the windowsills from LDSP and MDF. They have different density and are pressed wood materials covered on top of a decorative shell - laminate. In addition to low cost, the material is good in that it has a diverse palette of colors and textures. It imitates a tree, stone, marble, is matte and glossy. Also, this material has a small weight.
The edge of the windowsill from a chipboard, protruding over the battery, is usually made downward. It is called a drip and creates the illusion of thickness, greater than it really is. At the same time, he limits the flight of fantasy, not allowing the windowsill with an unusual shape or rounding the corners.
General rules for caring for wooden window sills are:
- when painting colors, prevent the formation of puddles on the surface of the tree, and if all the same, the water sheds, immediately wipe it with a soft cloth;
- not to wash with plenty of water, it is better to wipe with a wet rag;
- do not expose to household chemicals, when cleaning, do not use abrasive sponges and detergents;
- once a few years apply to the surface or an additional layer of varnish, or protective wax;
- when mounting the windowsill take care of decent heat insulation, because Its absence threatens the freezing and destruction of the tree.
Wooden windowsill do it yourself
The personnel manufacture of wooden window sills requires increased attention to the source material. Carefully dried boards should be used, without bitch and other defects.
- the board, from which the windowsill will be made, Ostiver with each of the sides, polish and polish;
- from the bottom to the workpiece, apply an antiseptic, which in the future will exclude the appearance of fungus, mold and insects;
- give it the necessary form, make ripples and tears - small gutter up to 10 mm wide, at the bottom of the board, with an indent of 10-20 mm from the front of the windowsill;
- cut the board to the desired size and give it the final form;
- often, wooden window sills make composite, in this case the parts are connected by glue, keypones or brazers;
- standard wooden window sill, the thickness of which depends on the selected material, should be 100-150 mm in length to exceed the width of the window opening;
- that part of the window sill, which will be outdated inside the room, should be a length of at least 60-70 mm;
- it will be better if you beat the bottom of the windowsill felt, then the design will be more dense and warm.
Now that the first stage of work is over, it's time to go to the installation. The installation of the window sill occurs like this:
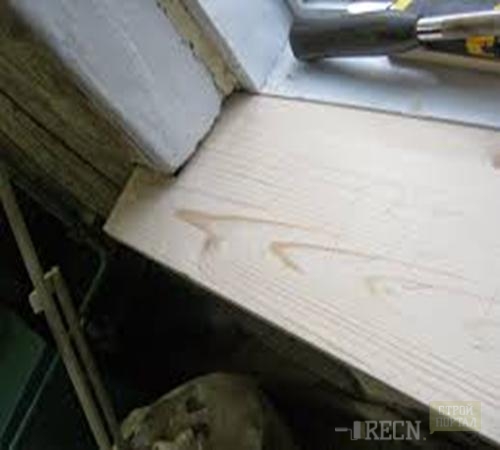
1. First of all, prepare the foundation on which it will lie. If it is made of brick, apply a lime-gypsum solution directly to the masonry, if the antiseptic processing is enough. Throughout the workflow, remember that the window boxes must be located strictly horizontally.
2. Preferred windowsill to put on a prepared base under a quarter of the window box.
3. To fix it, use nails without hats. If the windowsill is installed in a wooden house and the base beneath it is also made of wood, then act like this: hammer nails to half, and then suck the windows on them.
4. The windowsill must be in a strictly horizontal plane or with a slope inside the room no more than 1 °.
5. If the base plane has drops in height, then special wedges have to be put under the sub-board and fix them with cement mortar.
6. Upon completion of the work, remove excess solutions. It is necessary to do it before it grabs.
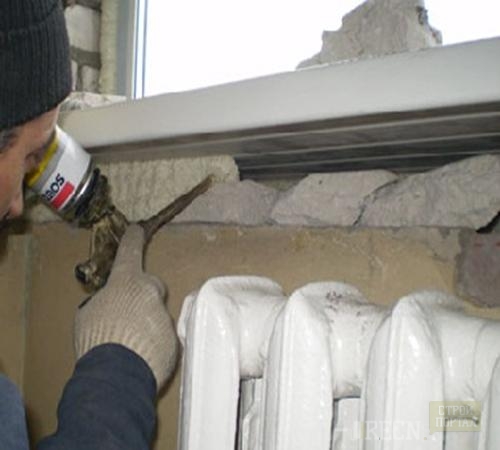
7. Fill in the bottom of all empties and grooves by mounting foam, turn off the slopes.
Installation of sings:
- Attach the steel tide to the window from the street. His upper edge insert into the connector from the bottom side of the window box. Use a special putty.
- Plum edges. Bend up, and from the bottom of the central part to form a dropper.
- To secure the drain on the lower external slope, made of cement mortar, climb wooden bins.
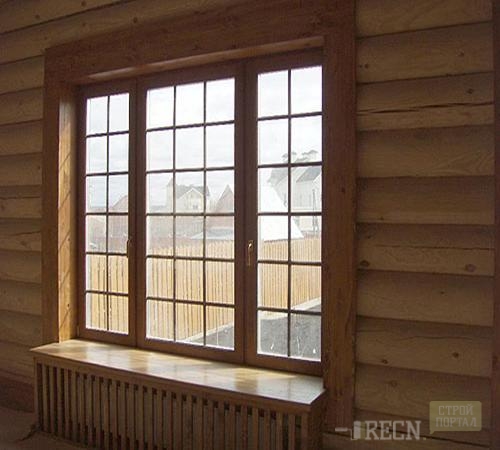
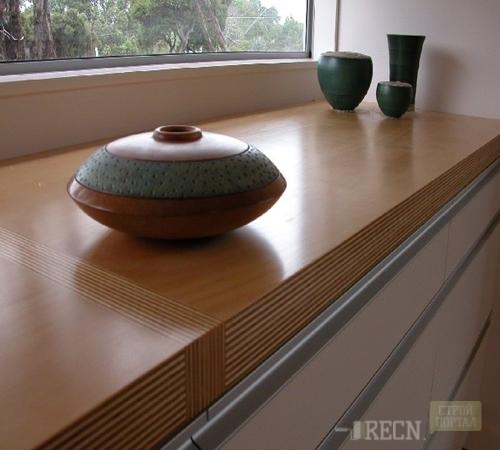
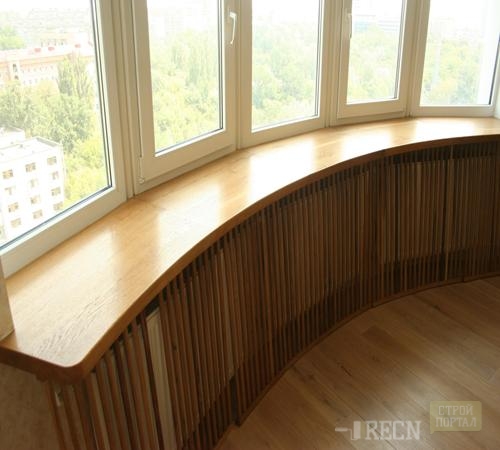
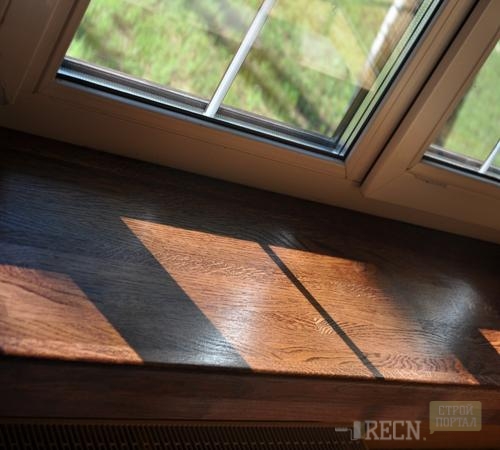
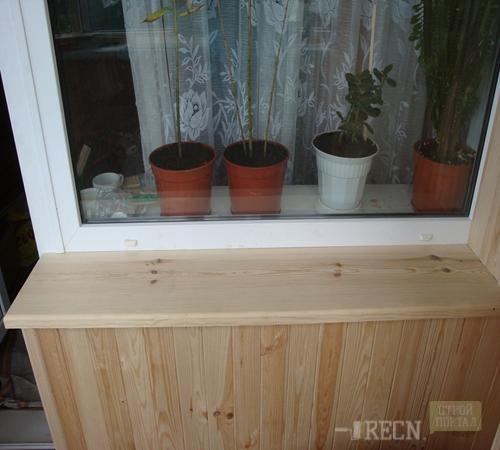
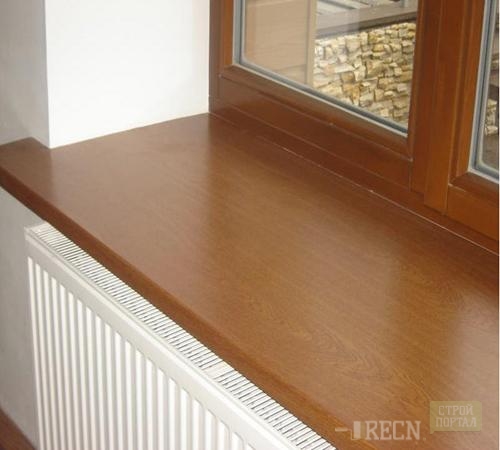
Wooden window sills, whose photos are presented in the article, install itself easy. Subject to the exact and consistent compliance of the instruction, it will be a beautiful and reliable design, which will delight the tenants of the house for many years.


