Paul in the hallway: Installation Instructions Floors
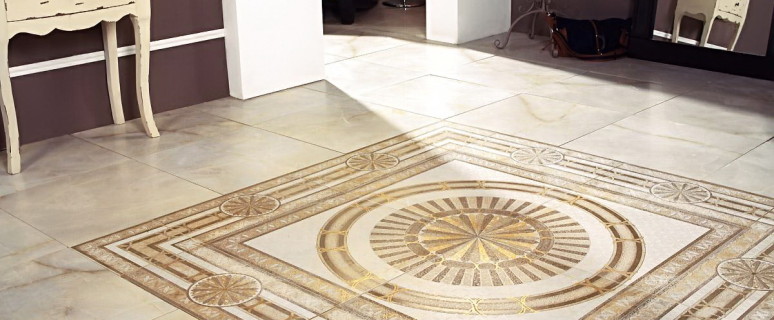
The floor in the hallway is daily exposed to a significant mechanical load, and also quickly contaminated. Therefore, elevated requirements are presented to the floor covering. Materials must have such performance, as durability, durability, aesthetics, resistance to mechanical damage and influences of chemical elements, ease of care. It is also desirable to cover the anti-slip surface. Modern construction industry offers a significant selection of materials for the flooring. Consider several options in more detail.
Content
Paul in the hallway: tile and laminate
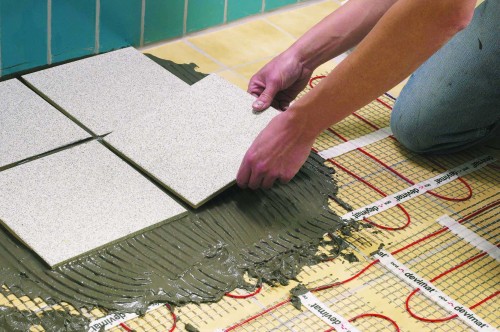
Tile as an outdoor coating for the hallway is chosen due to its wear resistance and mechanical stability. In addition, this material is distinguished by a variety of colors and textures, as well as ease of care. However, giving preference to such a coating should take into account that it is cold enough. For this reason, it is recommended to install the "warm floor" system with the installation of the tile.
When choosing this material, you need to focus on the degree of wear resistance. For this criterion, the tile is divided into five groups. The difference consists in its stability of mechanical damage. For the hallway, you should choose a tile related to 3, 4 or 5 groups. It is the most durable. Material 1 and 2 groups are too fragile, so it is not suitable for room with high permeability.
Also, the tile is divided into species depending on the degree of resistance to chemical impacts. The highest quality in this respect is the material of class AA, and the most unstable - groups D. For the hallway, options A and C are suitable for the hallway. Also, you also need to choose a matte tile having a embossed surface.
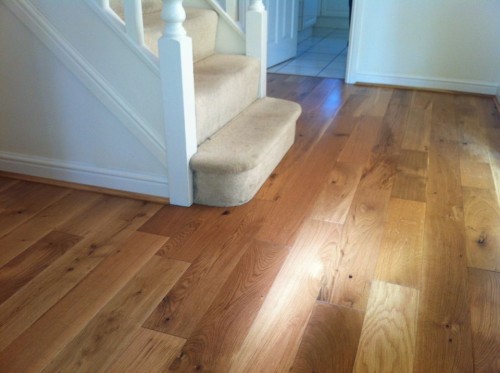
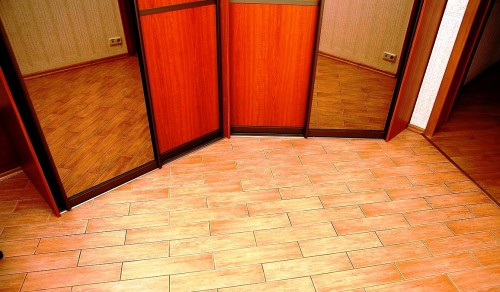
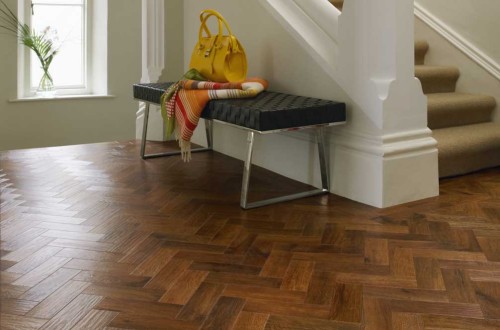
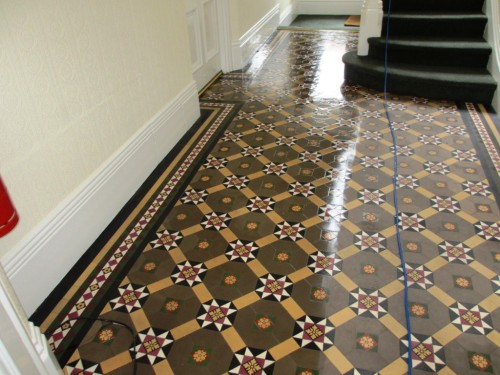
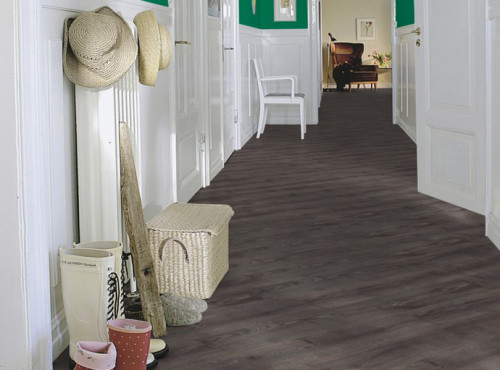
Paul in the hallway. Photo:
Another option of flooring for the hallway is laminate. He meets all the necessary requirements. The material has a long service life and maintains performance properties under the influence of loads of different character. The structure of the laminate board is four layers:
- The first is a protective transparent coating, the main component of which is acrylic resin, as well as different additives.
- The second layer performs a decorative task. With it, it creates an imitation of any finishing coating, for example, wood of a certain breed.
- The next layer is the main part of the board. It is made of wood compressed fibers.
- The last layer consists of paper and performs a protective function. It is impregnated with a special means, which prevents the penetration of moisture into the coating structure, which makes it possible to prevent its deformation.
Laminate is distinguished by the degree of wear resistance. For an entrance hall, it is recommended to choose the third group board at number 23. The material belonging to the first and second category is intended for premises with a weak load. And the laminate, which is included in the 4th, 5 and 6 groups (they are denoted by numbers 31, 32 and 33) is made for public places. Since its price is several times higher than the cost of a third-class material, which is quite capable of cope with the load in the hallway, acquire more expensive boards inexpediently.
Installation tiles for hallway on the floor
The main requirement for laying this coating is a smooth surface. The most suitable basis is the concrete screed. In case the tile is assumed to be mounted on the wooden floor, preparatory work will be required.
For laying you need to prepare:
- tile;
- sealing composition;
- glue;
- shtailech mixture;
- scraper;
- roulette;
- glass cutter;
- hammer;
- level.
To obtain the necessary surface on the base, it is initially necessary to put the plywood with a thickness of 12 mm. If concrete floor has any defects, they are eliminated using cement mortar. It should also be borne in mind that this flooring is placed on the waterproofing material.
So, the laying process occurs in such a sequence of actions:
- The first stage of the work is to place the tile on the floor surface without the use of adhesive means. This will find the most convenient location. The main task is to accommodate tiles in such a way as to maximize the trimming of the material near the wall.
- At the next step, the adhesive composition is applied using a blade or spatula.
- Styling starts from the central part of the room and move towards the walls. Do not immediately handle a large area, enough 1M 2.
- Next, you need to press the tile on glue and press it tight to the floor. So the series is formed. Then the entire surface treated with the adhesive mixture. In the course of work, it is mandatory to check whether the tiles correspond to the same level and, if necessary, adjust the coating.
- After that, the following fragment of the area is processed with glue and thus the coating lays along the entire surface of the floor.
- When mounting the tiles between the central part and the walls often there is a need to trim the material. To do this, use a special cutter that has the size of the size. This makes it possible to cut all the tiles equally.
- When the glue dries the surface of the coating, you need to handle the primer to prevent the appearance of spots.
- At the final stage, the seams are watched between the tiles. To do this, prepare a special solution and a rubber scraper by which the gaps are filled with the composition. Next, a spatula will be required, a thin line is carried out by its sharp angle.
- Excess the solution to drying are removed using a wet sponge.
- At the end of the work, the tile is wiped with dry rag.
How to make floors in the hallway: laminate board laying technology
Laminate can be mounted on the tile, linoleum, parquet coating, boards or cement screed. The base must be smooth. If there are defects on the screed, the situation will help to correct self-leveling compositions. Minor depressions can be filled with a mortar of cement, and the protrusions are corrected by grinding. Walls also should not have irregularities. Otherwise, when laying extreme boards there will be problems, the panels will have to be supported.
So, it will take:
- fine-grained hacksaw;
- hammer;
- perforator;
- construction knife;
- metal bracket;
- wedges;
- a technological lining of plastic or wood (a laminate fragment is suitable for this purpose);
- sealing agent or glue;
- dowel-nails;
- self-adhesive tape.
In order for the floor to be as soon as possible, a number of such rules should be taken into account:
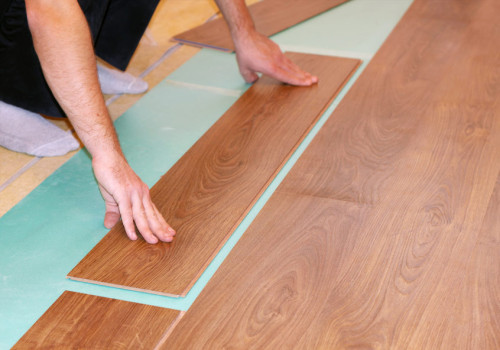
- Before installation, the base is covered with a polyethylene film to protect the boards from moisture.
- The substrate from polyurethane to 5 mm thick is stacked on top. This layer is a kind of barrier that prevents the heat loss and the penetration of excess noise. The latter circumstance is very relevant for owners of residential premises in apartment buildings. Several centimeters of both layers (polyethylene and polyurethane) should enter the surface of the wall.
- Polyurethane goes on sale in the form of rolls with a width of up to 1.5 m. Since to form a substrate, a single web band must be glued. For this purpose, adhesive tape is used. Film to the floor surface is fixed by means of glue or double-sided tape. The substrate to polyethylene is not attached not necessarily, the laminate boards will fit it well to the base.
- Prior to the start of installation, the laminate should be in the room in which work will be carried out.
- So that the seams were less noticeable, laying the boards should be in the direction of sunlight. In some cases, in order to save it, this rule is broken.
- The size of the laminate panels varies depending on the temperature level and humidity. For this reason, between the coating and the wall, as well as boards and communications, the space is 15 mm. This requirement refers to the obligatory rules of installation. His ignoring will lead to the deformation of the laminate.
The process of laying laminate involves the implementation of such actions:
- Work starts from the left corner. With a special responsibility, it should be approached by the installation of the first row, the laying of the entire coverage will depend on it.
- In order not to disturb the gap between the wall and the laminate uses wedges. They are inserted from the end side of the first stailed board. When working with uneven walls, the material is written so that the space is the same everywhere.
- The second board you need to insert the first panel of the first panel at an angle of 45 °, then put it on the floor. It is important to trace so that they are tightly adjacent one to the other. So they pass completely row, after which the ends of it must be squeezed. To do this, install brackets. And in the gap between the end of the material and the wedge is placed.
- The second row is initially assembled by connecting the boards with end locks. Next, mounted in the castle of the previous row. The boards are tightly pressed to each other. If necessary, the fragment of the last panel is screaming.
- When installing the next row, it is placed in the first place. The end seams located together rows must be shifted to 20 cm with respect to each other. If this fails, then instead of the first board install a dug fragment. Panels between themselves are joined without gaps. Customize them with a hammer.
For the installation of laminate in some cases adhesive is used. This is not necessarily, but justified when working on an insufficiently level basis. The adhesive composition will make the seams more durable, and protects the coating from the penetration of moisture. But this option has drawbacks. Flooring, bonded by glue can not be dismantled without disturbing its integrity.
The adhesive mixture should be specifically designed to work with laminate or wood. The composition is applied to the lower part of the groove, which subsequently places the spike subsequent board. The surplus of glue, protruding from the slots, is cleaned with a wet rag. The assembled row leaves for 20 minutes to dry. Then go to the next. The second row is first assembled, after which it is glued to the first.
When four rows are mounted, the work should be suspended for 2-3 hours so that glue is dry. If after installation between the boards, minor gaps remained, they are filled with a sealant for a laminate board. The composition is squeezed into the gap and rub it with a spatula. At the final stage, plinth is installed on the perimeter of the room.
Hallway: Combined floors
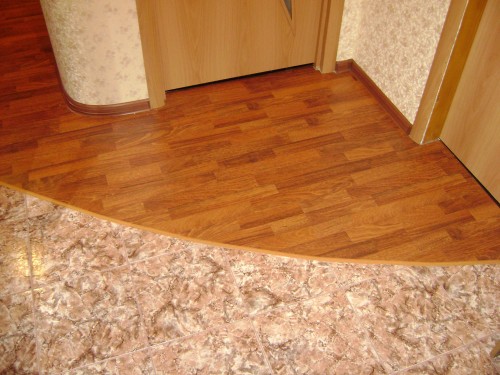
This coating option provides for the combination of several materials during floor arrangement in one room. For example, tile and laminate boards. This is a rather original design solution will help transform the interior of the hallway. It is important to position the material correctly. The space near the input door is the zone of high loads and contamination. It is recommended to put tiles here. Closer to the center of the room you can put a laminate panel.
But two types of coating need to docile high quality. You can do this with the help of sealant or decorative thresholds. The sealing agent is simply poured into the gaps. It is important to determine the required amount, based on the joint size. The threshings are installed in the junction cavity. These elements are divided into several species depending on the material used for the production. They are aluminum, steel, plastic and wooden. The most durable and durable is made by aluminum-based beams.
These items differ in the fastening method. Fixation is performed when closed and open docking. The use of springs allows you to get a smoother and aesthetically attractive transition. However, the design of the floor in the hallway does not always allow them to choose them under the tone of the coating. An alternative solution will be the use of sealing compositions. They are also used to design curvilinear joints.
There are several varieties of compositions. This is a construction foam, silicone-based sealants and mastic. Their advantages include the ability to choose the required shade. But in case of damage to carry out fragmented repair, it will not be possible to completely dismantle the joint. It should be noted that the combination of floor coatings is advisable in long and spacious hallways. A small room due to such a designer solution will be visually reduced.
Conclusion
The choice of material for floor covering in the hallway should be approached. This room is a high load zone. For this reason, the floor must meet the necessary operational requirements. Today the consumer has the opportunity to choose quality material that will benefit the design of the hallway. And the ease of installation will allow installing floors with their own hands.
Combined floor joint


