Garage from sandwich panels do it yourself Construction
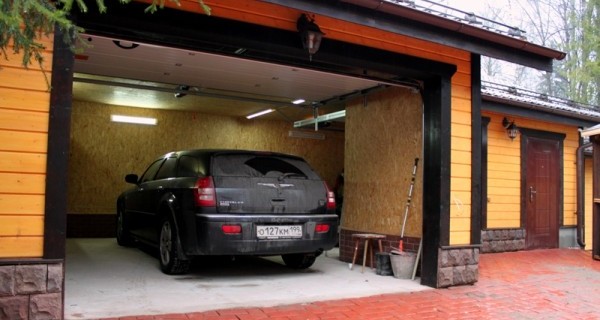
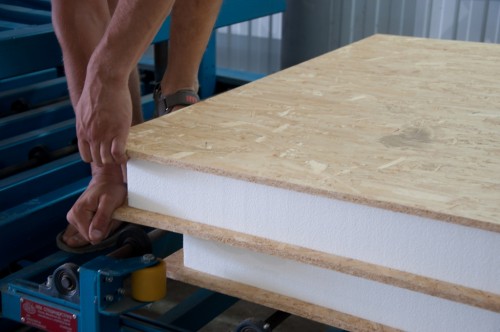
Today, you can still meet garages created from sandwich panels. Their advantage is that they are prefabricated, in the presence of all materials, it is possible to build such a design even a week. In addition, with their own hands.
Content
Pros and Cons Garage from Sandwich Panels
What is good garage from sandwich panels:
- Such a garage can be built not on the capital foundation, but for example, from reinforced concrete plates.
- Installation does not require any specific weather conditions, it can be carried out even in winter.
- No need to use cumbersome technique in construction.
- Such a garage can build even a non-professional if he adheres to the entire technology.
- No need to separate such panels, nor inside the garage, nor outside.
- If you compare with other materials, the sandwich panel is relatively cheaper.
- Fire rescue panel sandwich, they do not let frost and heat, and the average temperature inside the garage is stable.
- Due to its environmental friendliness, this building material does not emit hazardous substances.
- The life of such structures is quite large. If the installation was correctly executed, the garage can serve under 30 years.
- The garage can be how to collect and disassemble.
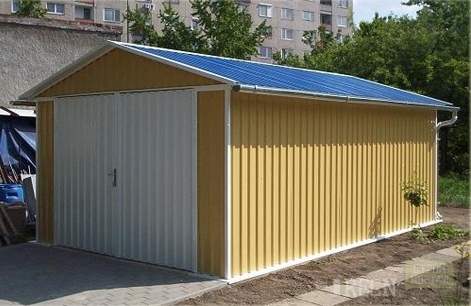
Among the minuses of the garage construction from the sandwich panels can be allocated as follows:
- When building a garage from sandwich panels, it is worth conducting good ventilation, as the mineral wool, which acts as a heater, does not move very well in the room. And if it is impossible to build good ventilation, then you need to take polystyrene foam insulation.
- In places where the insulation is missing, for example, on the joints, such a panel can voic.
- The material does not have a very resistant coating, it performs the function of the scenery. But it is not sustainable to scratches. And if such appeared, then return the appearance is already practically not possible.
With the option that the garage from the sandwich panels has a powerful metal frame, it can be transported from place to place unchanged. If it is necessary to translate to long distances, then the design is disassembled and mounted again in place.
Start mounting garage
Fast-based garages from sandwich panels, as a rule, buy a set in which the frame itself includes the frame, covering, roof and tools for fasteners. Its design and dimensions depends on the garage model. Since the assembly of a similar garage is not at all difficult, specialists can not be invited, but do it all with their own hands.
The construction of the garage from the sandwich panels begins. It can be drawn to you specialists, you can do it yourself, having studied similar projects. Due to this, it is possible to make an accurate calculation of the required amount of material. When the project is ready, you can start with the foundation. This stage of the design of the garage can be missed if there is a good smooth place, preferably from concrete. If it is not, then you should take care of the foundation. It is erected in this way:
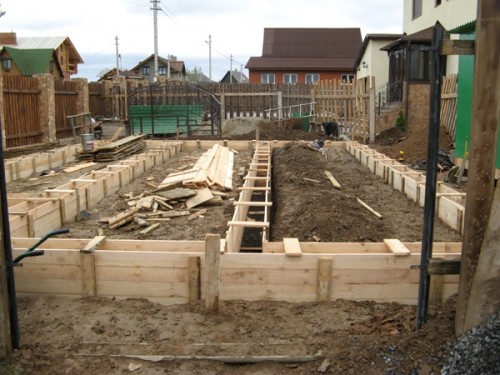
- First of all, we build a garage from the sandwich panels, starting from the marking of the site, then you need to remove the top layer of the Earth on the site of the construction of the foundation, to dig a trench by its perimeter (the depth of 0.5 m and width is 0.6 m). Pour the trench to swell 20 cm of sand and tamper.
- From above sand to install a milking formwork (width 40 cm, height is 20 cm on top of the soil). The formwork is far from the level, and the insulation is put insulation and the reinforcement, which is fastened with soft wire.
- Prepare concrete and pour formwork. And leave for a few days until the concrete is ready. Then the formwork needs to be removed, the concrete fall asleep with sand. And you need to start the construction of the floor.
- On the sand put the grid from the reinforcement, they need to be associated with a soft wire. You can make this mesh slightly lift over sand with brick debris, so the grid will be fully immersed in concrete.
- In order for the floor to be smooth, it is necessary to put the rods on the perimeter of the entire garage that will fulfill the role of lighthouses. They need to be aligned in terms of the level, and already pour and equal to the cement solution.
- Concrete for the floor is prepared with a reduced amount of rubble. Pour them floor and align in lighthouses.
Construction of the carcass garage
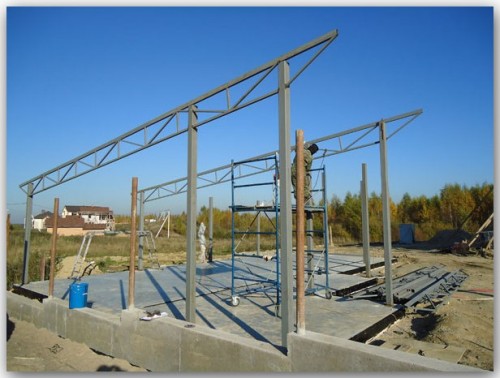
After the foundation or a special concrete site is ready, you can begin the construction of the garage frame from the sandwich panels. Usually there is an instruction, how to do it, it is attached to the set of materials for the frame. And in general, the mechanism of actions is:
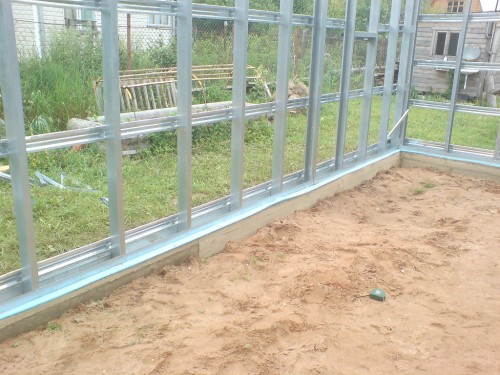
- The walls for the garage must be collected each separately. First cut a profile that goes on the side walls, they are connected together to make the wall layout. The profile mount the ribs at a distance of the half meter from each other. A diagonal of the walls are connected to a metal ribbon, stability is given the carcass. All elements are connected using a shurtpers and self-tapping screws that are designed for metal products. So install all the walls of the future garage, only on the end leave the distance to install the garage gate.
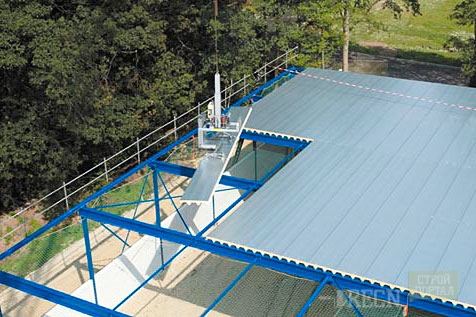
- For the ceiling use a profile with a greater width than for walls, because the roof is needed great stability. With the help of screws, the profile is connected, and edges are added to them, which will create a roof crate.
- There are collected walls on the finished platform, and each other is combined with elements that come in the kit. Next you need to check and align the walls on the plumb and the level.
- A roof is installed on the finished frame, attaching to the frame by self-draws. Now you can stem.
Saving framework
When the garage is trimmed, the most important thing is always at hand to have the level so that there is no distortion. And the work itself is simple:
- The sandwich panels are cut to the necessary borders using metal scissors or saws.
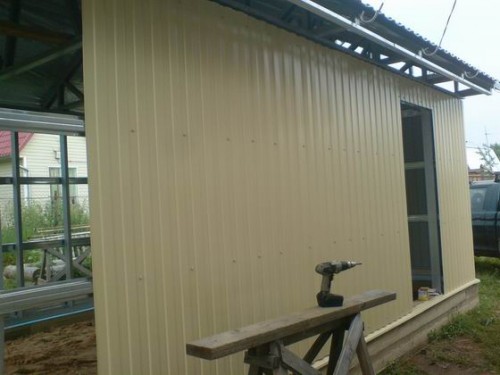
- The first is the walls of the garage. Installation begins to right left. Ribbon is laid between the frame and the panel. The sandwich panel to the garage crate is applied with a metal side, then it is necessary to align on the plumb, take the screws with the hexagon head and fasten on the top wave of the trim. All screws should be screwed at right angles. And the distance between the self-tapping screw and the butt edge is desirable to make at least 5 cm. It is not necessary to drag it, you need to pay attention to the fact that the rubber gasket is just fastened a little, but not deformed. The number of self-soles depends on how strong winds are in this area. Usually in one place of the panel is mounted two screws. Each subsequent row starts from the angle and the butt panel.
- There are locks on the edge of the panels, with their help they are connected. Silicone sealant and rubber gaskets are also used. Clamps are used from the tools that connect tapes during installation.
- Having made the trim around the perimeter of all walls, go to the roof. Do not forget to put drain, corners and adjoining strips, but joints with a frost-resistant sealant from silicone. If the climatic conditions are severe, then the sealant is applied on both sides of the panel. When construction, it is impossible to step on the already laid panels or you need to wear specially designed shoes.
- The last stage becomes the gate hanging. They are exhibited by level, also cut off panels, mounted handles and locks.
- Each sandwich panel is covered with a special film that protects against damage. You can only delete it upon completion of all construction work. So, where the panel is attached with a self-tapping screw, you can simply bend the edge of the film in the course of the work.
Useful garage mounted tips
In order for the prefabricated garages of the sandwich panels for a long time, it is necessary to adhere to some rules when they are constructed:
- If the seal in the sandwich panels consists of mineral wool, then this garage cannot be mounted during the rain. Because moisture that penetrated inside, already there and will remain and will destroy the panel from the inside.
- It is not recommended to attach and put any equipment to the already attached panels so as not to scratch the surface.
- Attention should be given to the choice of drain, they must be high-quality.
- If the sandwich panel was inadvertently scratched, then this scratch should be immediately treated with oil paint. If only zincovka is scratched, then you need to paint into one layer, if the metal, then in two layers, and if this place is already beginning to rust, then you must first apply the solvent and clean it, and then dye in two layers.


