Stroke ceiling under wiring Lighting,Ceilings

When laying electrical wiring under the ceiling, it is often resorted to the surface of the surface. On the peculiarities of the implementation of this process and will be discussed in our article.
Content
Prerequisites for sticking
The main reason for creating a cable stroke is the modernization of the electrical network during repair in the house. In most cases, this process is accompanied by replacement of electrical wiring With the addition of points for modern devices.
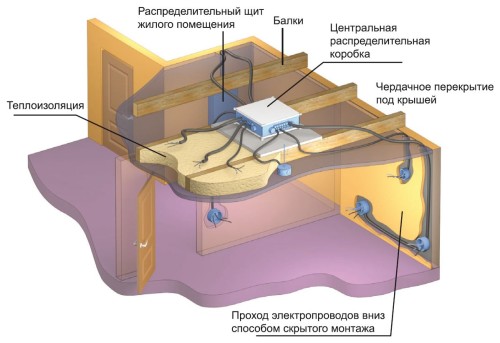
In the apartment located in a panel house, the wiring of the electrical cable is usually carried out in a deputy pipe. Distribution boxes are placed in a solid concrete surface, and switches and sockets are installed in uncomfortable places. In this case, it is also not to do without sticking.
The stroke of the ceiling under the wiring must be carried out when the cable is damaged, which leads to chandelier or luminaires. If the procedure is carried out in the apartment, it is necessary to consider the likelihood of force majeure and prevent moisture from entering due to possible flooding from the top floor.
Sometimes you have to face a problem when the wiring cannot be hidden under the thin layer of plaster. If the surface of the ceiling is not too smooth, then you will first need to decide with its additionally applying plaster. Only after this is the creation of a stroke.
Selection of tools for cutting channels on the ceiling
To create a stroke in the ceiling, you can use various tools:
- chisel and hammer;
- perforator;
- bulgarian with a diamond disk;
- stroboresis.
The use of chisel and hammer is the most affordable, but the most time-consuming work. A lot of effort and time will spend on the stroke of the ceiling by these instruments. For this reason, the chisel with the hammer is used only with a small amount of work or when there is no access to the electrical network due to circumstances.
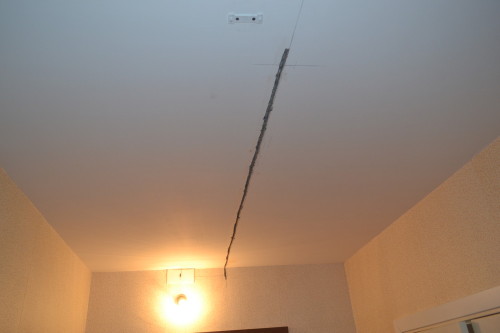
High-quality creation of an entry strobe under the ceiling (in the photo) is carried out using perforator. But its use has a significant drawback - the perforator cannot be created a smooth groove. Yes, and you can damage the ceiling.
Smooth shoes are obtained using a grinder equipped with a diamond disk. On the ceiling there are lines of grooves for which the disk is carried out. The stucco from the middle of the shrore is removed with a chisel or perforator. "Minus" of this tool - it is not recommended to be applied with a large amount of work, as due to overheating, it may fail.
The best option is the ceiling stroke tool that is designed for these purposes. Such a tool is a strokesis, with which two grooves are immediately created. Dust arising in the process of operation is removed by the vacuum cleaner, which is joined to the casing of the stroborescence.
Preparatory stage
Regardless of the type of basic surface, the wiring scheme under the ceiling provides for the conduct of a qualitative preparatory stage. It consists of:
- definitions of the method of laying the cable;
- drawing up drawings indicating the location of all devices, junction boxes and shields;
- acquisition of materials and tools.
Laying the cable is very responsible work. From the quality of it depends on the fire safety of the entire living area. Therefore, before cutting, the following requirements must be observed:
- it is forbidden to connect all the lighting devices to one machine;
- mounting work starts with the installation of boxes, and not laying the wiring;
- it is impossible to cross cables;
- you should use the wiring only with the optimal cross section (the incorrect selection of the cable can lead to ignition);
- in rooms with high humidity (bathroom, kitchen), only moisture-resistant boxes are mounted;
- all junction boxes are driven out of the new ceiling;
- mandatory use of pipes in which the cable is stacked.
As for the last requirement, the thickness of the pipes directly depends on the cable cross section:
- for wiring with a cross section of 2.5-4 mm, the minimum thickness of the tube walls should be 2.8 mm;
- for cable 4-10 mm - 3.2 mm;
- for wiring 10-20 mm - 3.5 mm;
- for cable with a cross section of more than 20 mm - 4 mm.
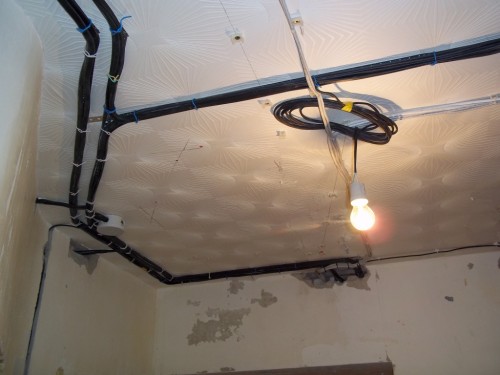
Wiring under stretty ceiling You can lay and without insulating tubes. Naturally, it is done in such a way that the cable does not come into contact with the ceiling construction. But it is better to lay the cable into a box made of plastic.
In the presence of a rush ceiling, the fastening of plastic sleeves is carried out directly to the surface. If the ceiling is wooden, you can use steel tubes.
When laying wiring under suspended ceiling It uses corrugated tubes for its reliable insulation. Their mounting to the overlap is made using clips, screws and plastic dowels.
The ceiling stroke will be carried out only if the wiring can be put into the groove made. Based on this, it is not recommended to cut the shoes in reinforced concrete plates with voids. In this case, the cable is mounted directly in panel emptiness.
Stroke ceiling
Slicing the stroke occurs after the markup:
- two lines are cut along the lines;
- a puncher or chisel breaks through the channel;
- the cable is laid in the stroke;
- shorts close up.
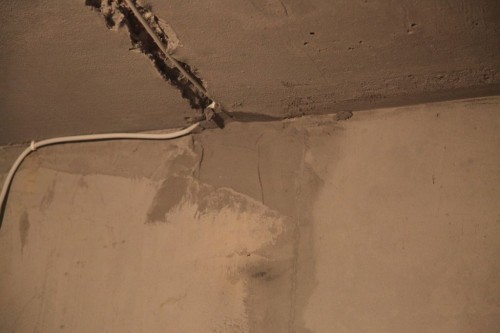
The depth of the channels should be such that the wiring is placed in them with fasteners. The width of the shine depends on the cable thickness. Grooves should not have sharp protrusions.
Before climbing the stroke, the cable is required for the presence of a stock that is needed when connecting sockets and switches, as well as for connecting wires in junction boxes.
Next, such works are held:
- dust removed from the stroke and cable;
- the plaster mixture is divorced;
- its application is carried out in the inner part of the shortcut with the pressed wire;
- with the help of a wide spatula, surplus stucco.
The following nuances are taken into account in the process of sticking:
- it is forbidden as a channel to use an extended stationary seam;
- the minimum distance from the stroke to the angle is 0.1 m, to the gas pipeline pipe - 0.4 m;
- laying the cable should be carried out at right angles and by the shortest path.
Video about the creation of an entry strobe under the ceiling:


