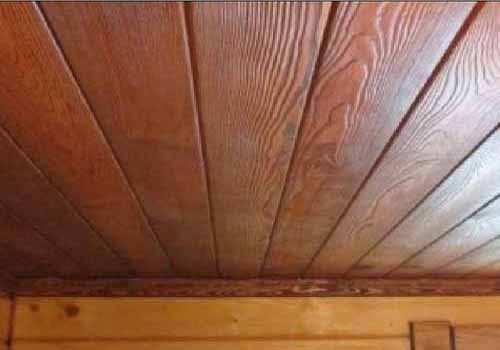
Ceiling in the bath do it yourself Baths, saunas and pools
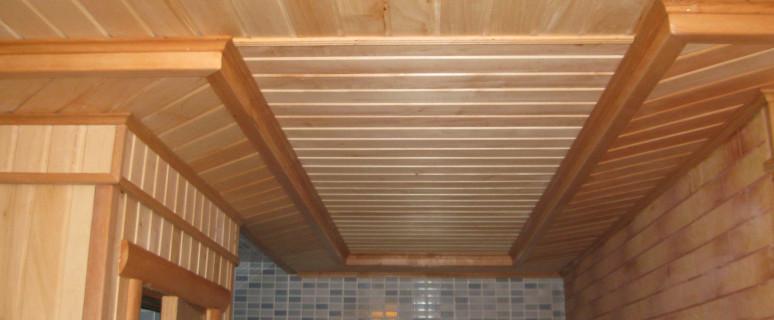
The ceiling device is one of the most important stages of the construction of the bath. When conducting and planning this work, it is important not only to take care of its aesthetic beauty, but also take into account the features of this room, such as high temperature and increased humidity. That is why the selection of materials, the right choice of the method of installation is of great importance. To prevent the heat loss, the accumulation of condensate and damage wood, it is necessary to provide steam and thermal insulation systems.
Content
Methods for arranging ceiling in a wooden bath
It is worth paying attention to the fact that the ceiling decoration should be carried out after the end of all roofing works. Otherwise, precipitation can damage the layers of thermal insulation, which will lead to the need to purchase a new batch of material. In addition, the wooden plates of the trim can score moisture that over time the fungus appears. The thermal insulation of the ceiling of the bath should not have any slots, flaws. The boards should be only high quality, without bitch, normal humidity.
There are three most popular types of ceiling for baths:
- Steer.
- Grazing.
- Panel.
The most popular view of the ceiling in the bathroom is a stevy. It is perfect for large premises. Mounted as follows:
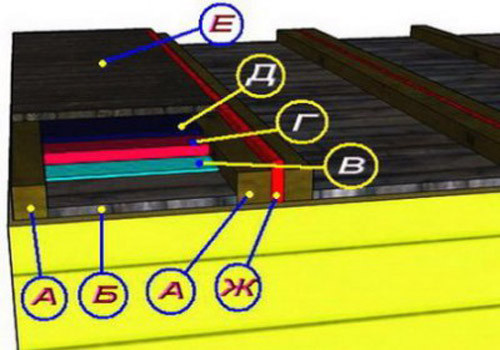
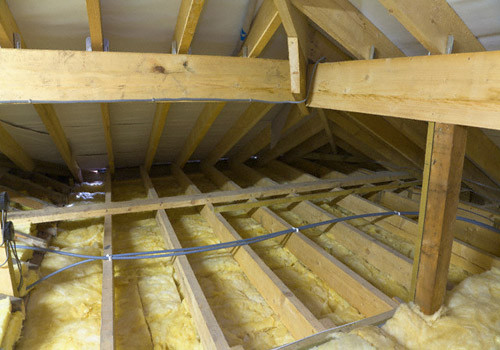
- A cutting board is nourished at the bottom of the beam. At its surface on the side of the attic layer layer of thermal insulation.
- Below is a layer of vapor insulation, which will prevent moisture from entering the board.
- At the end, on a layer of steamoisol, they lacinate the lining. As a rule, mineral wool is used for thermal insulation of the tail ceiling. This material will greatly saves heat and retains its properties over a large amount of time. It is produced either in the form of mats, or in rolls, which is quite convenient when installing.
The floor ceiling is more suitable for small baths. The essence of this method of installation is that the ceiling boards are stacked on the walls in a certain order. Next, this flooring is placed vaporizolation, as well as a layer of thermal insulation. The thickness of the board for such a ceiling should not be less than 55 mm, and the distance between the walls is not more than 2.4 meters. Otherwise, the board will be fed under the weight of thermal insulation.
Panel construction - the most sophisticated view of the ceiling for a bathroom. It represents hesitated from individual shields that are attached to a pre-mounted frame. Each shield is a separate element consisting of two bearing bars, several boards that connect it, an external ladder from the attic. The layers of heat, vapor and waterproofing are stacked on each shield. During the installation of the shields between them, it is recommended to lay the seal so that moisture or steam is not seeping through the gaps. As a seal for this purpose, it is better to choose felt or a special foil follicate on both sides insulation.
If you are planning to build a small bath, and the carrier wall will be built between the main premises and the pre-banner, then it is better to mount the floor ceiling. Naturally, in a small bath it is possible to install a panel design. However, it is necessary to understand whether there is a need for this, because it is quite costly and technically complex.
Ceiling height
This parameter for such premises, like a bath or sauna, plays a key value. It depends, first of all, from how many levels will be on your bath shop. The ceiling height is considered acceptable, in which a person sitting at the top level will not have discomfort. However, if the height of the room is too large, the air in it will warm up unevenly, because the concentration of the steam will be much higher than the required level. The most optimal ceiling height is 2 m. This allows you to comfortably place visitors and provide normal temperature regime.
How to make a ceiling in a bath do it yourself
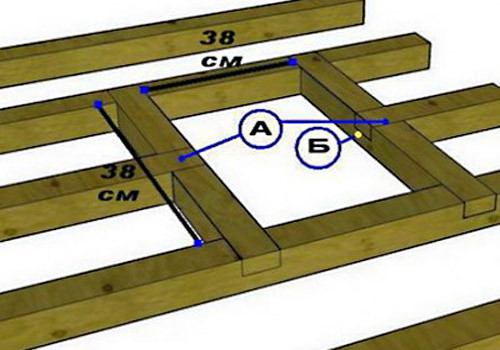
Preparation for the beginning of work. First of all, it is necessary to determine the type of ceiling. Depending on this, the calculations of the required amount of material should be carried out. When planning the size of the ceiling finish, you need to pay attention to such an important element of the bath as chimney. It will have to be separated from the ceiling coating with a layer of non-combustible material. The fact is that in bathing furnaces the temperature of the exhaust gases is so high that all the coating can light up. From the tools we will be guaranteed:
- Level.
- Electrolzik.
- Screwdriver.
- Knife.
- Industrial stapler.
Installation and trimming ceiling in the bath
In our bath we will make a cable ceiling. It will consist of several layers of material, which will provide our ceiling for a great form and excellent performance, such as sound, and thermal insulation.
Phased work order:
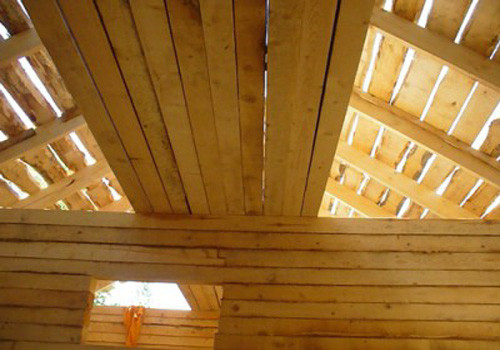
- The upper layer will rush out of the edged board. It will be located when leaving the attic. The first or black floor is installed on the cover beams, and is nothing but an attic floor. For this operation, we need a board with a thickness of at least 40 mm, if it is planned to actively use the attic room. If the attic will be closed for visiting, then enough boards with a thickness of 25 mm - 30 mm.
- Mount the boards with nails. So that they closely seized one to one can use wedges. Boards are better fixed as follows. We take one of them and nail it with several nails. Then we put 3-4 boards from the side stop to the nail board. Then between the nailed and laid boards drive several wedges over the entire length.
- Next, we pierce several boards in various places. Nails are clogged at an angle in the direction of the edge of the coating. Thus, they will additionally press the boards to each other. Before laying the upper layer, the material must be treated with a oil and an antiseptic to prevent rotting.
- When the upper layer of the boards is mounted, we begin to lay a layer of waterproofing. For these purposes, you can use special materials or a simple polyethylene film. Waterproofing between beams with a construction stapler. Be careful in the production of this work. The waterproofing layer should not have slots, or damage. This can lead to a cluster of moisture and spanking board.
- The next layer is placed thermal insulation. It is necessary to ensure that the heat, highlighted from the furnace, remained as long as possible inside the steam room. It will be able to reduce the costs of solid fuel, which is quite important in our time, and will also help maintain a more flat temperature throughout the size of the room.
- As a rule, the attic is not insulating, so if you do not provide for the heat insulation of the ceiling in the bath, the weight loss in winter will be huge. As we have said, for the warming of the ceiling, the steambar is better to use mineral wool. This material has low hygroscopicity, durable, easy to install. Mattes of mineral wool fit between beams. It is desirable that the width of the mat should be equal or more than the distance between the beams. Then no additional fastening of the material will not be needed.
- After the layer of thermal insulation, vaporizolation is stacked. For this, a special membrane film or foil is used, which is reinforced with a special glass mesh on both sides. The vaporiazolation layer is used to prevent steam from entering the insulation layer. Although mineral wool and copes quite well moisture, its great accumulation can badly affect the entire design.
- The next step is to arrange the crate of the rail. It is to her that will be attached to the main coating, which will be seen to visitors. The rail takes a small size of about 30 mm x 50 mm. It is attached to the beams perpendicular to the help of self-tapping screws.
- Naturally, it is possible to mount the lining right on the beams, however, do this specialists do not advise. The fact is that if it is done, then there will be no gap between vaporizolation and clapboard. This gap allows you to circulate air, which reduces the likelihood of moisture accumulation. Therefore, it is desirable to make a crate to which the cladding is installed.
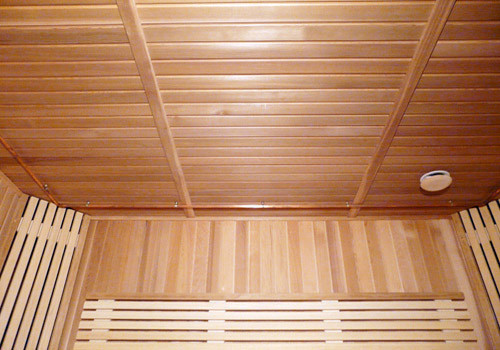
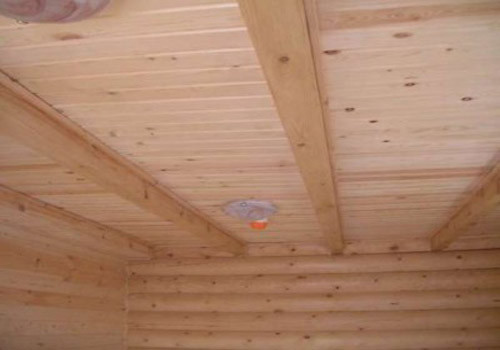
- The last layer is made of lining. This relatively thin board has more accurate geometric sizes, as well as a special lock, thanks to which one bar exactly enters the other, not leaving the gap. Warder must be sewn carefully. If you cut one board, then by the end of the ceiling, it will be almost impossible to correct the error.
Warming the ceiling in the bath with your own hands using aerated concrete
Recently, a fairly popular material for insulation of the ceiling in the bath is a fuel tone. It has excellent thermal insulation qualities, easily mounted, in comparison with mineral wool, is an order of magnitude less. It is a dry mixture, which, after dilution with water in the proportions specified by the manufacturer, poured onto the surface of the ceiling. One of the main advantages of aerated concrete is its fireproof, which is very important for the construction of the bath, as it is assumed to install the furnace.


