Barrier do it yourself Useful advice
Today, few people do without a car, especially if you live in a private country house or a big city. Machines contribute to our life comfort and save time, but in this case there is often a need to limit the carriage zone. To streamline the location of the car and provide them with safety, the installation of barriers becomes an excellent solution. They are much more practical and more convenient than the gate and high fences. On how to make a barrier with your own hands with minimal cost of materials and time, you will learn from this article.
Content
What is the convenience of the barrier?
Such a decision unambiguously brings some benefit. In particular, it is as follows:
- low-cost device;
- braking unwanted traffic;
- speed \u200b\u200band ease of assembly.
Important! For the manufacture of the barrier, you sufficiently show your fantasy and use those materials that remained after the main construction of the house. To the greater your project depends on the amount of cash and personal preferences.
How to make a barrier with your own hands?
So that the whole process does not take a lot of time from you, make a plan of action in advance and stick to it, gradually perform the necessary actions. Professional builders recommend the following course of action:
- Determine the appropriate design type.
- Select a convenient location.
- Pick up materials.
- Develop the drawing of the device of the barrier.
- Prepare selected plot.
- Collect the barrier with your own hands.
- Test the design to functioning functioning.
Important! It is such a sequence that will help you to do everything as quickly and right and right, do not forget anything and do not miss, do not be distracted by unnecessary moments already at the assembly stage.
What is better to make a barrier for a private house?
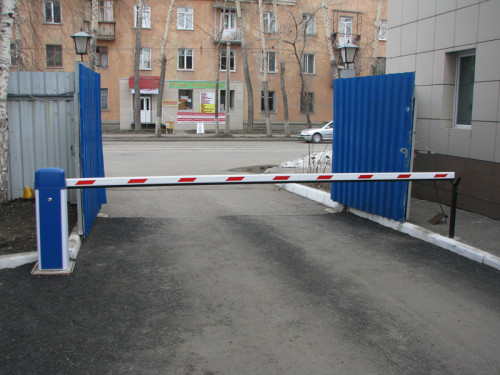
If serious large organizations can afford the installation of expensive automatic barriers, due to the dense traffic flow, then there is no vital necessity in such a device there if the intensity of motion is insignificant. It may well approach the mechanical home-based barriers that are easiest to make it, and install themselves.
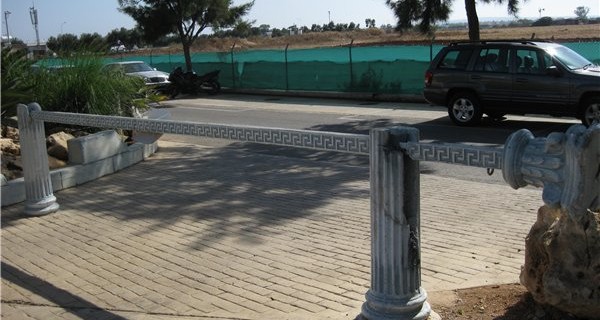
Important! All that is required in this case is only the ability to handle the necessary tools, concrete, metal and wood. Select the appropriate design option and make a competent drawing of the barrier. You will be much easier if you browse the photo of the ready-made designs.
The barrier device is 3 types:
- turning;
- lifting;
- return.
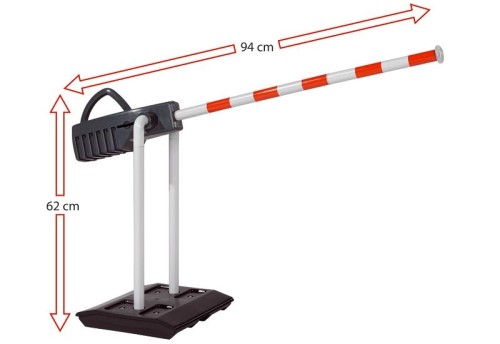
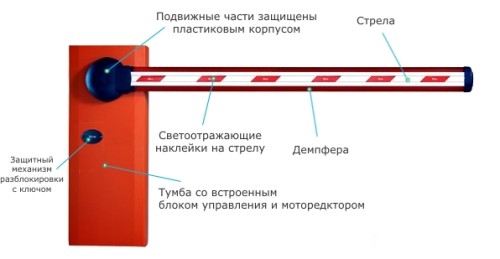
Important! Regardless of the design of your chosen design, the design will include 2 main parts:
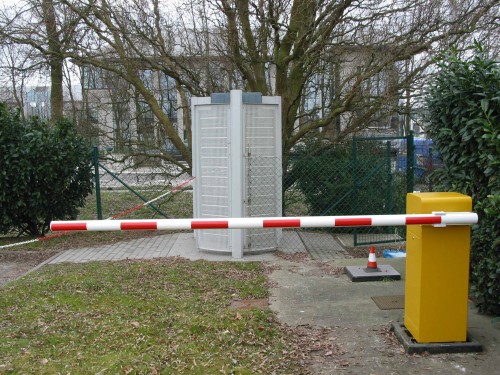
- the base is the cabinet;
- arrow is a blinking fare element.
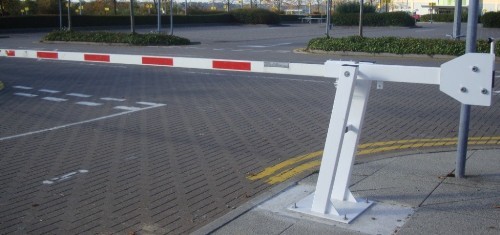
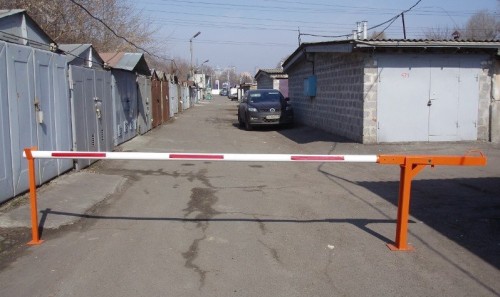
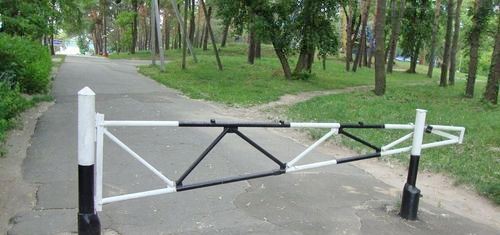
Rotary mechanism
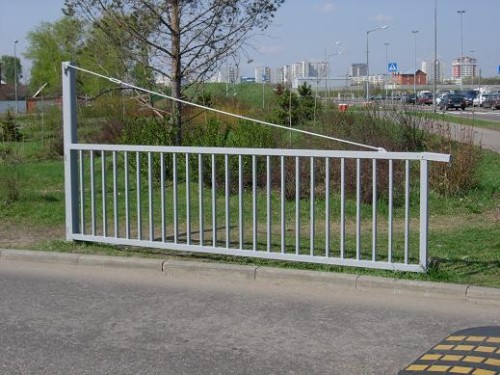
For such a model, additional space from the side in which he turns. At the same time, everything that is on it is not affected by the device. In some cases, this is a great advantage.
Important! The model is very easy to handle. Since the barrier turns, and does not rise, then any driver can easily be able to free the passage and return it to the starting point.
SYSTEM SYSTEM
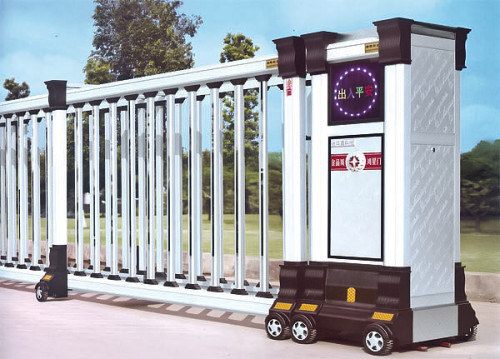
This is a rack with an arrow that moves perpendicular to the road. The principle of work resembles a sliding gate.
Important! The option is not always appropriate due to the cost of the parts spent on it. It has a complex device.
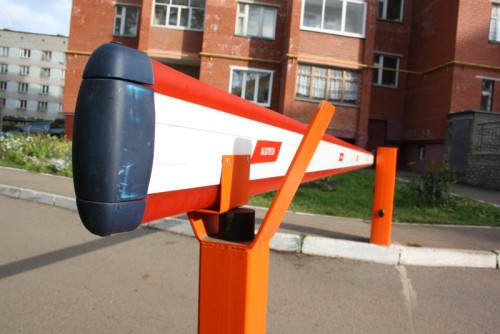
Lifting design
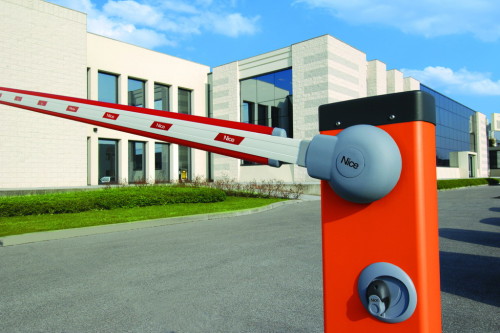
Great for places where space is limited near the device. But with the length of the boom, more than 4 m will require an additional element of the slack-catcher. Its function is to remove the load from the stands in the position when the barrier blocks the passage. Most often, an extra rack is equipped with a lock, which allows you to reliably close the passage.
Where to install the railway barrier?
There are several basic rules when installing and choosing a place that you need to follow:
- The barrier should not cover the movement of pedestrians and cyclists. To greater extent, this refers to the country's countryside, garage cooperatives.
- It should be visible at any time of the day and with any weather.
- Unacceptable close proximity to high-altitude homes, if there is a possibility of falling ice. The same applies to drain pipes.
- Mandatory condition - the presence of a reliable basis. Do not install the design on a swampy or sleeve in season.
- The optimal distance from the nearest building is at least 1.5 meters.
- To install a massive and heavy design, it should be possible to enhance the foundation of the reinforcement - the soil must withstand such a load and do not live.
- Not suitable for installing a barrier naked asphalt - additional concreting of the selected territory will be required.
What makes a barrier?
When you decide to make a barrier on your own, you have to decide which material you want to build it. Here you have a small choice - metal or tree.
Benefits of a metal barrier:
- A higher level of reliability.
- With adequate treatment with anti-corrosion products, the metal will not rust and deteriorate.
- Such a barrier is almost impossible to break or damage.
Minuses:
- The device will cost more.
- If you do not provide the design with an axial lifting mechanism, it will be difficult to raise women.
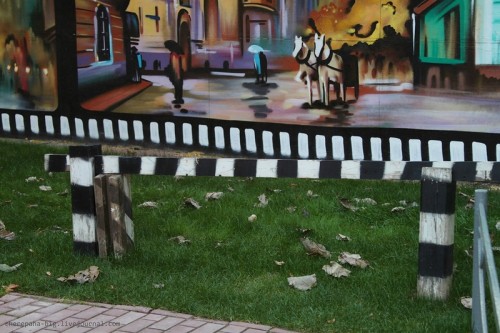
Pluses of a wooden barrier:
- A small cost of material.
- Easy design and its low weight.
Minuses:
- The tree is easier to break and it comes into disrepair faster.
- Because of the ease of material, the barrier must be pulled from the effects of strong winds.
- The tree is affected by the external environment. To protect against moisture, such a design needs impregnation and painting.
How to make the drawing of the barrier?
When you have decided on a suitable device, you chose a place and material, it's time for the drawing of your future limiter. You can make it both manually and with a computer.
Important! Of course, to implement this stage in the installation of the device, you need certain skills and knowledge. If you are not confident in yourself, it is better to order a planning scheme to specialists. For a certain fee, they will pick you up a suitable drawing.
But, if you decide to do everything yourself, be sure to take into account all the features and the slightest details of your future mechanism:
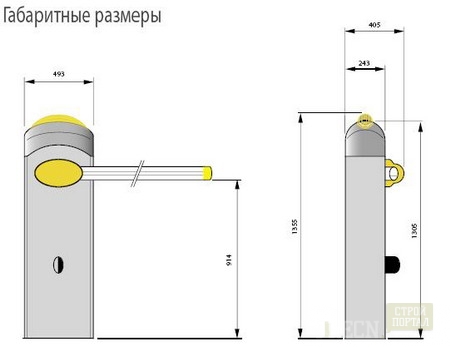
- Display in the drawing all the design elements with real dimensions on the scale - the cabinet, fastenings, axial mechanism, the slave rack and the arrow.
- Install and display a clear amount of all parts - highlight them on a sheet of them separate list.
- For severe design, it will take care for the fill of the concrete foundation. Determine and mark its depth and linear dimensions in the diagram.
- Think and mark on your drawing, how deep into the ground will leave the frame-based frame itself.
- If possible, display all parts in the context to select the best option of their connections.
- For the axial mechanism, create a separate drawing, which will help to work on its installation and the design itself.
Important! Dimensions all display in millimeters. It also concerns the distance between the details, which will eliminate the probability of error in counting.
How to make a barrier for home with your own hands?
You already know that only two types of material can be used to implement such an idea. Each has its differences, which are reflected in the preparatory stage of cutting parts and on the assembly process.
Features of the metal rotary system
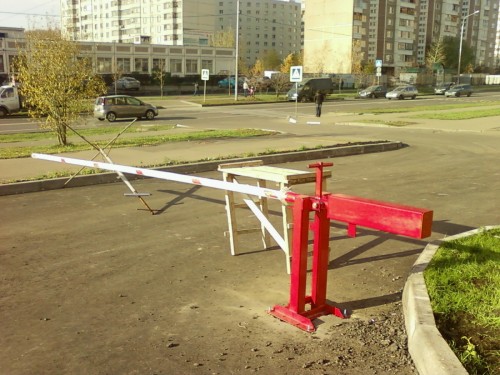
- To overlap a large span, install a metal rotary barrier, with an arrow in the form of a farm.
- On it fasten the rotary mechanism.
- For stability, arrow place from the pipe with a rectangular cross section.
- Rack Make from pipe 200 * 100 or 200 * 200 mm.
Features of a wooden lifting mechanism
- To achieve maximum strength and reliability, make it with a double arrow.
- Strengthen the lifting mechanism by fixing it with durable bushings and bolts with steel nuts.
- The optimal length of the boom is the distance between the supports + 100 cm.
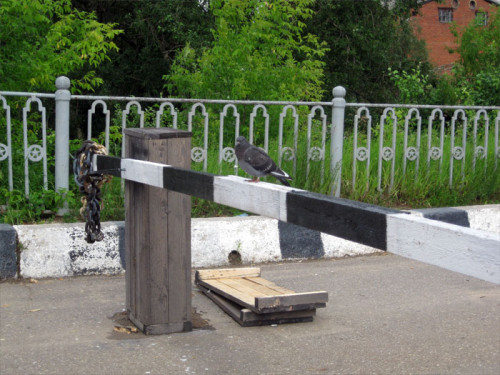
- Fruit the standard from a large bar with a side of more than 100 mm and a height of more than 1.5 m. For stability, consider it the plug in the soil by 40 cm, and the rotary mechanism is attached below the top of 10 cm.
- Arrow Take from two boards of the same length. Secure them to each other with wooden sleeves every 70 cm.
Installation technology
The installation steps are the same for any mechanical barrier, but still in wooden and metal barriers, the work process is somewhat different.
Important! Remember how you made a drawing of the barrier and the more accurately all the calculations at the design stage of the design, the easier it will be the faster to assemble.
To properly install the barrier with your own hands, read the instructions:
- Prepare installation location:
- reconfigure the platform with a suitable depth when using metal;
- drop a deep hole when installing a wooden barrier.
- Prepare previously all parts to enhance the strength characteristics:
- color all metal parts and let them dry;
- treat antiseptic wood elements.
- Install and fix the supports:
- metal barrier is attaching to fully frozen concrete anchor bolts;
- wooden barrier stick into the prepared pit. For greater stability, sprinkle it with rubble and confuse with the soil.
- Install the axial mechanism and mount the arrow according to the rules specified above under the specific type of mechanism.
- Secure the counterweight in the place where the boom goes beyond the base by 40-70 cm.
- Check whether the barrier works correctly and whether all connections are durable.
Conclusion
In order for you to use the barrier as conveniently, after you have completed all the work on the construction of the design, perform additional steps:
- Purchase and use reflective stickers.
- Install the lantern next to the design, if any.
As you can see, make and install the railway barrier is not at all, if you act according to plan and be able to handle the tools.


