How to separate the walls with a plaster with their own hands Insulation,Walls
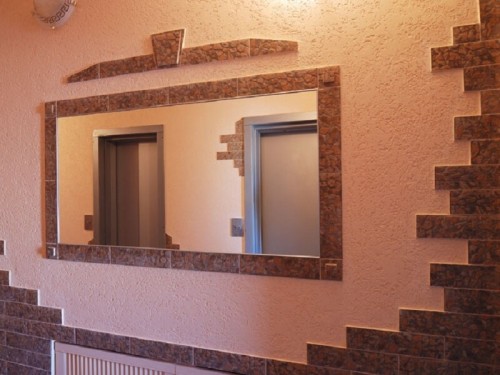
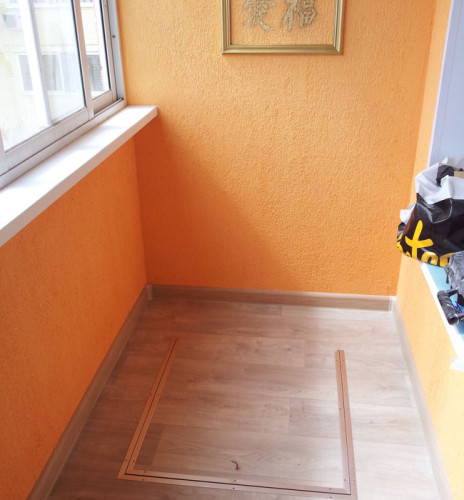
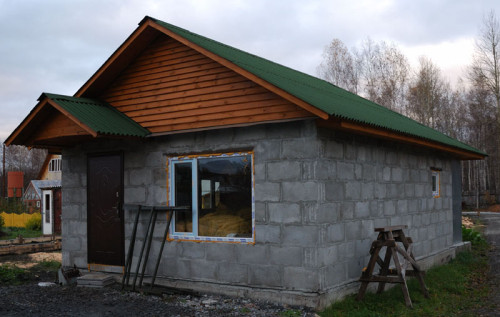
The construction process associated with the decoration of the premises is not without the use of decorative solutions. Among the widest selection of finishing materials and coatings, textural plasters occupy a separate place. Their use is acceptable both inside and outside the room, but not every species boasts such properties. An excellent solution will be the decorative plaster of the walls of the facade, loggia and other elements of the building with the help of a kororad. Since the scope of application of this material is quite wide, it can be used almost on any kind of surfaces. The work performed by your own hands will become a useful lesson for you, besides, it will help to save a considerable amount. How else to separate the desired section of the wall with a core? What is better to work and how to apply decorative plaster of this type? In this article, we will try to disassemble all the nuances in more detail so that the process goes quickly, and the result pleased the eye.
Content
Choice of Coroed
To date, there is a huge set of building materials that allow experimenting with methods, flowers and forms that are designed to help solve the issue associated with the wall surface or the facade of their own dwelling. One of the most popular materials is the decorative plaster of the croroede. Thanks to the unique properties of the Coroed, you can not only improve the facade of your home, but also protect it from exposure to the external environment, which is an important factor, when choosing a decorative coating.
general characteristics
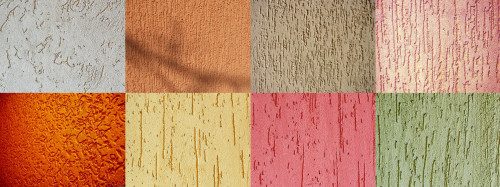
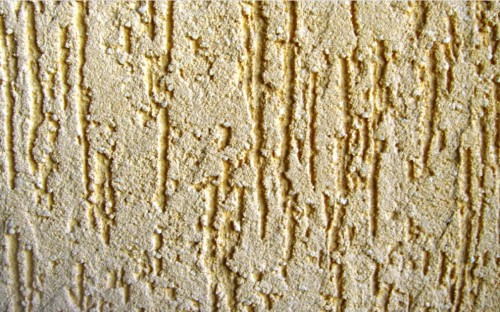
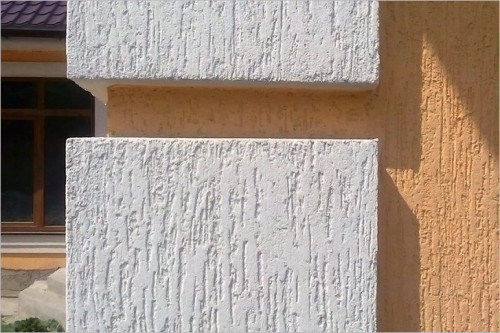
The coafer is made on the basis of acrylic and cement mixture with the addition of marble crumb. Thanks to the crumb of various sizes, the necessary texture and drawing of the finished surface are achieved. The larger the grain fraction, the deeper the Figure Frame.
Coroede is used, applied on the surface of various types, such as: Sippar, extruded polystyrene foam, foam, concrete, brick. In addition, such a decorative plaster can be applied on top of cement-sand and cement-limestone plaster, as well as on wood chipboard. To give the desired color of the facade or inner wall of the room, pigments are added to the plaster solution.
Types of cores
Before purchasing decorative plaster of this type, decide on the objectives set before this coating. Find out as much as possible about the status and type of surface on which the croroede will be applied. To determine about or another type of plaster, it is necessary to note their main distinctive features.
In addition to the fact that the coroede can be purchased both in dry and in the finished form, it can be classified according to the grain fraction. Note at once that the smaller the crumb, the more expensive plaster mixture. This is due to the complexity of the technological process, with which the granules are filtered. The size of the crumb varies, as a rule, in the range from 0.8 to 3.5 mm.
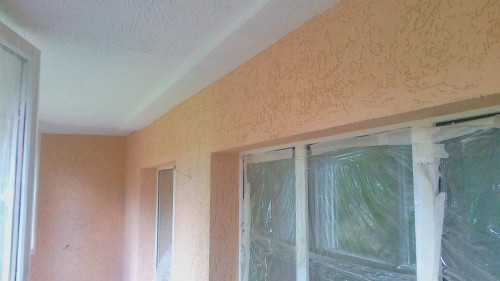
The solution of a larger fraction (from 2 to 3.5 mm) is used mainly in the finishing of the facades, as well as decorate the outer elements of the building. The fine-grained solution (from 0.8 to 2 mm) is used mainly when solving the interior question.
Advantages of Coroeda
As you can see, the plaster Coroede is a pretty universal coating, designed not only to protect the house from weather conditions, but also give the building a nice appearance.
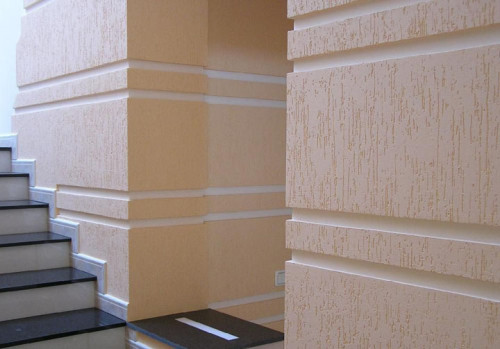
Next, we note the main advantages of a plastering solution like "Coroed":
- due to the use of mineral and polymer additives, as part of a mixture, such material can be attributed to the lig. This characteristic allows to reduce the load on the facade coating of the building;
- the plastering mixture does not contain toxic substances, which indicates the high environmentally friendliness of the material;
- coroede is resistant to the effects of elevated temperature modes. In winter, such a material is capable of bringing frost to -55 °, and in the summer heat to + 60 °, without highlighting the substances harmful to human health;
- plaster will serve for a long time if you stick to the application technology. In addition, for the koroeda fungus and mold so a rare phenomenon that the probability of their appearance is reduced to almost zero;
- resistance to mechanical stress;
- the ability to smoke the finished solution in any color you like, or paint yourself after a complete hardening;
- a wide choice, versatility and relatively low price, which speaks of the high popularity of such material.
Due to its versatility and low price, the croroede can be attributed to the most popular materials for the facade finish. The advantages of the Coroeda are much more than flaws, however, there are those.
Disadvantages of cores
In addition to the above advantages that allocate this material among other decorative plasters, will correctly draw attention to its disadvantages.
The shortcomings of the "Coroed" stucco plaster can be attributed:
- with significant mechanical damage, it is enough to correct the coating so that it acquires the initial species;
- a rather complicated solution technology.
Starting a wall decoration inside or outside the room with decorative plaster "Coroed", select the grain fraction correctly and decide with the type of plaster. Do not forget about the positive properties of this material, which are much more than flaws. We are confident that you stop your choice on this finishing material.
Preparatory work
Getting Started with the finishing of the domestic room or the facade part of the building using a coroede, it is important to carefully prepare and get all the necessary consumables and a tool. From the correctly selected inventory directly depends on the quality and speed of work.
Tools and materials
To finish the walls of the walls with decorative plaster, the coroede is properly, without overwhelming the existing material, it is better to immediately get everything necessary.
For high-quality installation of decorative room coating, use the following tools and materials:
- roulette, construction level, rule, perforator;
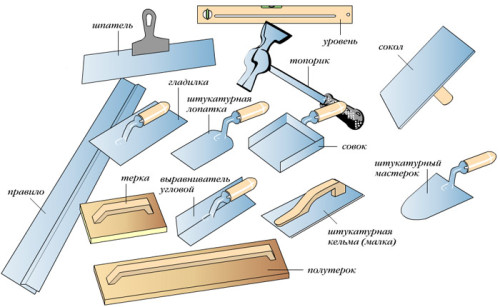
- capacity for kneading, mixer, spatula, culma, scoop, trowel, polyurethane seventeent, plastic chock, knife;
- brush, roller, bath, painting tape;
- gloves, protective glasses, scaffolding or other technicians.
The choice of the necessary set of tool is entirely dependent on: the goals set, the method of application, the state of the surface, as well as your personal fantasies and solutions.
Preparation of the foundation
Before starting to apply the main layer of decorative plaster, it is necessary to thoroughly prepare the base base. It is better to immediately correct the preparatory work, than to torment yourself hopeless attempts directed to the restoration of spoiled coverage.
Before applying a core, the wall surface is processed using the following algorithm:
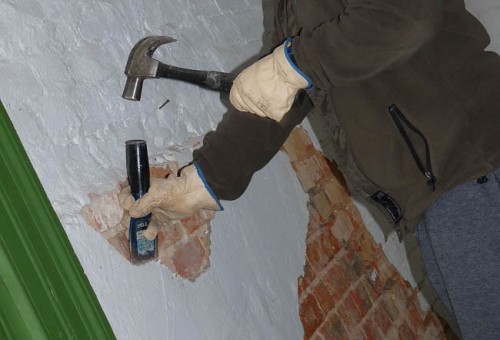
- If the surface contains deep depressions, cracks, convex parts and other flaws, then they should be rid of them. Large growths escape with a perforator. Pans make a plastering solution. For cracks, use a special sealant.
- Spent well from dust and dirt. Use a brush or broom that can be moistened to avoid raising excess dust.
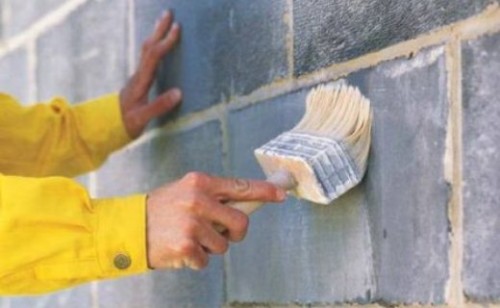
- To increase the adhesion of the base, drove the wall surface. Use only specialized primer. For the loggia or room, purchase the inner primer, for the country facade - external.
- Apply a rough primary plaster for beacons, which will later play an important role in the finish of the facade or room.
A well-prepared foundation is a pledge of successfully completed work. High-quality preparation will allow finishing without delay, without stopping for the correction of the shortcomings.
Insulation
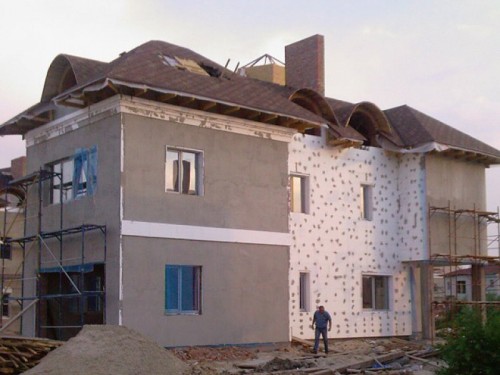
Since the cores are most often used in the arrangement of the building facades, it will correctly pay attention to the preliminary insulation of the wall in front of decorative plaster trim.
For the insulation of the building, before starting to apply decorative plaster, use the following algorithm:
- On the perimeter of the building at the bottom, fasten the starting profile. It must be in a horizontal level and limit the position of the insulation. In addition, the plank will protect the finished surface from random damage, and will allow water to drain along it during the rain.
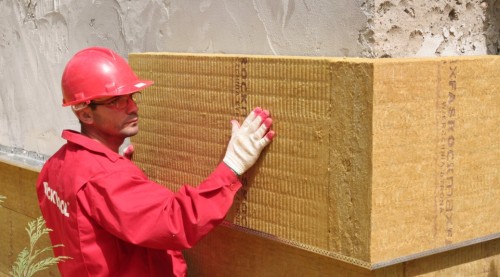
- Now we start to fix the foam. Special adhesive mixture is applied to the wall. In the middle of the foam sheet also we also apply glue and pressed against the wall. It is important that the stove lay parallel to the base. For compliance with the plane, use the level and rule.
- Continue to mount the insulation with horizontal lines. Do it so that the plates are located by the rotation.
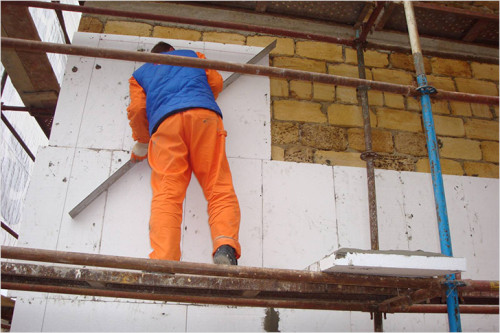
- After the glue hardens, arm yourself with a perforator with a brown of concrete and special thermal lines (umbrellas). Drill five holes in foam plastic, then install fasteners in them. Usually holes are as follows: 4 around the perimeter and 1 in the middle of the sheet.
- Check out the plane again. If you need, remove excess irregularities with a foam grain.
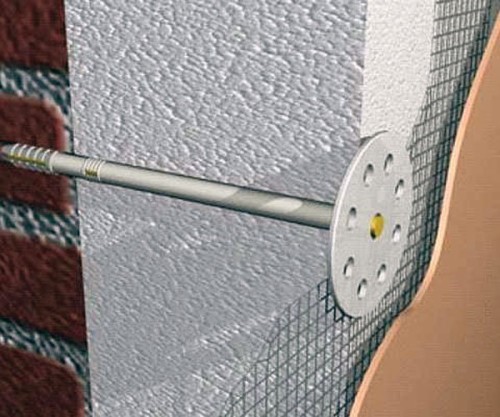
This method of insulation is applicable both for internal and outdoor operation. In case, instead of foam, you use polystyrene foam or stone wool, the technology remains unchanged.
Reinforcement
Now the wall has become quite massive due to the huge number of insulation and glue. The thermal industry is designed only to hold foam on the surface of the base. Finally fix the future decorative coating, as well as avoid shifts, the reinforcement of the surface will help.
To help keep decorative plaster on the surface of the insulation, the following actions will help:
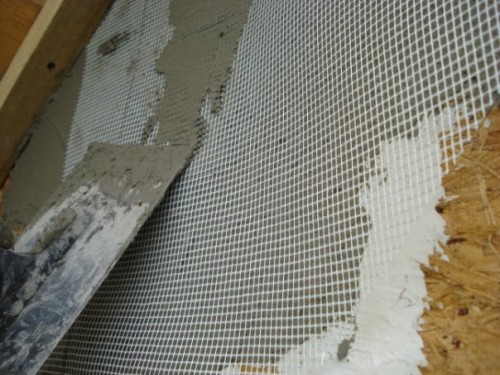
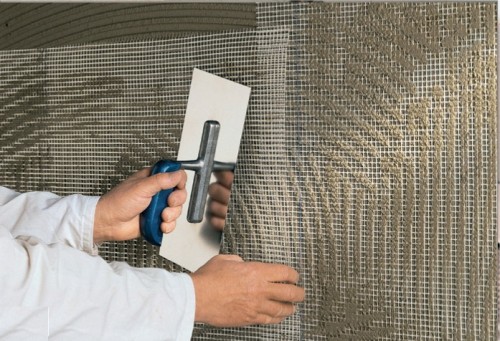
- Armed with a wide spatula, apply a small layer of reinforcing mixture on the insulation.
- Now, over the reinforcement solution, it is necessary to impose a facade mesh. Press the grid to the solution, then apply another layer of solution. Note that each layer of the mesh glue a mustache at a distance of 100 mm.
- After the reinforcement layer is dry, leak up the surface.
Proper adherence to technologies and sequences of actions at this stage will be thus prepared for the final layer of plaster.
Finish trim coated
Getting to the last stage of the walls of the wall with plaster, carefully check the base for the presence of cracks, irregularities and other flaws. The shortcomings identified at the preliminary stage will help get rid of the excess headache associated with the restoration and repair of decorative coverage. Take advantage of the preparation process with all seriousness and understanding. This will help avoid the incidents and troubles during the finish finish.
Coroeda application technology
Decorative stucco type "Coroed" requires special attention and compliance with the correct sequence of actions. The technology of applying such material over the insulation provides for many features and is satisfied specific.
In order to properly apply a crawler on the insulation, they are applied as follows:
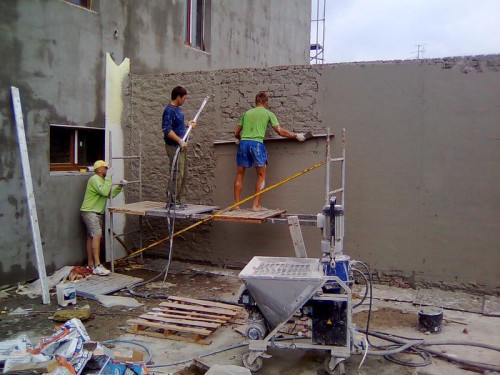
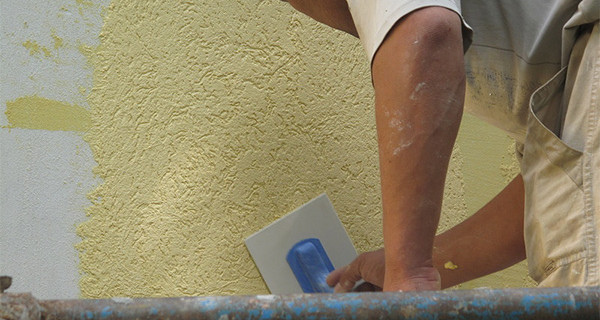
- The mixture is applied using a stainless steel celma at an angle of 60 °. Thus, form a layer that must correspond to the thickness of the cores grain. To do this, it is necessary to slowly spend the culma with a solution along the wall as if stretching so that the particles of crumbs are rolled, leaving the furrows behind them.
- Continue to apply a solution with transverse and longitudinal rows to capture the entire base plane.
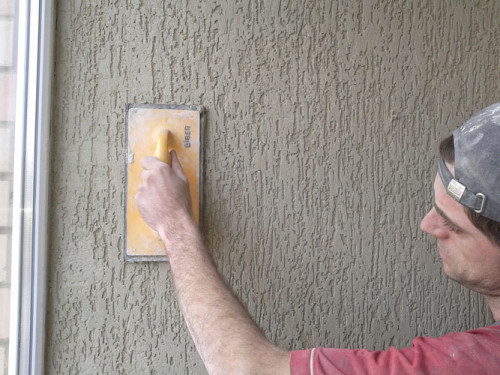
- After the layer is laid evenly, it is necessary to wait 15-20 minutes so that the solution takes the overall structure. Note that at high temperatures, the solution hardens much faster. To proceed to the next stage, check whether the plaster stucco sticks. If the mixture is not marked, then most likely, you missed the moment of grasp.
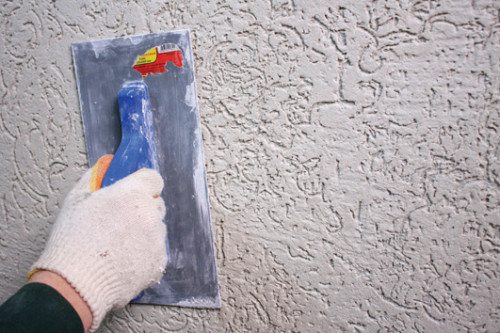
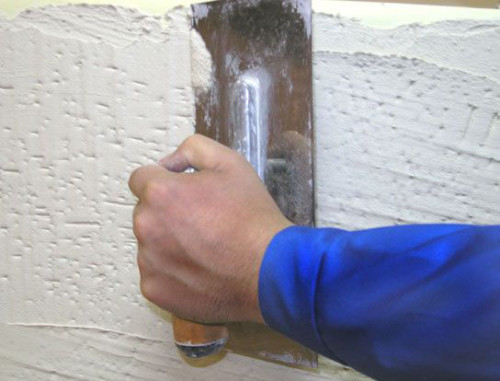
- To create the desired drawing, use a plastic cooker. To do this, it is pressed against the wall, and begin to stretch along the plane. Depending on how speed and in which direction you move, the future figure will be formed.
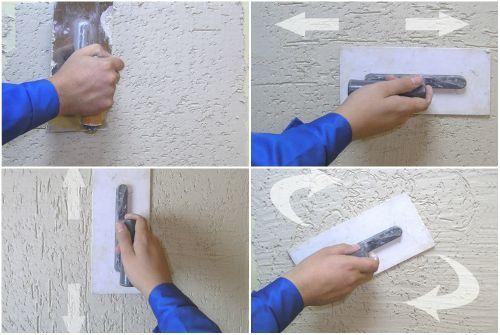
- After the whole surface is covered, let the plaster dry. Note that the croroede dries at a temperature of from + 5 ° to + 30 ° and relative humidity no higher than 80%. It is better to fulfill all work in warm dry weather. At the end of the finishing work, cover the facade of polyethylene and let me dry within 2-3 days.
- If you are going to paint a decorative surface, then keep in mind that before starting the work of acrylic paint, it is necessary that the coroede is at least 15 days. In the case of applying translucent varnish, it is possible to carry out work on the next day, pre-covering the wall acrylic soil. Before coating the surface of silicate paint, just wait for 3 days.
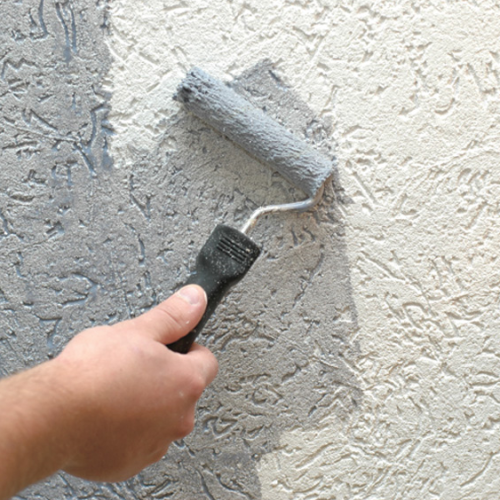
If you are going to fulfill all the work done, then we will treat the process with all seriousness. Otherwise, you risk spoaling the facade of your home by spending the huge amount needed to restore the coverage.
Advice
At first glance, it may seem that the core itself is proposed to separate the walls with plaster, but it is better to immediately take into account all the risks.
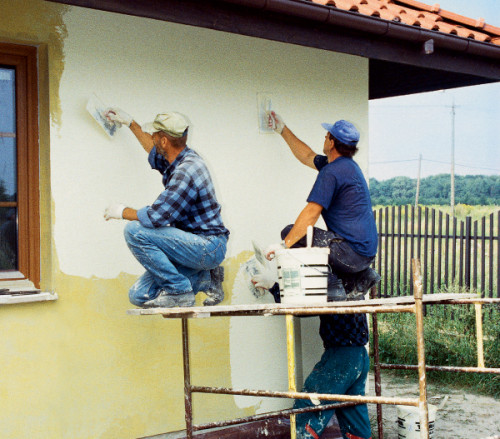
In order to avoid progress when decorating the walls of the Coroist, use the following tips:
- calculate your hand to apply decorative plaster immediately to the entire wall plane for one day. If you stretch everything for a few days, the drawing will be uneven. In addition, there are dispersed in color if you thank the solution in place;
- better to get an assistant. The process will pass faster if one person will apply a solution, and the second is smoothing and attached to the surface structure;
- do not work at elevated temperatures and high humidity. In hot weather, the mixture quickly harms, and cracks may appear on the surface. Many professionals work in the summer at night. Using powerful spotlights, you can avoid defects when applied, besides, it is much more comfortable to work in the cool;
- for external surfaces, use the facade paint. For painting of decorative plaster indoors - interior;
- sometimes it is necessary to remove the plaster cored with the wall. To do this, get the hose with hot water, or an electric kettle. Pour hot water to the Coroed area to be removed. Look around for about 15 seconds so that water is absorbed into the structure, and with the help of a spatula, immediately start counting plaster.
To clearly understand the technology of applying the plaster by the Corrotee, use the following video:
As you can see, the technology of wall decoration with plaster is fairly simple and uncomplicated. However, consider all the "pitfalls", which I can spoil all the work, minimize all the efforts spent. It is better to carefully examine this question, carefully prepare the basis and adhere to all rules and technologies, then the work will pass quickly, and the result will delight the eye.


