Mosaic from bat tile do it yourself Useful advice

Everyone adorns his home as can - stained glass windows, photo wallpapers, stencils, sculptures ... but one of the most beautiful and original ways to revive the interior is a mosaic. Unfortunately, due to the complexity of execution and painstafferies, it has become not so requested as before, but for such connoisseurs of the man-made interior as we are not afraid of any obstacles.
Content
Every year there is a tendency to rise in price of building materials, so the most resourceful human mind is constantly in finding the most economical solutions. It all comes from the used glass bottles for insulation of the floor, ending with homemade furniture from cardboard. Today we will look at one of the most original and inexpensive ways to decorate your home with a mosaic from the bat tile.
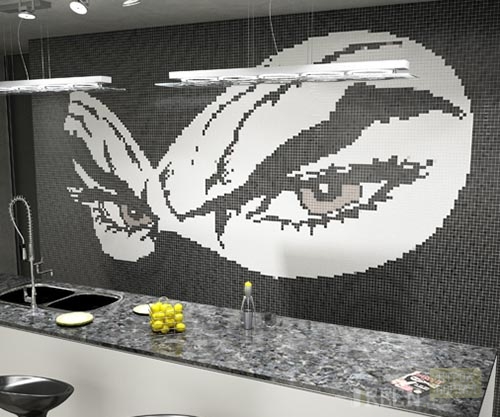
Wall mosaic
Where to take a bit tile?
To make a mosaic from a bit of ceramic tile, it is not necessary to buy entirely building materials and crumble them in the backyard. Many building stores emit a ceramic battle or sell it at a reasonable price as a redemption.
You can also purchase remnants of ceramic tiles, which also cost much cheaper.
The most ideal option is the tile left after repair in your home. Do not hurry to throw away even small fragments, because they can become an indispensable addition to the future multi-colored mosaic!
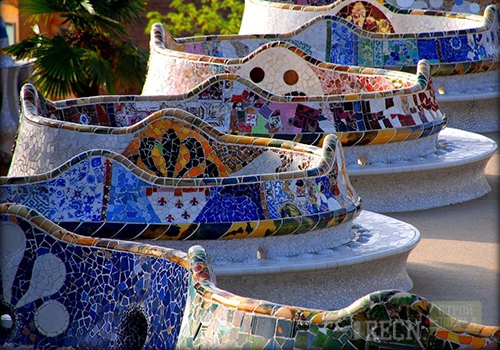
Economy is not a vice. On the contrary, rational savings develop resourcefulness and creates the soil to exit your creative potential. Who knows, maybe if not the remnants of the tile bat, the Great Architect and Sculptor Gaudi would not create his famous shops in Barcelona Park Guell ...
Preparation for work
Before proceeding with work, it is necessary to mentally imagine the result of your creative sweats. Imagine all the smallest nuances - a composition, scales, color ... Even if you want to create an abstraction, you need to think about how shades will go, etc. Chaotically placed fragments are much simpler than mosaic with a concrete image, so if you are not sure about your abilities, it is best to start with the abstraction.
Draw an exemplary sketch on paper in accordance with the wall scale. It will be your work plan, sticking to which you will create an accurate and beautiful pattern on the wall.
Wall processing
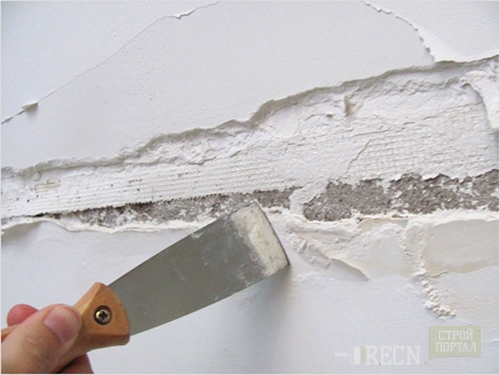
Before applying marking on the wall, it should be cleaned. If the wall is glued with wallpaper, completely remove them. To quickly remove the wallpaper, cross the paper from the bottom-up, hunching it with a knife with a spatula. The remaining pieces moisten the wet sponge, then they will easily dug without damaging the wall surface.
If in the process of cleaning the walls, irregularities or chipsets were formed, cover them. The surface should be smooth and smooth so that the pieces of tiles are well glued.
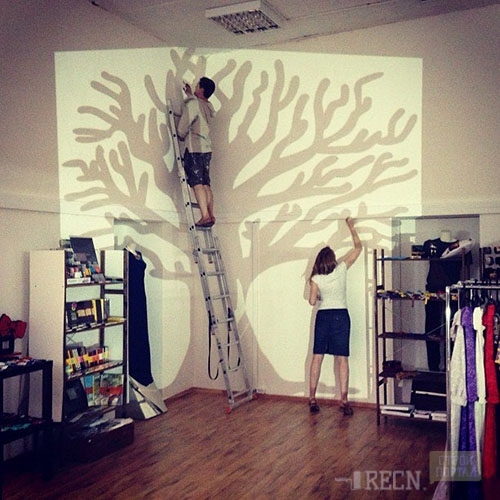
Apply a sketch of the future drawing on the wall. If this is a big image, an inexperienced person will be difficult to move it to the wall, observing all the proportions. To facilitate the task, you can use the artistic method of a large-scale mesh or design a picture to the surface using the projector.
Helpful advice: So that the tile is well glued, make sure that the room temperature in the room is from + 5C to + 30C.
Solution for tile
Ceramic tile solution can be purchased at any construction store. It is advisable to take the base under the white tile so that your work looks "clean" and easily. If in addition to the shards of the ceramic tile you will use the glass, it is best to look for a clear solution. It costs a little more expensive, but perfectly suitable for working with glass elements.
Apply a solution on the wall with a spatula. Do not cover them at once the entire surface - start from a portion of one color. Suppose if there is a blue cloud in your drawing, apply the solution only to this pattern segment and lay out the ceramic fragments of the corresponding color.
Laying pattern
There are several universal rules for laying a mosaic:
- To make your composition as smooth as possible and proportional, start laying out it from the center, gradually expanding to the sides.
- First lay out figures (people, plants, animals) and secondary elements (river, sun, etc.).
- The background of the drawing is laid out last.
Final stage
Leave a mosaic from ceramic tiles to dry out for 24 hours. When the solution fully solids, wash the mosaic surface with a damp cloth, removing the remnants of glue from it.
Then proceed to the mosaic grout. Grouting can also be bought in a construction store. Apply it in parts, thoroughly processing each pattern segment. After about 15-20 minutes after applying, the grout will darken, and you can remove it with a damp rag.
Mosaic care
Mosaic, like any coating of ceramic tile, does not require much care, but there are still a few rules that it is worth remembering:
- Do not wipe the mosaic with waxes, oil substances or means, which contains phosphoric acid.
- Do not use abrasive tools for cleaning.
- If the mosaic was strongly painted, take advantage of neutral tools for cleaning with low acid content, after which it is abundant to rinse the surface with running water.
Mosaic on the table top
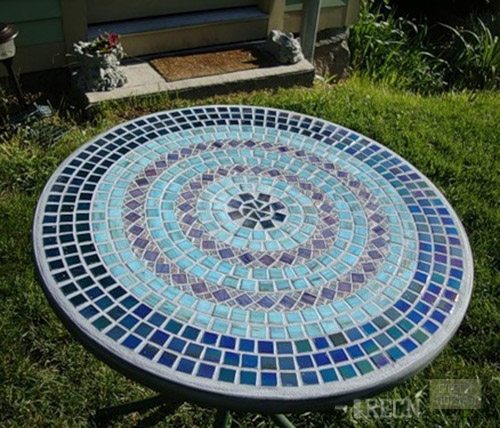
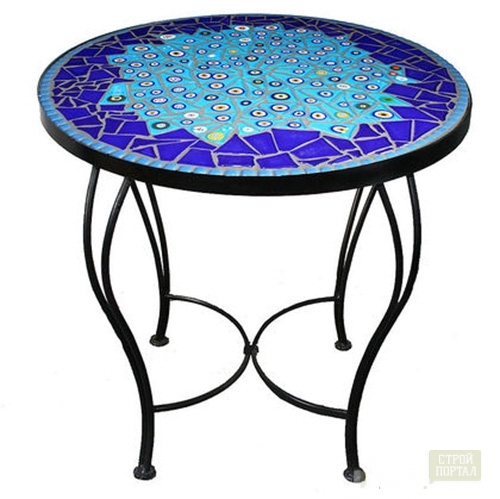
The beauty of the mosaic is that it looks equally well, both on the walls and on the interior items. With it, you can turn boring old furniture in the work of art! In addition, if you have already managed to get a mosaic pattern on the wall, furniture made in the same technique only emphasizes the original interior of the house. Consider in more detail how to make a mosaic from the bat tile and give the second life of the old countertop.
Surface preparation
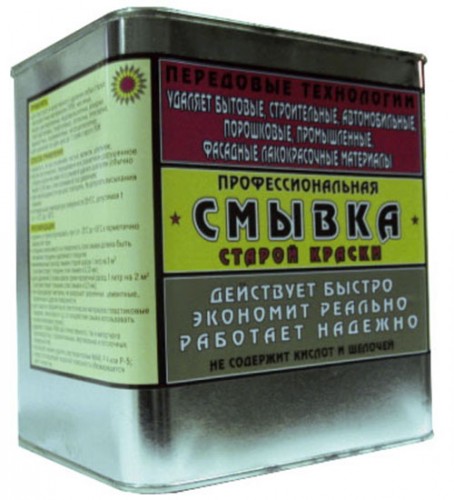
As in the case of the design of the wall, the surface of the countertop must be cleaned from varnish or paint. To easily cope with this task and do not damage the tree, you can use a special solvent for paint, which is quickly engaged in the coating, and you will only remain brushing the remains in the urn.
Then the countertop must be treated with sandpaper. First, clean it with a rough-rope (number 2 or 3), and then smaller (number 1 or 0). Stripping sandpaper is necessary in order to improve the adhesion quality of the tile glue with the surface of the table. Otherwise, your mosaic can easily break down.
Have you already invented a drawing? If you are a novice, it is best to do with a simple circular ornament with elementary geometric shapes. Apply markup on the tabletop with a pencil.
Cutting mosaic
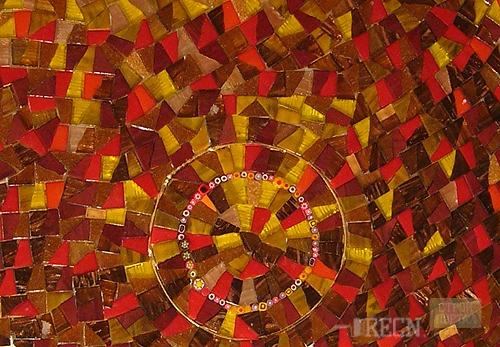
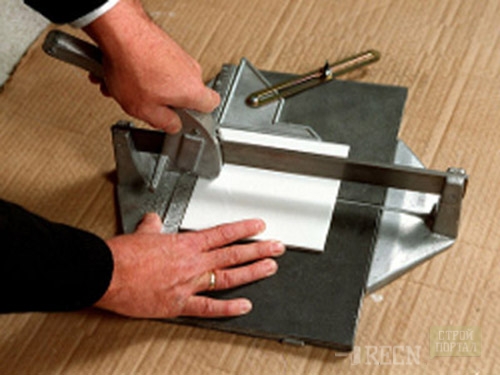
If the tile battle is not small or at your disposal, it turned out to be unnecessary multicolored tiles, it should be crushed. To get a mosaic material, you just need to cut a ceramic tile on pieces with conventional glass cutter. You can make pieces of any shapes and sizes. To give them the same geometry, use tiles. And do not worry if "mosans" will be obtained unequal or not quite even (and they will be such), because it will only highlight the beauty of your man-made masterpiece!
Blind and rubbing tiles
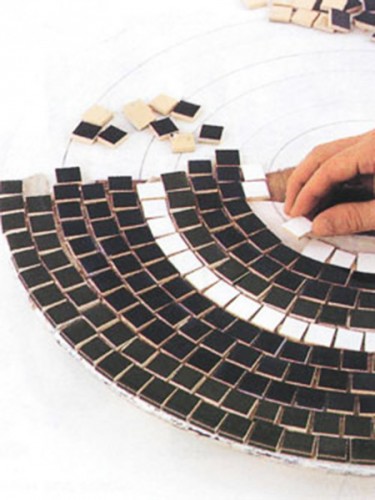
When all pieces are cut and sorted by color, you can begin to begin the most responsible step - gluing a mosaic. To decorate the countertops you need to purchase glue on a latex basis.
For tabletop design, the rules for decorating the wall are not suitable.
On the contrary, the work is built according to the completely reverse scheme:
- Start gluing the mosaic not from the middle, but from the edges of the table, gradually moving towards the center.
- Mosaic particles are as close as possible to each other so that the surface of the table is as a result turned out to be smooth and smooth.
- Slide the adhesive solution not the table, but each piece of the mosaic separately, strongly pressing it to the wooden surface.
- Remove the excess glue immediately after gluing pieces of tiles.
When all the pieces got up in their place, leave the job for a day to dry. After that, proceed to the grout. Jump gloves and carefully cover the composition for grouting every seam of mosaic. The principle of rubbing exactly the same as in the case of a wall mosaic. At the end, remove the excess means with a soft spatula and wipe the surface with the cloth. Leave the grout to dry by naturally.
Little secret: The slower the grout dries, the stronger and the durable will be your mosaic. So set aside a hairdryer or fan, close the windows and pardimate. If you work in dry and hot weather, cover the tabletop with a wet blade to reduce the drying temperature.
Polishing Mosaic
To make your mosaic shine and played with paints, it must be polished. Remove the residues of frozen grouts using shallow sandwich. Apply a few wax for furniture on a soft fabric without a pile and thoroughly walk through the entire surface of the table. Now your table top has gained the second, bright and rich life!
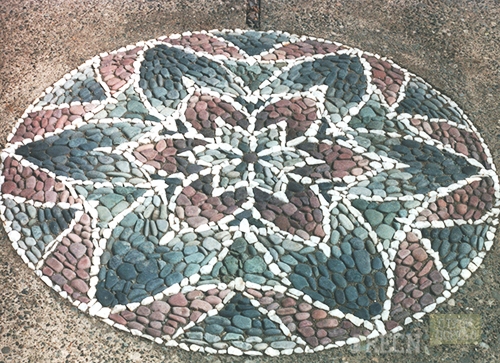
Now you know how to make a mosaic with your own hands and revive the interior of your home. Decorating the mosaic applies not only for walls, gender or furniture. Just imagine what a pool may be, at the bottom of which the mosaic underwater world is depicted! In addition, mosaic art is not limited to the use of one bit of tile. They broke the plate - do not throw away the fragments, but turn them into a mosaic! You can use to create a unique decor anything - ceramics, porcelain, glass, mirrors, pebbles ... and remember, the magnificence of your home can only be limited to your fantasy!


