Installation of outdoor lighting with your own hands Lighting
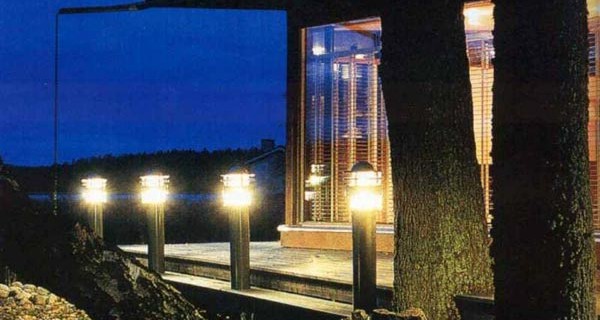
The household territory should be covered. It creates a comfort and safety sense. Installation of outdoor lighting lamps completes the design of the exterior of the house. Before proceeding with the work, you should familiarize yourself with the basic rules and with what materials and lamps are used for this.
Content
A variety of street lamps
There is a simplified classification of lamps for outdoor installation, which implies their division on autonomous and networks. Autonomous uses photocells to work, thanks to which batteries are charged. Their dignity in autonomy and mobility: the lamp does not need to turn on and off, it can be rearranged in any place. 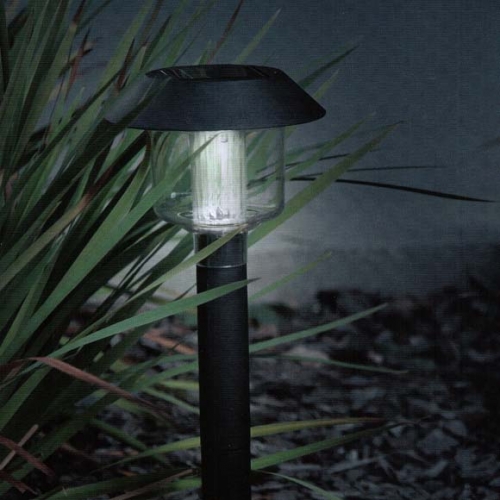
Network connections to line 220 V. Their range is wide. They distinguish them according to the design, technical characteristics and by the installation method.
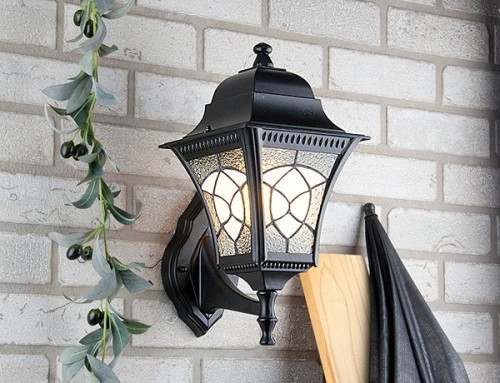
- Lanterns: Installation of street lamps of this type is made on the walls, on the support poles and suspended method - on the "strings".
- According to the method of propagation of light, there are park (classical), energy-saving (for local and decorative lighting) and spherical.
- The reference pillars are made of metal, plastic, natural and artificial stone.
- For landscape lighting, embedded lamps are used: they are installed on horizontal or vertical surfaces.
- Street searchlights are distinguished by the type of lamps used:
- incandescent lamps;
- halogen and metal halogen;
- gas-discharge;
- mercury;
- sodium;
- xenon;
- luminescent;
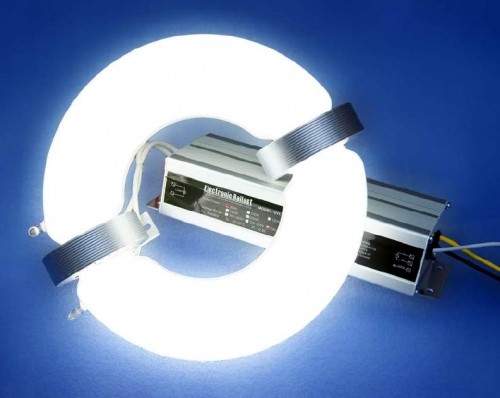
- induction.
Important: Installation of outdoor lighting should be carried out with regard to the degree of climate protection. In the instrument passport, the value of the protection against dust figures from 1 to 6 and the degree of protection against moisture is from 1 to 8. When choosing, you should prefer lamps with the highest defense rates, but not lower IP44.
Installation of outdoor lighting systems
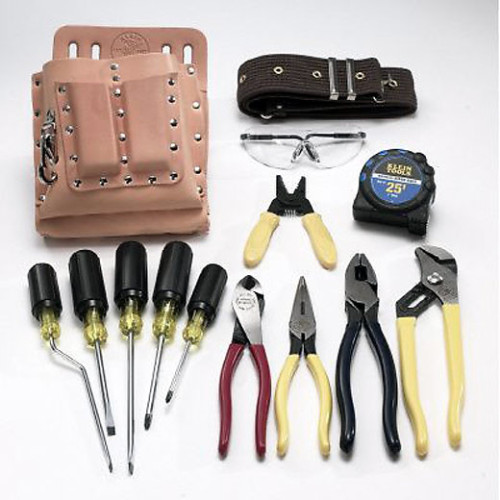
Specialists with the corresponding level of qualifications are allowed to work. Installation of outdoor and internal lighting can be performed simultaneously, but other materials are used for external work. Accordingly, a special tool and devices will be required:
- voltage presence pointer (indicator) or tester;
- perforator;
- boxes;
- a knife for removing isolation;
- screwdriwer set;
- assembly belt;
- roulette.
Installation of outdoor lighting networks is performed in stages. To install lamps on the poles of the fence from brick or stone, you should take care of the cable laying in the ground.
- On the perimeter of construction, the fence is digging a trench for booking a belt foundation.
- A formwork from boards is installed on a height of 100-150.
- The bottom and wall of the formwork are lined with rubberoid. Reinforcement is performed.
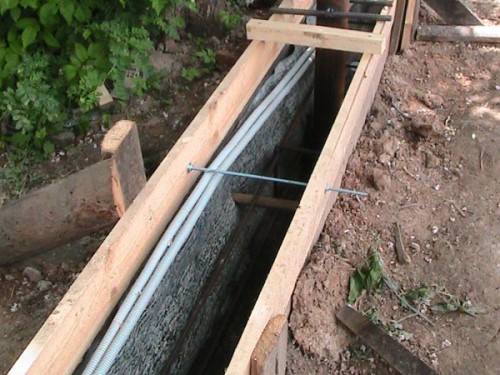
- The cable is folded on the ground, arranging the loops of the required length in the installation places of the column. In this case, the cable must be additionally protected by a corrugated tube. One edge of the cable is displayed in the camshaft.
- The cable in the tube is fixed with brackets in the upper part of the formwork, to its inner surface. The loops raise up (they must remain on the surface.
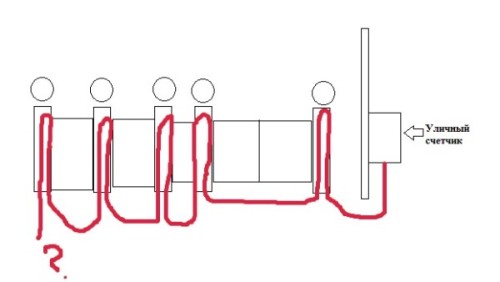
- Poured formwork concrete.
If necessary, the cable will be possible to repair if access to it is provided. The formwork should be wider than the erected fence.
Outdoor lighting: mounting supports
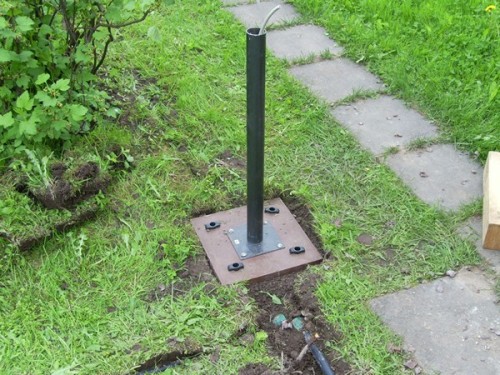
In places of installation of brick supports, vertical racks made of metal pipes. Inside the racks, the cable is paved, which was previously laid with loops. Racks will perform two functions: they are necessary to protect the cable and to create a reinforcement frame fence.
Setting the racks is strictly vertically. The base should be equipped with a crosslinor for fill in concrete.
Important: The cable must have a stock required for mounting lamps.
Other ways of cable laying in the ground
Laying cable in the soil for the installation of outdoor lighting is performed in compliance with the following rules.
- The cable is stacked at a depth of 0.4-0.7 m. In the crossing places with the roadway, protection should be provided with a metal or asbestos-cement pipe.
- Line laying under the base of the building is not allowed. The trench for the cable should not be closer than 0.6 m from the foundation.
- At the bottom of the trench there should be a subference from sand with a thickness of 0.1-0.15 m. On top of the cable also pour sand.
- In one trench cables should be located at least 0.1 m. Based on this requires a trench of the required width.
- Near the cable line should not be trees (the minimum permissible distance is 2 m). In an exceptional case, the cable should be protected with a metal pipe.
- It is necessary to observe the distance to underground communications: from sewerage and water supply should be at least 1 m, from the gas pipe - 2 m.
- Intersecting cables in the soil must be removed from each other at least 0.5 m.
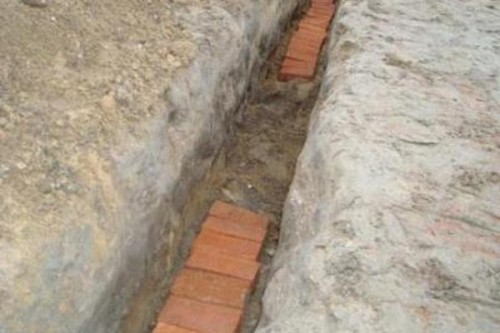
- For laying in the ground, armored cables are used. They are protected from rodents. Ceramic full-scale bricks can be applied as additional protection.
- The connection of cables underground is performed only with the help of special couplings.
Street Light Cable
To mount the wiring in the ground and for the power lines of the power lines, cables of various types are used. Most often in the ground, the BBBSHB (or WSHB) brand cable is laid with copper veins or AVBBSH with aluminum veins. Installation in this case does not require the use of pipes for protection. But to connect the lamps installed on the household plot, you can use GDP-1 cables, but with mandatory protection with a corrugated metal pipe.
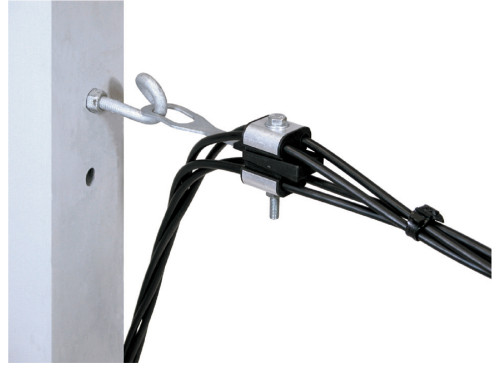
In some cases, installation of suspended cables is required. Recently, for this use self-supporting cip wires with insulated cores. Insulation is PVC plastic, resistant to ultraviolet, temperature drops and to the effects of chemically active substances.
Installation of lighting devices
After the cable is laid and the supports for lighting devices are installed, you can start connecting the lamps. For this, the following is performed.
- The lamp is disassembled using a screwdriver: the installation element must be separated.
- The cable is cut at the upper points of the loop.
- Ends released from insulation are becoming at the eye of the installation element. And connected to cartridge terminals or special contacts.
- The heel of the lamp is attached to a vertical or horizontal surface (depending on the method provided by the manufacturer of the device installation). For this perforator, holes under the dowel in advance places are drilled. The lamp screws down with screws.
Additional equipment for outdoor lighting device
In addition to the lamps and cables to connect them, the lighting installation involves the use of the next equipment.
- Movement sensors: They are installed in places with a small crossway. These devices are designed to save electricity. These can be connected to both the group and individual lamps. In the latter case, you can organize alternate inclusion of the lighting of the garden path when the person moves.
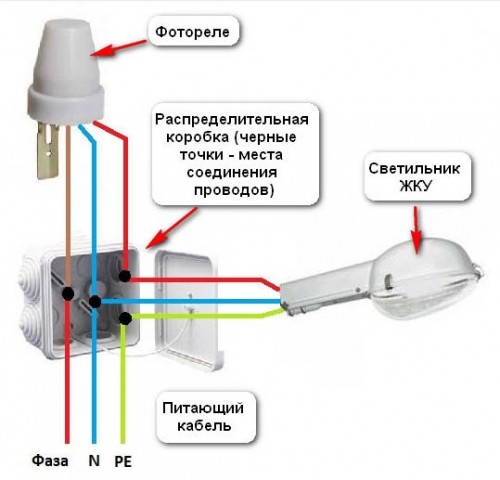
- Light sensors: With their help, you automate the inclusion of lamps and lights with the onset of darkness and disconnect them at dawn. It also helps save electricity, and also allows you to create "the presence effect" of the hosts.
- Controllers: Such equipment allows you to install the necessary day and hour on / off the lighting, which is performed automatically.
- Switches: Install both regular and passing. The latter are designed to enable / disable outdoor lighting from two or more places.
Some Nuances Mounting Street Lighting
- When designing outdoor lighting, the lamps should be broken into separate groups. Each group connects to the network by a separate cable, a separate control equipment is installed. An independent connection allows you to optimize the illumination of the territory.
- If decorative outdoor lighting of buildings is assumed, the installation of embedded luminaires is performed after laying cables on the walls in the strokes.
- It is necessary to ground the street lighting devices, connecting the grounding conductor to the luminaire housing. For installation of the system, a three-in-room cable is used. This will not only prevent the human defeat with electric shock, but also will prolong the life of the lamp.
- After installation, the test switch is performed and the ground resistance is measured.
With one of the options for street lighting, you can read, viewing the following video.


