
How to disassemble the perforator Instruments
In the event of a breakdown of a tool that helps in construction, not everyone wants to go to the workshop, for the absence of money, time or because the repair can pour out the price of a new thing. Some prefer to do everything alone. If a puncher stopped working at the most responsible moment to identify the cause and eliminate it, the tool should be disassembled.
Content
How to disassemble the perforator
Even when the perforator is working, it still needs preventive cleaning and replacing the sheltered elements, which means it must be periodically disassembled. The method of parsing the tool of different manufacturers is approximately similar, but may differ by any nuances. One of the most famous brands are "Interskol", "Energomash", Sturm, Bosch.
How to disassemble the sturm puncher or similar to it? The sequence of actions is as follows:
- The first thing to establish is not covered if the reason of breakage on the surface. At the gun often becomes unusable duster made of plastic, located on the cartridge. Because of this lost stoppers. To prevent this problem, when using long drills should be used.
- If no external defects, then it is necessary to disassemble the instrument. We must start from the upper assembly, first is removed from the tip of the rubber, followed by a lock washer, after - the head and the spring. At the end of this procedure, remove the ball.
- Analyzing the tool you need to be extremely careful, remember, from which parts were removed, and in what sequence. You should also put them where they will not sunset and will not be lost, otherwise return the hammer to life and will not work. Now carefully dilute to the side casing and the gearbox, as long until you see a gap of 30-50 mm between them.
- The switch set to the mode "blow with drilling" and remove it.
- Remove the casing from the gear unit.
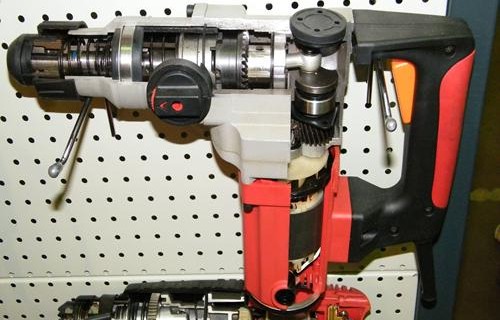
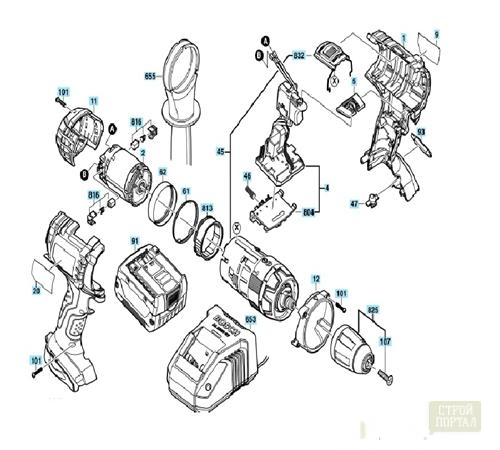
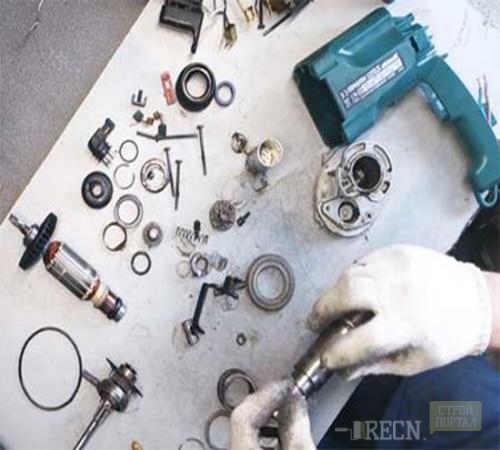
Puncher exploded view looks like this:
reducer punch
This element perforating device serves to transmit rotation from the motor to the cartridge. With this comes into operation the striking mechanism.
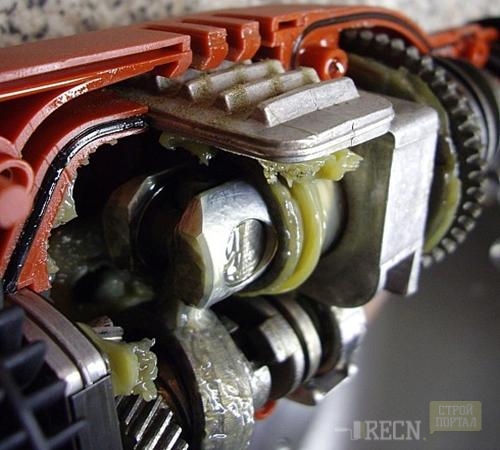
gear structure includes a set of pinions of different shapes - cylindrical, bevel, worm. Apart from these active node is equipped with an electronic device regulating the number of revolutions and shock frequency, and needs to be inspected, lubrication and replacing the erased parts.
Before you disassemble the puncher reducer, you must first disassemble the cartridge. This will be discussed below. Next, disconnect the lever, switch modes, with help yourself with a flat screwdriver.
Once inside the gearbox, carefully inspect details such as:
- gears, thus, pay close attention to the teeth;
- the firing pin;
- piston.
If there is deterioration of any element, you should replace it with a new one. If not, then you just need to perform a thorough cleaning with petrol or white spirit.
How to disassemble the gun cartridge
To begin, you need to remove the cartridge. Before that, you need to determine its structure. Types of cartridges:
1. Cam - drill is inserted and secured with a special key.
2. Collet - to replace the drill key is not required, just turn the chuck enough.
3. Quick-release:
- odnogilzovy;
- dvuhgilzovy.
Chucks at different rotary hammers are fixed in different ways - sometimes with the help of the screw rod, sometimes with the aid of the spindle. In some cases, they are easily removed, and some have to use additional tools and efforts. The process of removal is as follows:
- loosening fixation, gently tapping the head of the screw;
- unscrew with a screwdriver;
- hold the cartridge in a vise, and scroll through the spindle.
As for the method of disassembly, then the tools of different companies it can be different. Consider the following, how to disassemble the puncher bosch, or rather, his patron.
Sequencing:
- Move the plastic part and remove the rubber seal.
- Remove the locking ring by helping the screwdriver.
- Unscrew the fixing washer.
- After removing the washer, another ring falls in sight. Remove it is possible, going up with a screwdriver and turning.
- Next follows a collet clamp that includes a spring, a ball, washer. First of all, remove the ball, then the rest of the details.
Cartridge, as well as a gearbox, disassemble not only for repair, but also for prophylactic inspection and lubrication. After the necessary actions are implemented, you need to carefully collect all the nodes using the above instructions, only in the direction from the last item to the first.
Why break perforators broken?
The design of the perforator, as well as any other tool, includes mechanical and electrical parts. The most frequent electrical dispute issues are as follows:
- breakdown button "Start";
- wear graphite brushes.
To eliminate engine malfunctions, such as the armature breakdowns, a winding breakdown, etc., special knowledge and skills that are far from all are needed.
If the malfunction arose due to a broken button or worn brushes, then it is not difficult to eliminate it. Sometimes these details even come with a tool. If not, it is possible both in the market and in specialized stores. It is very important to remember how contactors were located in the factory assembly. To progress better, before disassembling the perforator "Interskol" finally, but rather, to extract the details from it, photographing how everything was initially.
The harbingers of the tool breakdown can be extraneous sounds, a large number of sparks inside the hull, the smell of the burner plastics. When they appear, it is necessary to immediately check the perforator for the presence of worn items, because if you continue to operate it further, the engine can break, and its repair will be much more complex and expensive.
If there is no breakdown and everything is fine, the tool owner still needs to know how to disassemble the Energomash puncher. The fact is that failures in work can create dust, dirt, solid particles that scored the body from the inside and interfering moving moving parts. All this garbage should first cleaned with a dry brush, and then wipe the inside with a rag moistened with White spirit, to remove residues.
How to disassemble the perforator, video:
New comments
Add a comment
To send a comment you need authorize.


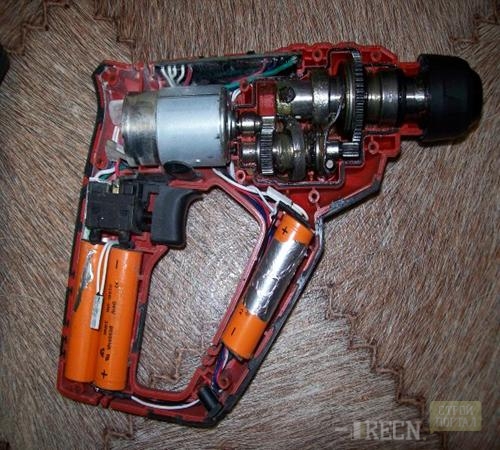
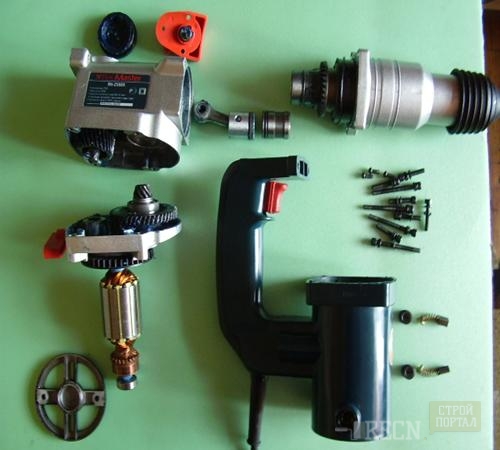


You have a perforator "Caton RH-850-26" is depicted in an already disassembled form, and I would like to know how to properly remove the lower metal structure (in general) from the rotor bearing and release the plastic case with the stator - for maintenance. If you have this nuance please tell me.