What glue to choose and how to glue ceramic tiles Tile,Floors,Walls
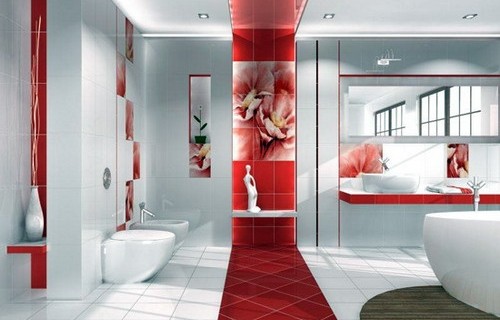
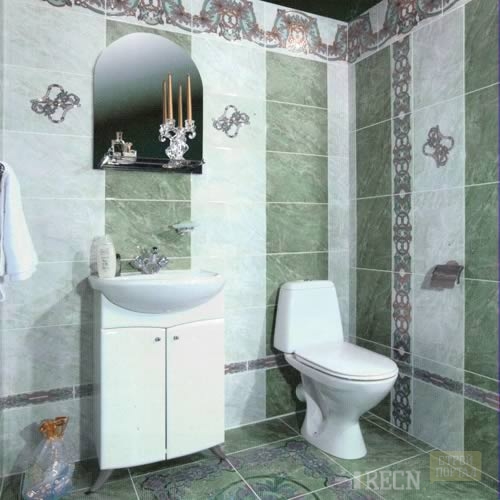
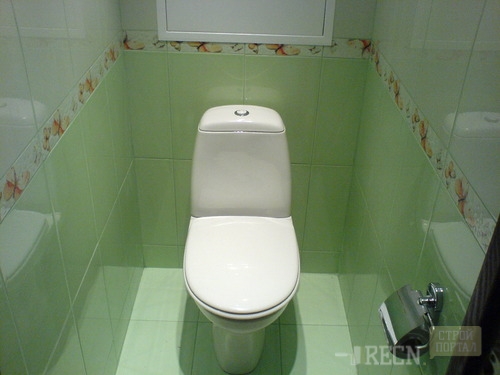
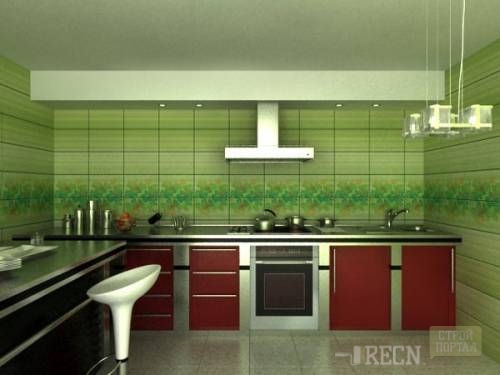
Ceramic tile is the most suitable option for trimming a bathroom and toilet. The beauty and durability of the coating put the tile on the first place compared to other finishing materials. The tile design the wall above the working area in the kitchen is used as an outdoor coating in the kitchen and in the corridor.
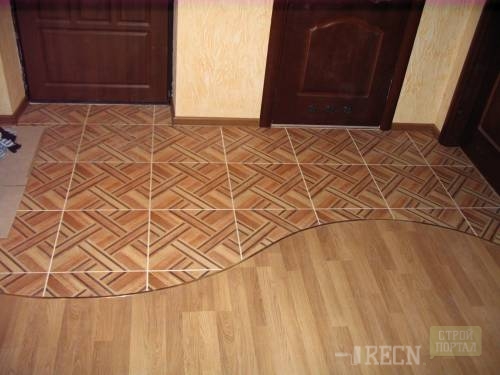
In the corridor, the tile is well combined with laminate. Part of the floor on which the greatest load accounts, is laid out with tiles, the rest covers the laminate. It turns out practical and cozy.
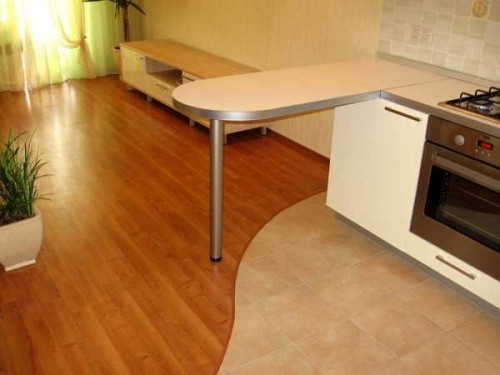
It would be appropriate to a combination of tiles and laminate and in the kitchen.
In order for the ceramic tile coating for a long time, you need to properly prepare the surface for laying tiles and most importantly - choose high-quality tile glue.
Content
Glue for laying ceramic tiles
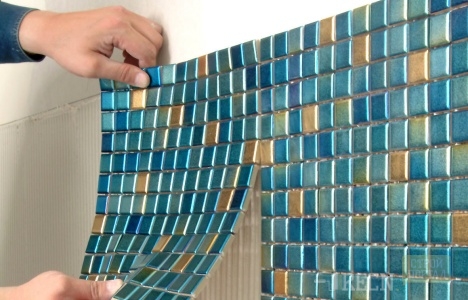
Based on cement are produced dry mixtures. Such a mixture is divorced by water. Mixtures of different manufacturers are distinguished by elasticity. Well established ourselves "Unice", Ceresit, do not be afraid to take the firms 'prospectors' glue - with a fairly low price it has good qualities. If the surface is smooth, the tile is stacked "under the comb" - used basic glue. To lay the large-scale tile, the porcelain is needed with reinforced glue. The fine tile and mosaic stacked on white glue.
It is difficult to determine which glue is considered the best. Each wizard will take you to pick up the glue with which he is used to work.
Good reviews have glue "Mask". Produced with different labels - for heavy tiles, porcelain stoneware, for inner and outer decoration. For mosaic, super-brace, it can also be used for grouting seams.
Among dry mixtures you can find glue with the addition of plasticizers. The plasticizer slows down the grasp of glue and gives the solution to elasticity. Such glue is convenient to work for those who have small experience.
Dispersion glue is well suited for plasterboard cladding. Glue is ready for use. The price is more expensive than cement mixtures. The advantages of such adhesive is its elasticity.
The glue must approach the surface to which the tile is stacked. When finished tiles, the facade of the building uses glue for external work. There is a special glue for baths and saunas, as well as for surfaces exposed to high temperatures - fireplaces and furnaces.
How to calculate glue consumption for tile
The glue consumption is calculated on the prepared surface. It should be smooth, angles - straight, walls are strictly vertical. To equalize the walls, plaster is used, the floor is aligned with a screed. Only the experienced tiler to align the surface during operation with tiled glue, so do not regret the time to prepare the base.
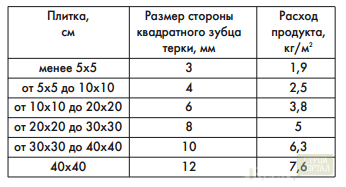
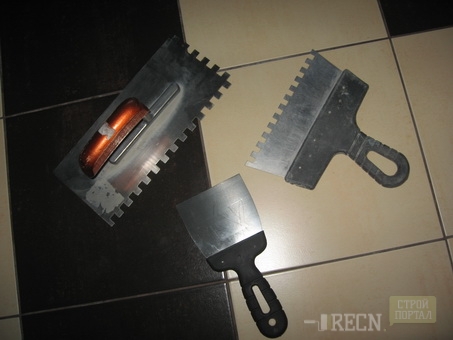
Having smooth walls it is easy to calculate the consumption of tiled glue. The glue on the tile is applied with a toothed spatula. The size of the spatula depends on the size of the tile. The table will help you choose the desired spatula, and calculate how much glue is required for sq m.
The price of glue depends on its category and, accordingly, quality. On the package you will meet the inscription - "Economy", "Standard", "Premium", "Suite." The category "Premium" is higher for the price, but if the apartment in the new building means, the house will be exposed to the shrinkage - it is better to take a "premium". Glue category "Standard" has an acceptable price category and has good qualities. Ready glue is always more expensive. Pay attention to the glue consumption per square meter specified on the package. At the same cost, the consumption of glue can differ significantly.
How to calculate tile consumption
When choosing tiles, consult a designer. Ask you to make a computer layout of the tile and calculated how many tiles should be taken. Having such a layout, it is easier to lay a tile, and you will immediately have an idea how it will look. Crossings are suitable for 1.5 mm, for floor tiles 2-2.5 mm.
When laying tiles diagonally, its consumption increases. Tile with a small margin - there is always a possibility of splitting and damage tiles during transportation and when working. Buy tiles from the same party is difficult.
How to kill ceramic tiles with their own hands
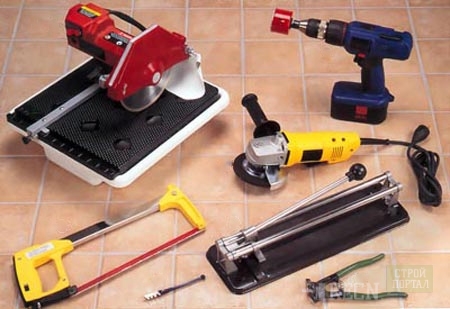
For blowing tiles will be required
• brush or roller for primer
• gear and conventional spreader width 10 cm
• Capacity for kneading glue
• level
• Drill
• Hands on a drill - mixer and crowns for drilling round holes
• Platekorez
• Bulgarian.
• Rubber spatula for grouting seams
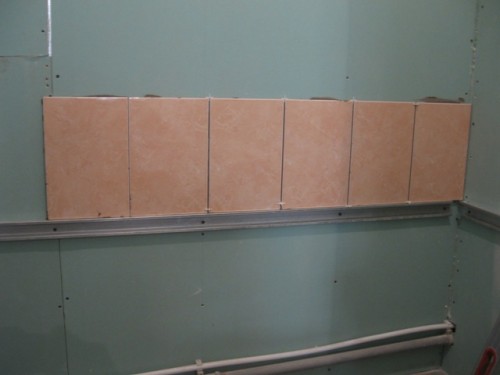
After alignment and drying of plaster and ties of the floor, the surface is proper. On plasterboard, apply concrete contact. While the primer dries, install the guide. For the guide, it is better to use a metal profile. You can use a wooden slaughter if it is not curvature.
Laying the tile begins from the second row from the floor. Starting the markup from the ceiling Calculate how many tiles fit in a vertical row, add distance to the seams. At the bottom edge, the pile of the floor tiles make a mark. Here at this level you need to fix the guide. Guide is exhibited using a level. If there is a laser level - well. But it is too expensive tool for home use. Reliable all - a hydro-level. Make it on it all over the perimeter so that the horizontal seams of the tile coincide across the corners. It remains to secure a metal profile, which will serve as a guide.
In case you want to lay a tile from the bathroom, not reaching the floor - the first row of tiles count on the basis of the bathroom.
When panel is laid out, the tile is better decomposed on the floor, and then stacked it in a certain sequence.
The floor marking is better to start from the door, after applying marks, the tile begins to lay out from the corner.
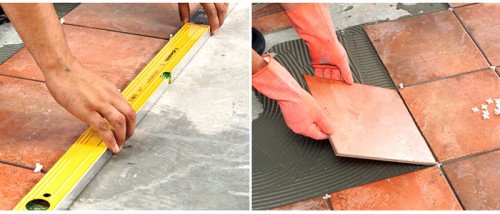
When all the preparations are finished, you can knead the glue, and proceed to laying the tile. The glue is applied to the tile or to the surface with a toothed spatula.
With the help of the level, make sure that the tile is in the same plane, the corners of the adjacent tiles coincided.
For seams between tiles beat smooth, special crosses apply.
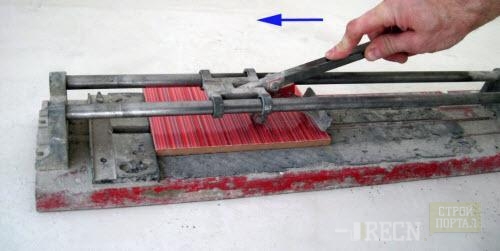
Cropped tile with stoveturis.
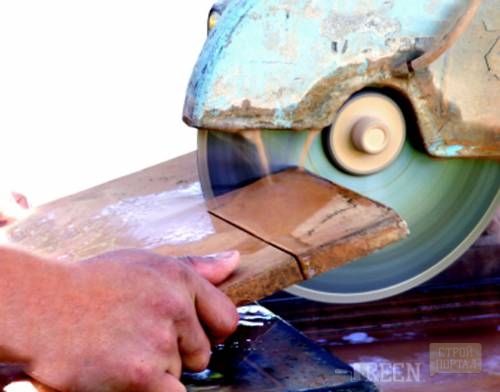
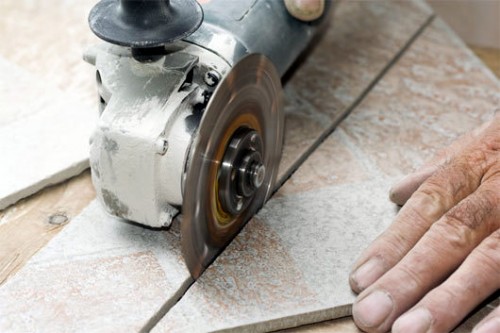
If you need to cut the tile angle - take the grinder, or use the tile cutter with a diamond circle.
Cerambrants The usual tiles will not take. It is also better to cut the grinder. When working with a grinder, be careful - put on the protective glasses.
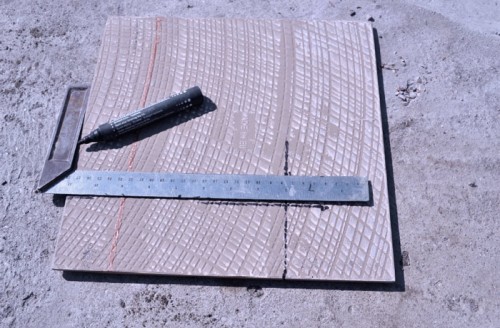
So that the angle is direct, use the metal coal for marking.
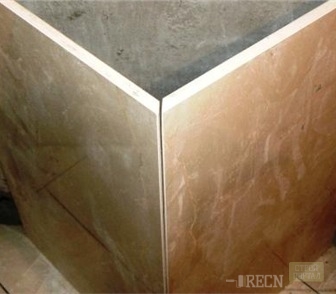
The most difficult thing is to trim the tile for the outer corner. The edge of the tile is cut by a grinder at an angle of 45 degrees.
Conditioning angles in this way is a very difficult job, therefore it is easier to insert special plastic corners, which are produced for outer and internal angles.
Holes for pipes are cut with a crown with a drill.
Do not forget to insert decor elements.
Start in the bathrooms from the walls, then lay the tile on the floor.
After the tile is laid, and the glue is a mischief of the seams. Crossings and excess glue are removed by a spatula or ordinary dump truck, the seams can be cleaned, then filled with grouting for ceramic tiles using a rubber spatula. Immediately wipe the tile with a wet sponge to remove unnecessary. Do not allow the grout drying, and do not use empty paper to remove it - you can damage the enamel.
If the tile is laid in all the rules, the results of the works will please you.
A visual lesson on laying tiles can be viewed on video.


