Staircase with ladded steps do it yourself Ladder
If you are when building a new house, you think about what type of staircase is preferred to connect the floors, then you should pay attention to this option as a staircase with running steps.
Content
What are the groaning steps, their advantages and disadvantages
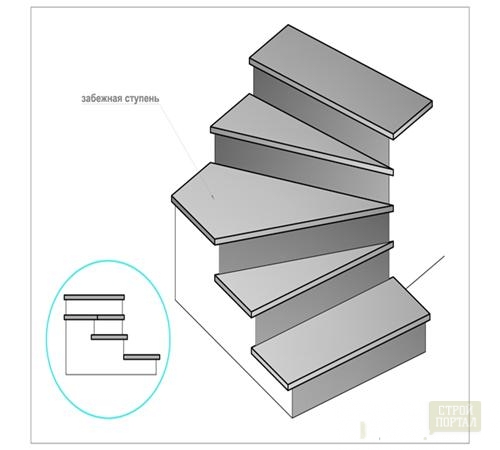
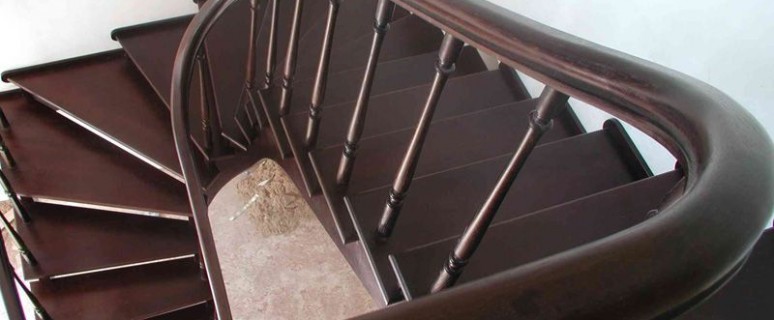
Reliable are called the steps located in a circle, continuously. One end is the one that is located on the inside, already than the external one. When turning the stairs, they are used instead of an intermediate site. Stairs with overtakers are two types:
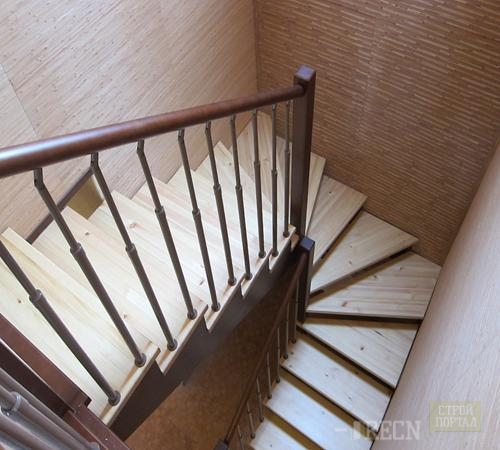
- p-shaped - such stairs rotate 180 °;
- mr. - Such stairs rotate 90 °.
Starts have a number of advantages, for example:
- occupy less space than marches;
- visually make the room wider;
- have aesthetic appearance.
The following features include their disadvantages:
- the narrow edge of the steps during the lifting of the stairs causes psychological discomfort. It seems that there is nowhere to put a leg;
- such stairs have a rather complicated design and therefore it is difficult for them to produce calculations;
- not as comfortable in use as stairs with platforms;
- it is necessary to approach the design of such a staircase with maximum attention and responsibility, because if it is incorrectly designed, it will increase the risk of falling and getting serious injuries.
What you need to consider to make the design as safe as possible
To reduce possible trouble from the shortcomings of running steps, the staircase must be properly designed, given the following nuances when calculating it:
- the depth of the outer edge of the stage should be no more than 400 mm, and internal - not less than 100 mm;
- the middle of each stage in the depth should be at least 200 mm;
- height each stage can take from 120 to 220 mm;
- the maximum ledge of the edge of the sticking should be 40 mm;
- when calculating the M-shaped staircase, the following formulas must be observed:
- for comfortable use - a (level depth) - in (the height of the riser) \u003d 120 mm;
- for maximum safety - A + B \u003d 460 mm;
- step formula - 2V + A \u003d 620 (600-640) mm.
- during the construction of the P-shaped staircase, the international interval should not be less than the fourth part of the width of the steps. Otherwise, running steps from the inner edge will be too narrow;
- the gap between the overlap and the staircase must be at least 2 m.
How to calculate a ladder
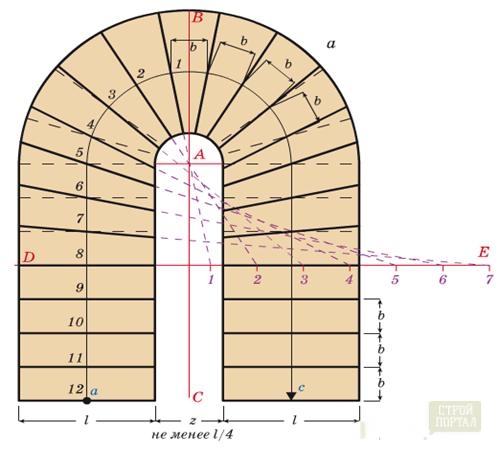
To make the calculation for the P-shaped structure, you need to act as follows:
- mark the bend center coinciding with the radius of the inside of the stairs;
- calculate the number of running steps: the more they are, the more comfortable you can use the staircase;
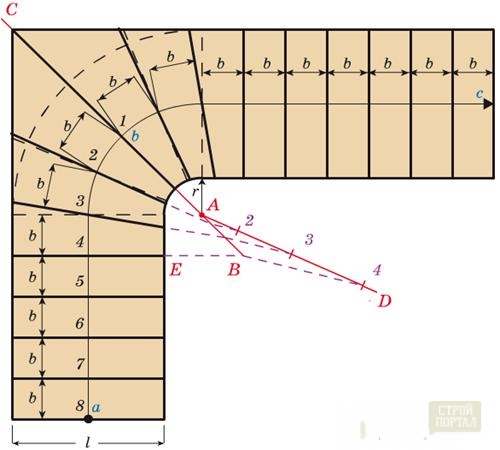
- starts, the photos of which are shown below - from the first to seventh inclusive. Through the next one, the eighth level, or rather through its beginning, the DE line is stated. Straight AV shares the staircase to two sides - right and left. The middle of the march should be denoted by an AC curve that corresponds to the line of movement;
- on the line, denoting movement, from AV laying out a plot equal to half the width of the usual step. Thus, we find a point 1. It takes a segment equal to the width of the stage and mark the point 2. acting on the same principle, we find the remaining points from the 3rd to 7th;
- after points 1 and and hell with a line intersecting with DE. Another line is diagnosed after 2 and A. on the line D, we mark points 1 and 2;
- on the line de measure the intervals of the same length as 1-2 and we denote their numbers from 3 to 7;
- next, the point at number 3, located on the line of the AU connect with a point at number 3 located on the line DE. The same is done with points 4,5,6,7;
- the same calculations are made regarding the other half of the ladder with running steps.
For a M-shaped structure, as in the case described above, the point A and the draws direct speakers are found. You can arrange the steps in two ways:
- the AC line shares the angular step into two equal parts;
- the speaker line coincides with the link of two angular steps.
If the second option is selected, the same as in the case described above, the Line of the AU movement is indicated. On the curved section, the lines B are denoted equal to the width of the usual steps. The number of rotary steps is determined. If this is the steps below the numbers 1,2,3,4, as in the figure above, then through the end line of the 4th stage, the direct EB is drawn. The point in here refers to the intersection of ev and sa. After that, direct AD is arbitrarily carried out. It note points 2,3,4, while the segment A-2 should be two parts, 2-3 - three parts, 3-4 - four parts. One part in this case is a segment equal to any conditional unit, such as a centimeter or a decimeter.
Next, we carry out the line 4B. From the points 2 and 3, the diameters intersecting with AB, parallel to the segment of B4. Points obtained on the segment AB connect the straight to the corresponding points on the AU. These lines determine the shape of rotary steps.
If the AU line shares the angular step into two equal parts, the calculation of the running steps is made in the same way.
Tools and materials necessary for the manufacture of the ladder
For self-making ladder, you need to stock high quality wood. Of course, the best choice is the Dark Oak, but it is very expensive. Also, for this purpose, Maple is great - its value is much less, and finding it in the right amount will not be difficult.
Calculate how much material will be required for the ladder is not difficult, for this you need to know the height of the structure, because the meter is somewhere one cubic meter.
In addition to wood, prepare:
- electric jigsaw;
- drill;
- fasteners;
- screwdriver;
- hammer;
- roulette.
Staircase with ladded steps do it yourself
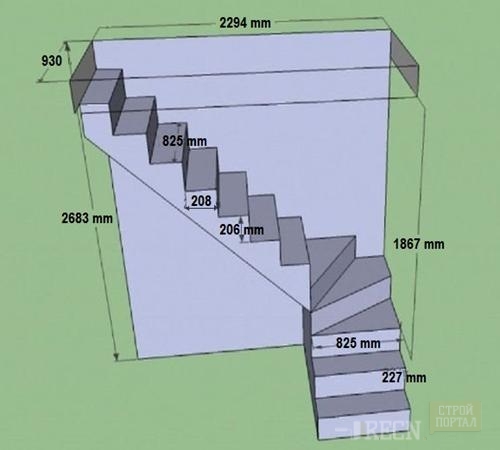
Consider the sequence of manufacturing a running staircase on an example of a M-shaped structure having the length of the opening 2 m 29.4 cm, the width of 93 cm, the height of the overlap - 2 m 68, see.
The swivel staircase has two march: one of the eight steps, the latter of which coincides with the top floor site, and the other from two. There are three, with a rotation angle of 30 °.
For a rotary staircase from a tree, you need to create two Kouryer 5x30x300 cm. One of them is fixed on the wall, and the second is based on a 10x10x250 cm step.
The process of creating a burning staircase of this design is carried out in several stages:
- manufacture of cososov;
- production of oversight steps;
- assembling staircase;
- mounting railing.
Consider in detail each stage. The sequence of manufacture of cososov looks like this:
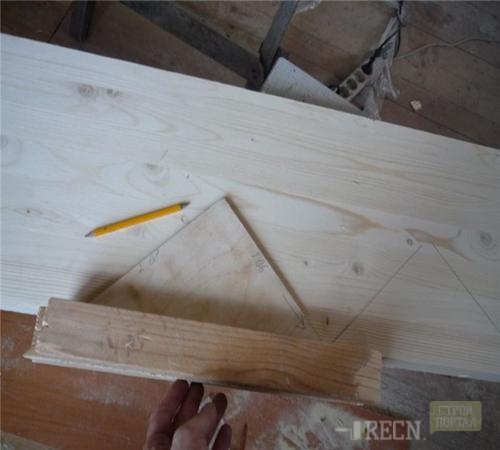
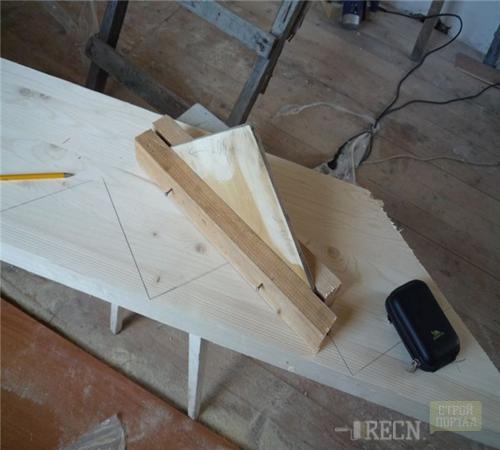
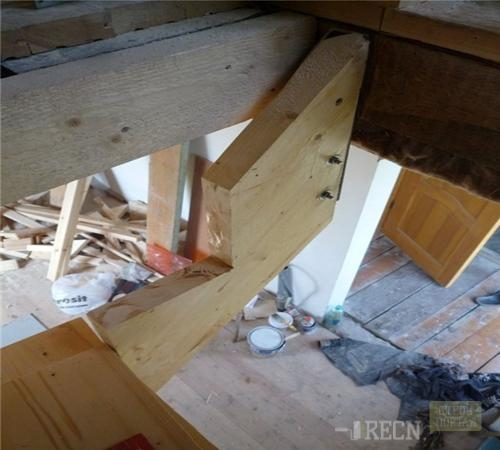
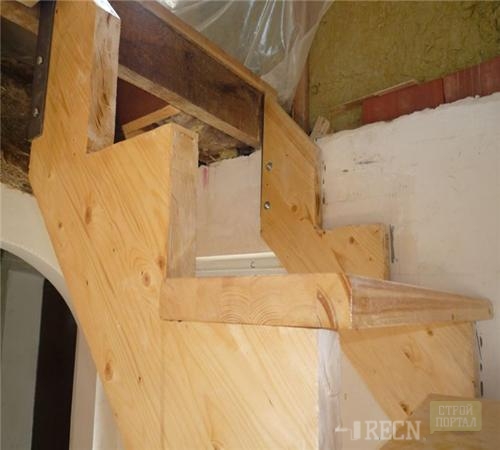
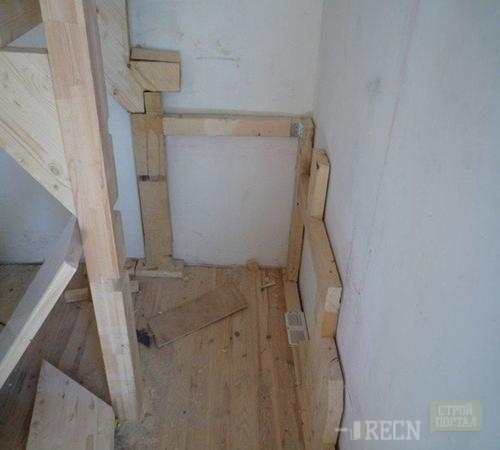
- we make a template in the form of a rectangular triangle. His katenets should be equal to the height and depths of the stage. To make it convenient to use the template, you need to attach it to the rail guide. Using it, we make the markup of the future of the Kouryer and cut it with the help of a circular saw. In this case, it is impossible to forget that the thinnest part of the rower in width should be at least 150 mm;
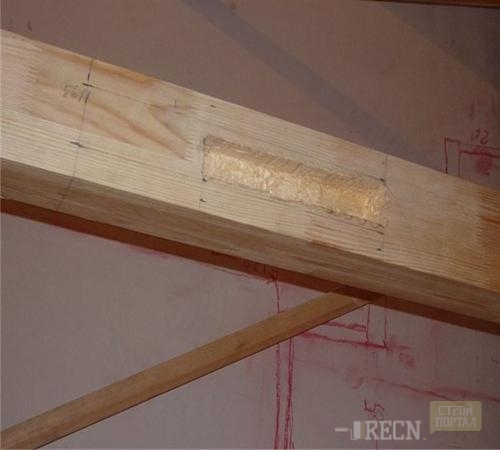
- install a pillar for a support, having in advance in it in it, in which Kosur will be inserted;
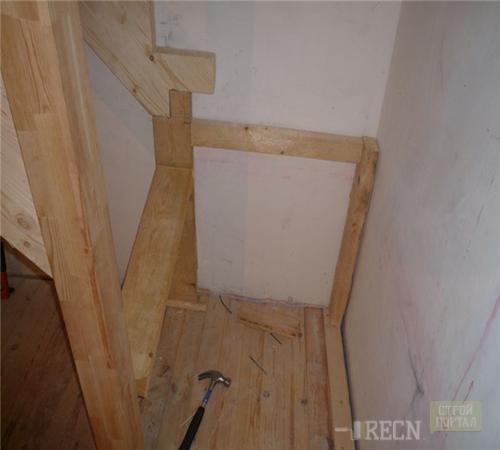
- in the angle, mount the basis for swivel steps, which will also save Kosor, located near the wall;
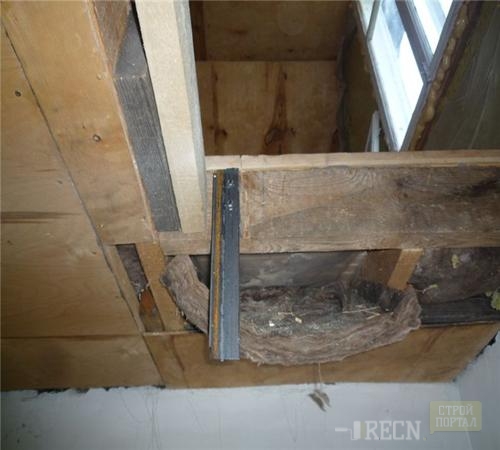
- boosters from the top side with metal corners.
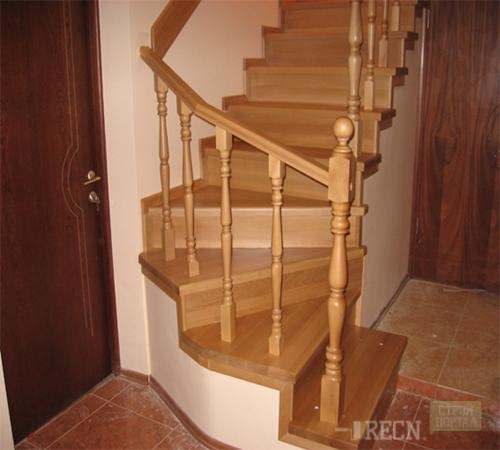
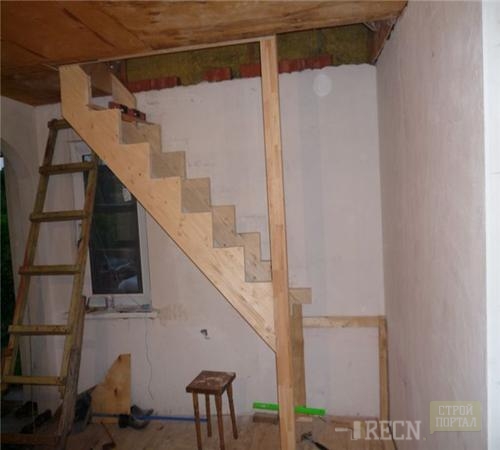
The general type of construction after fixing the Kosomrov should be like this:
By installing the cosos, it is necessary to ensure that they are strictly opposite each other, otherwise the steps will not lie strictly horizontally. At the same time, it is not necessary to navigate the surface of the floor, because It may not be even, but for the construction level.
Now we go to the second stage of the manufacture of the stairs - cutting out the steps:
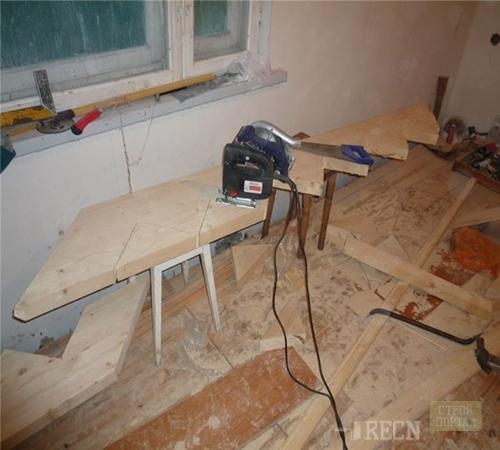
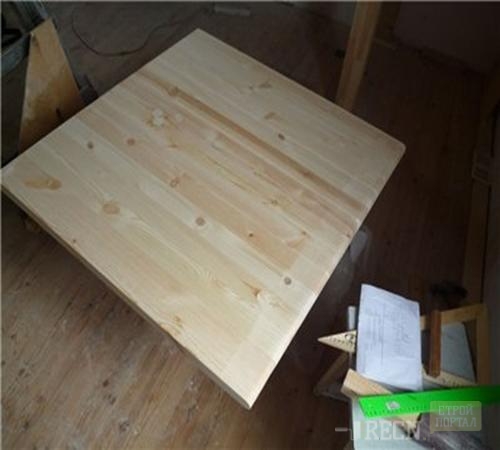
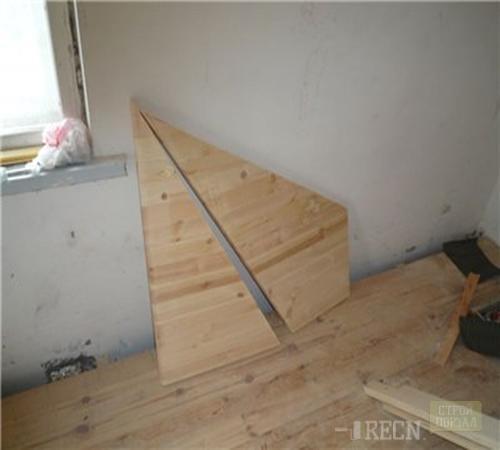
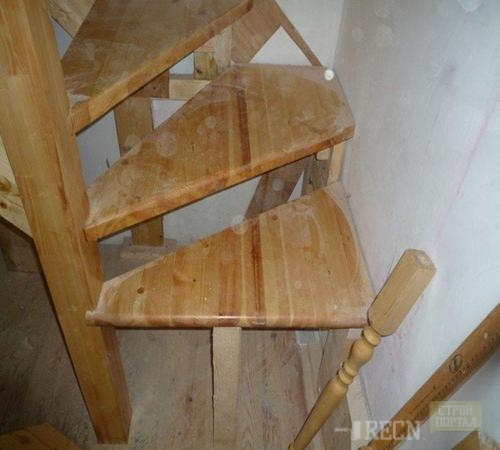
- for turning the stairs, 90 ° will need 3 steps. They cut them from the board 90x90x4 cm. To do this, we divide it with lines going from one corner to three sectors;
- cutting a stage along the lines that customize their length to each other;
- next, quarrel all the steps. Varnish are applied in three layers.
At the next stage, we produce a staircase assembly:
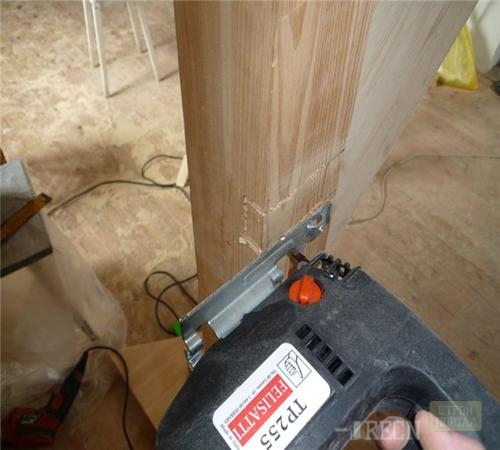
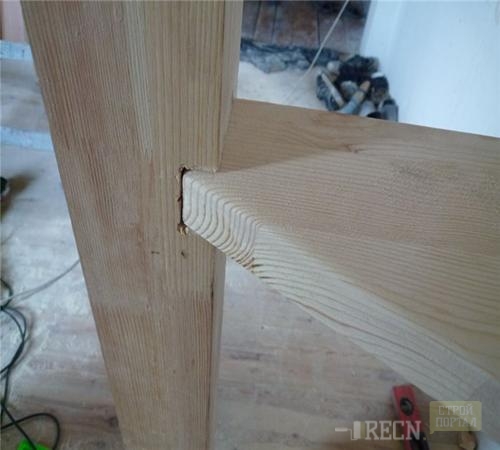
- to fasten the swivel steps in the post, we cut the grooves whose width should be slightly less than the thickness of the board. This is necessary, in order to securely fix the steps from the inner edge of the stairs;
- in order for the steps from the wall side, it was possible to put on the basis, we are refined by pieces of wood;
- internal sides of the overall steps insert into the prepared cuts, pre-missing them with PVA glue, and external - attach to the basis to the base;
- ordinary steps by fixing long screws;
- to hide the discharge corner of the rotary stage, the stair march located below, we do on the tutor;
- the edge of the instrument is cut at an angle of 90 ° to the floor to be able to install the input pillar.
The next stage is the installation of the railing. The sequence of action is:
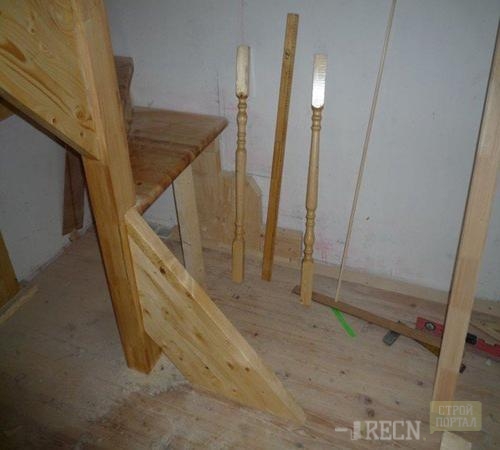
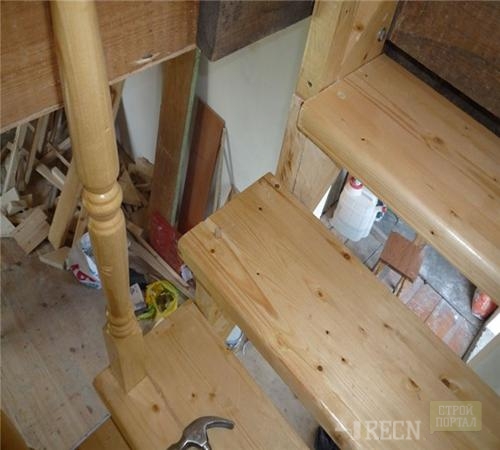
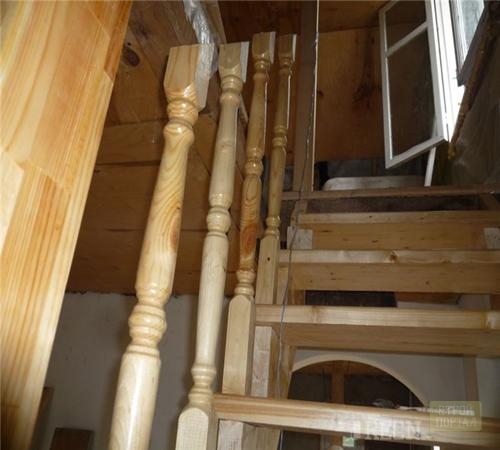
- install balasins. They can be attached to the steps with self-draws, but if you use the seasons, the design will be much more reliable. In the baluster and in the steps we do a hole, a little less than the wanking, and fill the PVA. Holes should be drilled with maximum accuracy, strictly vertically and in the center of Balyasin so that they take the right position;
- between the first and last pillars, stretch the cord, and on it on each balaasine, we note the angle under which the railing will be located. After, focusing on the markup, cut the tops of the racks. Now the balusters are ready for installing handrails;
- handrails pinning self-tailed heads.


