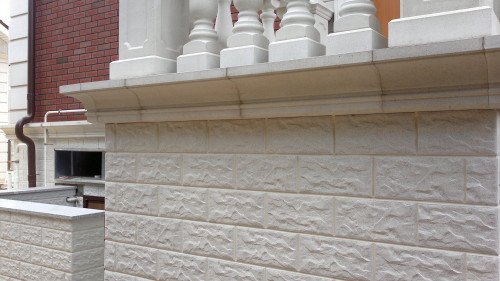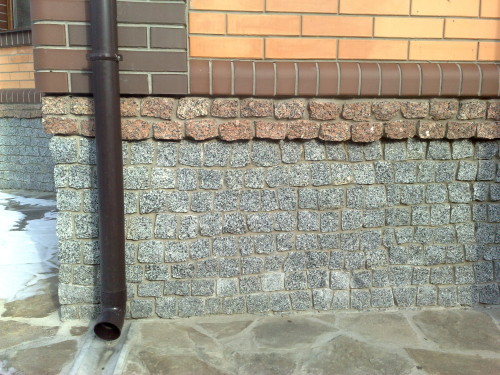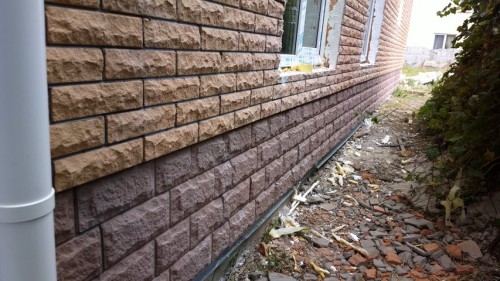
Facing the base tile Tile
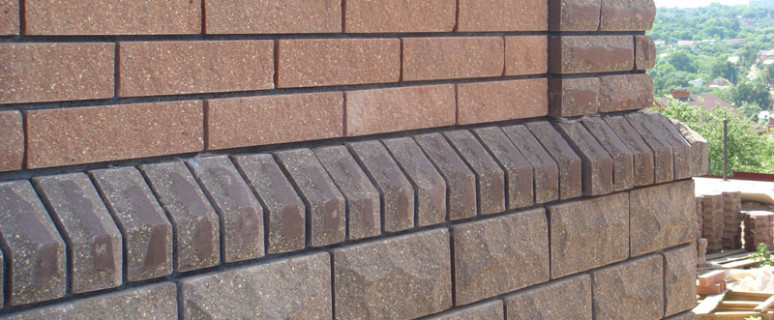
Very often, a tile is used to finish the base of the house, since it has sufficient strength and waterproof, capable of repelled the dirt, simple in laying, has an attractive look and serves for many years. About the types and characteristics of such a material, as well as how to bind the base tile, we will tell in this article.
Content
Types of materials for cladding the ground floor
Clinker tile for trim
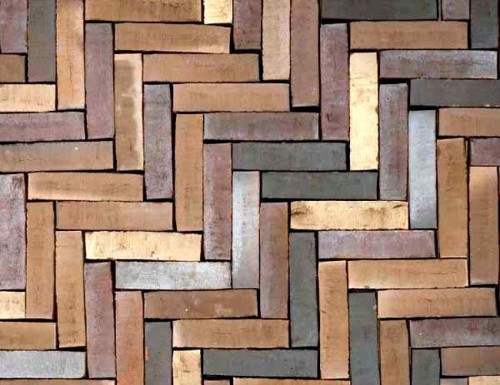
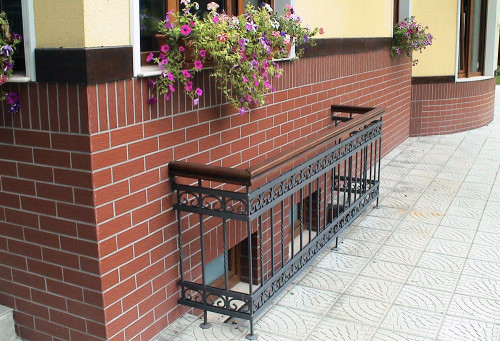
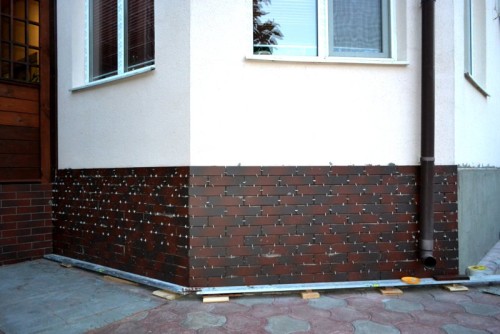
One of the most common materials for cladding is considered a clinker represented in the form of tiles or bricks. The popularity of this type of finishing is due to its strength and long service life. Clinker tiles with ease tolerate even very strong frosts, it absolutely does not absorb moisture, which is why it provides good waterproofing at home.
If you choose clinker tiles to finish the base, you should know that there are 2 types of such material:
- manual molding tiles;
- clinker, which is performed using machine pressing.
Similarly, both of these materials are similar to each other, but between them there is a significant difference - density. The machine pressing process gives the clinker a sufficiently high density, thereby improving all other cladding characteristics: frost resistance, strength, hydrophobicity, durability. If you decide to bind the base clinker tiles, prefer the variant of the material that is manufactured by the machine method.
Other types of facing materials for socle
In addition to the clinker tiles in the outer decoration of the basement, other materials are used, consider them in more detail:
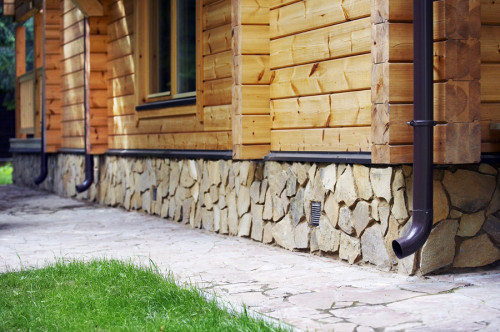
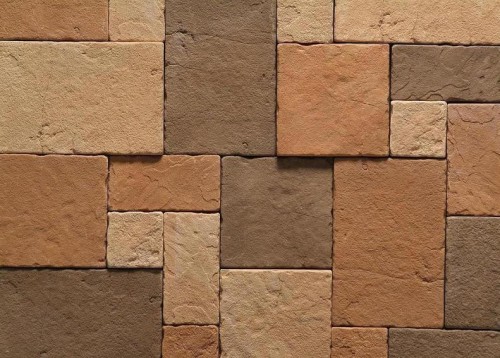
- Natural stone - dear, but durable and durable type of facade facing. Natural stone has its advantages and disadvantages. The pros will be attributed to its high decorativeness and long service life. Natural stone is very difficult to damage mechanically, it is resistant to chemicals and environmental. Among the minuses should be called high cost, heavy weight, complexity in the installation. The dimensions of the stone tile for the base can be arbitrary, so that in the process of laying the elements will have to carefully select each other. Among other things, the stone finish is not always combined with the facing of the rest of the building. For example, in the house, decorated inexpensive plastic, the stone cladding will look ridiculous.
- The Fagot is an artificially created stone, which includes sand, cement and other additives, which improve the appearance and operational characteristics of the material. Fagot is good because it has a wide variety of shades and forms. However, there is a material and significant drawback - the ability to strongly absorb moisture. If such a tile is laid with a violation of technology, after the occurrence of severe frosts, the facing can simply turn. To protect the fagot from moving, it is recommended to soak it in water before assembling.
- The polymer tile for cladding the house is visually very similar to the natural stone. By the way, on its operational characteristics, such a tile is not inferior to a solid wedge and even natural stone. The plus of the polymerine material is the simplicity of installation, since the tile of this species can be mounted on the wall not only with the help of glue, but also on the self-tapping screw.
- A flexible stone is an artificial material, the basis for the production of which resins. Plus flexible stone is that the masonry of such a tile can be produced on the base of the complex configuration. Such cladding is released both in the form of tiles and in the form of rolls. In the process of heating the roll rolls, you can bend and twisted in any way. By the way, the flexible stone is suitable not only for the finishing of the facades, but also for the inner decoration of the walls. Easy installation is also in the fact that sheets easily cut the knife to the desired fragments.
- Hypersed tile is another type of finishing facade material. According to the technical characteristics, the hypersed tile resembles a clinker, but differs from the last less weight and greater strength. As the main component for the production of such tiles, bulk materials are taken, which are connected by water and the binding components.
- Ceramic tile is also occasionally applied to cladding the outer part of the basement. When choosing ceramics, it is very important to pay attention to its performance characteristics, because only frost-resistant material is suitable for finishing the base, on the packaging of which there is a special designation in the form of snowflakes. Ceramic tile has a drawback - it is unstable before shocking effects and can split into parts. In addition, ceramics is not so cheap, but it is represented in a wide variety of colors, forms and textures.
Sounds of laying tiles on the base
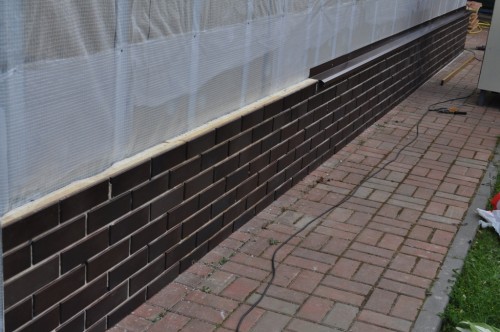
- The complexity of the facade trim tiles is that the wall of the house has a greater length, so even an experiential master is difficult to withstand the absolute horizontal of the series. So that the finish looked beautifully and firmly held, special attention should be paid to the installation of the first row of tiles. So that the first level lay horizontally, a special profile is installed at the bottom of the base, along which the tile will be aligned. After finishing the wall, this profile can be removed.
- Before chopping the base tile, you need to choose the glue composition correctly, because the quality of the result depends on the adhesive. It is important to understand that the ordinary glue for laying a tile on the inner walls of the house in this case cannot be used, since under the influence of humidity, frost and temperature fluctuations, the facing can disappear from the facade. Sometimes waterproofing mixtures are used for cladding the base, but Ceresit CM17 and Ceresit CM117 are considered the most popular option for today.
- Reinforcement is an important stage of installation of tiled material on the base of the building. Many in ignorance or laziness do not perform this work, meanwhile, it is the reinforcing grid that will allow tile to hold onto the surface. Even if minor errors will be present in the termination of the base and some elements will depart from the wall, they will still hold onto the surface with the help of a reinforcing grid.
- When cladding the base, it is impossible to forget about the creation of sings that will hinder the fall on the tile of melt and rainwater. Installation of sings is a mandatory stage, if the base is decomposed by a hygroscopic material, for example, a baroon.
Installation of tiles on the base with your own hands
Preparatory work
Consider the process of cladding the base on the example of the clinker tile, as the most popular material for such works. When installing clinker tiles, the preparation of the surfaces of the grasts is a very large role, since it is from their state to depend on how long the facing on the wall will laugh. The inner surface of the clinker tiles to which glue will be applied, must be smooth. The same applies to the wall that will be faced with clinker.
The preparation of the wall is to remove all the convexities and influx from it, as well as in cleaning the base from dust and pollution. Dust that will remain on the wall will significantly reduce the adhesion of glue with the surface, and the tile will disappear. The smoothness of the working base can be checked by the construction level. If in the process of checking the error is detected more than 4 mm, the wall should be plastered and then polished.
Features of laying clinker tiles
When the surface is aligned, cleaned and sucked, it should be covered with primer. The role of primer in a similar process cannot be overestimated, since such a substance will allow the finishing material better to conclude with the base. The primer is needed even in order to reduce the degree of water absorption of the wall.
When the primer is dry, you should designate the level of the first row of the masonry and install the guide profile there. To find out where the first row of tiles will be located, the height of the base must be divided into the width of the tile, taking into account the size of the seams. In this way, you can calculate the number of rows of material.
The first row of clinker tiles is laid slightly below the soil level. The gap, which is formed in the process of laying the material, can later be filled with acrylic or polyurethane sealant.
Threaded fineness
An important step of installation of tiles on the base is the proper application of glue. At first, with the help of a toothed spatula with adhesive composition covers the wall of the wall to which the tile will be attached. The width of the teeth on the spitel depends on the mass of the facing material. If the finish uses a tile with a relatively low weight, it is better to work with a spatula with a teeth width of 6-8 mm. For more massive elements, the spatula with teeth of 10-12 mm should be used.
On average, the drying of glue takes 20-30 minutes of time, based on this, you can determine the area that will be covered with the composition at a time. Please note that the adhesive stain should not have time to frozen around the edges, since fresh solution should be well closed with the previously applied. If in some places glue reduced, it is better to read it and coat the wall again.
In some cases, glue is not covered with a wall, but the clinker tiles itself. It is worth knowing that it is impossible to dilute the frozen glue with water, otherwise the composition will lose the desired properties, and the tile will not be held on the wall.
If the glue, applied to the wall, dries too fast, increase its action using water and spacing. Just spray moisture in the area of \u200b\u200bthe treated section of the wall approximately 5-10 minutes after applying the solution. If the tile fit into hot sunny or in windy weather, the glue will stick faster. So in such conditions, it is necessary to work more intense or a smaller segment of the wall.
In the event that some elements were laid enough, it is possible to correct the error in the next 15 minutes, but no later. Surplus glue wipe from tiles immediately, using a rag and warm water. If somewhere glue remains unnoticed and frozen, it will later be possible to remove it with a special solvent.
Grouting seams between facing tiles
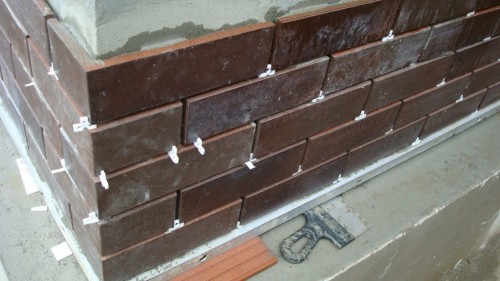
The final stage of the cladding of the base tiles is grouting seams. So that in the process of masonry to get smooth beautiful seams, use a cord that is stretched before each adjacent material. At the corners of tiles in the seams insert special plastic crosses.
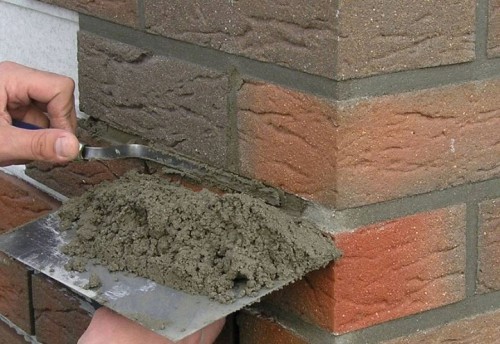
When the glue is completely dry, and it will take about 2-3 days, you can proceed to the grout of the seams. Without this stage, it is impossible to do without this phase, because it is through the emptiness left in the seams, a moisture can fall under the facing layer, which will spoil the finish. For grouting seams, various mixtures are used, which are applied to the gaps with a rubber spatula. To squeeze the smallest air bubbles from the solution and make the seams with neat and beautiful, you need to perform the extender. For this purpose, it is convenient to use a rubber cable of a suitable diameter that is pressed into a fresh solution.
When the grout dry, its residues are scored with a clinker with a rigid brush. In the first 24 hours, water should not fall on the trimmed surface, besides, the tile should be protected from frost and direct sunlight at least a week. A day after the grouting, the lined surface can be wiped with a wet sponge.
For grouting seams between the base tiles, special frost-resistant compositions can be used with good elasticity. Grouting color also matters. If you want to give the surface with a natural look, select the rapid material that coincides with the trim tile.
Tile for soccer, photo:


