Wiring Organization in Ban Baths, saunas and pools
Moisture and electricity are not the best neighbors. However, without light, it is difficult to imagine even such a electric facility as a bath. This is especially true for electric furnace owners. In order to avoid possible hazards, the installation of wiring should be as close as possible. Next, let's talk about the principal rules that should be observed when performing this work.
Content
General Wiring Installations for Bath
Unlike most construction work, the installation of electrical wiring is quite conservative and involves the knowledge of the basic laws of physics. The first thing that matters is the frequency and voltage of the current on the network. As a rule, 220 V with a frequency of 50 Hz is supplied to the final consumer.
The next principal moment is the current of the current. According to the standards, in apartments and private households, a fuse is established, designed for 16 A. if not going to the physics of the process, then this power is enough for only 2.5-3 kW loads. In other words, if the iron and electric kettle will work at the same time, the inclusion of a vacuum cleaner or washing machine will entail the disabling machine guns.
Bath or sauna is an extra load on the local power grid. Therefore, it is not included in the technical calculation of standards. Consequently, even before the installation of the posting, you need to change the automata, taking into account the nominal and maximum load on the network. For apartments, it is recommended to install at least 25 A.
With private households the question is different:
- first, the area of \u200b\u200bthe house is often greater than in the apartment,
- secondly, simultaneously use enough electrical engineering,
- thirdly, several families often live in the same house.
Thus, an increase in the power of automata at least will not solve the problem, as a maximum - will be the reason for the payment of a fine for violation of technical requirements.
To avoid this problem, it is recommended to install a redistribution at 380 V. This device simultaneously serves as an electric meter and allows you to create several independent lines.
It is worth noting that the installation of such equipment is carried out by employees of urban power grids in the presence of permission to perform this work. Self-installation will entail a fine. In addition, after the end of the work, the dispenser's case must be sealing. Quite often about this "forget" to come with check and write a fine.
Preparatory stage of electrical wiring in the bath
Although the connection of wiring does not require the fulfillment of the entire volume of work at a time, it is preferable to perform work immediately. To do this, prepare everything you need:
- cable of the corresponding section,
- insulating corrugation,
- sockets and switches,
- celebrate,
- boat
- passatia,
- lubes.
If the sauna has a stone or concrete base, then the putty will be needed.
Of all the listed tools and materials, special attention should be paid to the cable. It is necessary to understand that any closure or the slightest sparker will cause a fire. In order to determine the section, immediately calculate the load.
Conductors in the cable are aluminum and copper. We will consider only copper wires, as they are more reliable and resistant to frequent voltage drops. For comparison: 1 mm 2 aluminum withstands current strength to 4 A, 1 mm 2 copper - up to 10 A.
As can be seen from the example, the width of the section depends on the current force. Determine it by the formula: maximum load (kW) / voltage in the network (B).
When calculating, it is important in the load to take into account absolutely all electrical appliances, from lighting lamps, to an electric furnace.
For a specific calculation, we take the averaged load indicators in a conventional bath with an electrodelock: 6500 kW / 220 V \u003d 29.5 A. Ringle is always up to an integer in the most side.
Next, you need a comparative table of the ratio of the cross section of the copper cable and current force:
- 1.5 mm 2 - 19 A,
- 2.5 mm 2 - 27 A,
- 4 mm 2 - 38 A,
- 6 mm 2 - 46 A,
- 10 mm 2 - 70 A.
From the given data we see that for the load of 6500 kW it will take a cable with a cross section of 4 mm 2. Although it will be much more expensive than 2.5 mm 2But completely eliminates the possibility of overheating and melting wiring.
A few more words should be added about the insulating corrugation. You should choose flexible options with a wall thickness of at least 2 mm and wire for pulling the cable.
Scheme of electrical wiring bath
The next step is to prepare the scheme. It implies the creation on the paper of the exact markup of all the electroets. When drafting the scheme, it is very important to provide for a cable laying in places where no pressure will be rendered on it or in the construction process or with further operation.
Based on this, there are two options for laying:
- outer,
- interior.
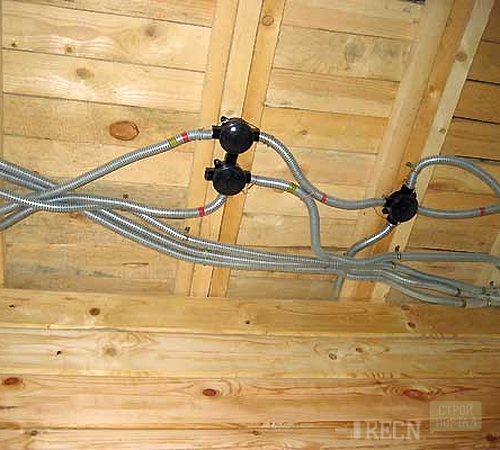
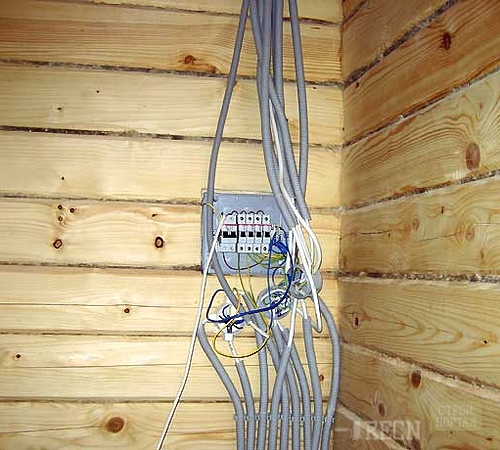
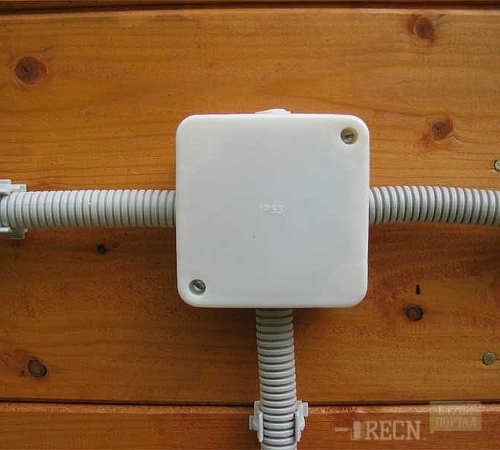
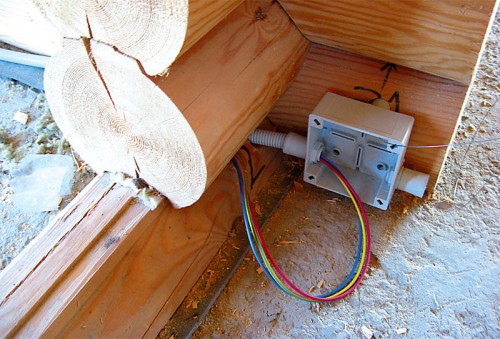
Wiring in a wooden bath is usually done outdoor. It involves the installation of a cable into a special box that is attached to the wall. Advantages of this method are several:
- no need to make a stroke,
- access to the cable is always saved,
- it remains the opportunity to make an adjustment adjustment,
- increased fire safety.
The last item is especially relevant for baths fully made of wood. When buying a box, it is important to choose options from non-combustible materials. The disadvantage is only one - an ugly appearance.
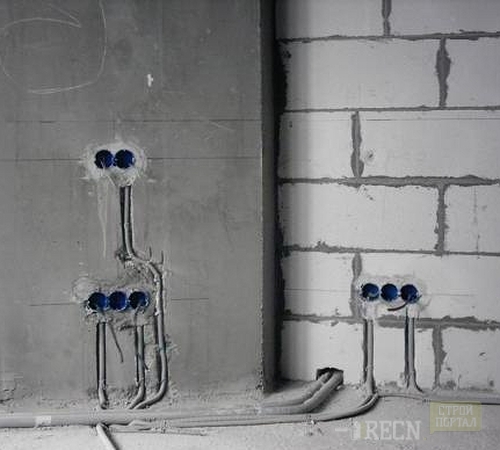
Internal layout, as a rule, is used in brick, concrete and frame baths. Since the cable is stacked in the stroke or between sheets of overlaps, you should immediately foresee all connectors. From mandatory:
- output under the lighting appliances, either in the middle of the ceiling, or at the edges, if there is a point backlight,
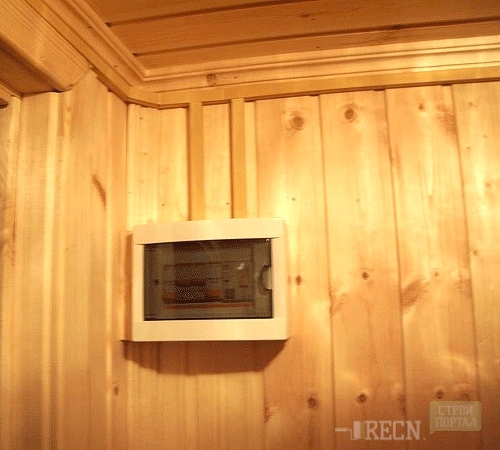
- output under the circuit breaker
- exit under electric furnace
- exit under the climate control panel,
- exit under the outlet if the pre-banker is provided.
The outlets are placed above the table in the pre-banker 10 cm above the countertops, in any other places do it is not appropriate, especially close to the floor.
Another fundamentally important point - the cable must go properly from one device to another. First, it saves wiring, secondly, meets the installation requirements of the power grid.
How to make wiring in the bath?
The process is convenient to divide into two stages:
- submission of cable to the object
- installation of wiring inside the bath.
If we are talking about a typical apartment where the bath is installed in one of the rooms or on the balcony, then the cable lining process is as follows:
- measure the length from the counter before entering the cable to the bath,
- measure and cut off the corresponding piece of corrugations,
- stretch the cable through the corrugation and leave the output to the meter 10 cm of the free cable for connecting,
- in order not to do the stroke in the apartment, the corrugation is hiding under the plinth,
- if the counter is located in the apartment, the stroke is made from the plinth to the meter,
- if in the tambour, drill through hole at the plinth level and stroke from the street.
In order not to trim the cable, the cells are left inside the bath and wipe the desired length to the counter.
The wiring in the bath located on the site is made according to the similar principle. It is not recommended to make a cable air gasket from the counter to the bath. First, the wires have an electromagnetic field that negatively affects human health is particularly harmful to children under 6 years. Secondly, the air gasket is much more susceptible to mechanical damage.
The gasket in the ground is more reliable, but it is important to understand that over time the location of the cable will be forgotten. Therefore, it is necessary to dug a ditch with a depth of at least 40 cm. This will protect against accidental damage during the peak of the site or the care of fruit-berry cultures.
In addition, it is advisable to equip the drainage system in the ditch. For this:
- the bottom fall asleep with a layer of sand in 5 cm,
- next place 5 cm gravel,
- put the cable in dense corrugation,
- fall asleep it 2-3 cm gravel,
- close the ditch of the earth.
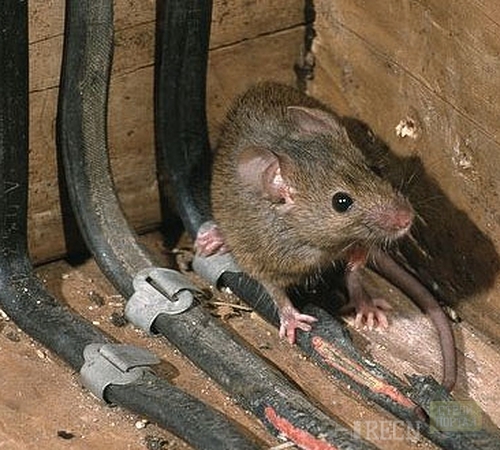
Such a system will fully protect the stone from moisture, even in areas with an elevated level of groundwater. In addition, drainage will create additional protection against rodents.
Installation of wiring inside the bath
The final stage of the work is to connect the devices. The wiring to the bath with his own hands is quite simple, it is enough to remember three things: "phase", "zero" and "earth". Phase is a wire that provides current circulation. "Zero" provides grounding inside the power grid. The Earth grounds a specific electrical appliance. It is impossible to confuse these wires, at best - the electrician will not work, the wiring will burn at worst.
In order to find the phase, the indicator screwdriver is used. When contacting a phase terminal, the indicator lights up when contacting with "zero" - no. Earth is a separate connector that is on the counter or in the middle between the outs of zero and vase, or has a special designation. The wires inside the cable differ in color, so if you correctly connect them, there will be no problems in the future.
Connection is carried out according to a predetermined scheme. At the first point, the cable is cut with a reserve of 5-7 cm. This stock is needed to clean the ends of the wire and connect them to the entrance connectors. In most electrical appliances, specific requirements for the connection of the phase and zero are not provided, so the rule is used: the entry point \u003d the output point.
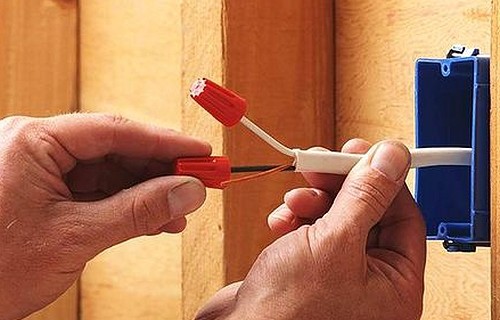
Separate wiring is cleaned with an insulation by 1 cm and twisted with each other with the help of the passage. It is done to ensure better contact and greater strength. If a cable with a cross section is 1.5 mm 2 or 2.5 mm 2, then the expanded postings are recommended to be twice in order to increase the area of \u200b\u200bcontact.
Next, take the bay with the cable, just reveal the wires and connect to the output channel. The bay is unwinding until the next electrical appliance, and the procedure is repeated.
Sugo specialists are advised primarily to connect more powerful electrical appliances. This is due to the fact that in the case of overheating of the cable or short circuit, only the part of the wire will be uninstalled, which connects the most powerful device with the supply network. Consequently, you do not have to reassure all the wiring.
In addition, you need to adhere to the following rules installed not only by safety, but also urban power grids:
- the cable must be additionally inlaced,
- in stone and concrete overlaps, the cable laying is necessarily carried out in the stroke, which must be at least 2 mm more than the diameter of the cable,
- in wooden structures, a protective box must be used,
- it is not allowed to use a different cable cross section in one teller,
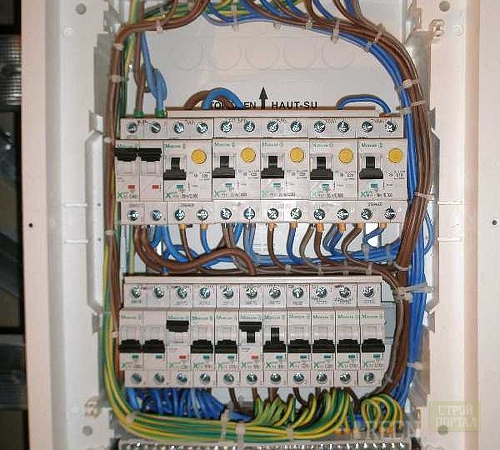
- mandatory installation of the accounting machine of the calculated power,
- mandatory installation of a timing machine rated power,
- installing automata for each of the electric power plants is recommended.


