Ban trim with your own hands Baths, saunas and pools
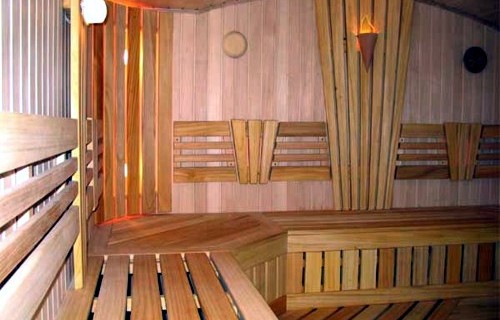
For those who have already built their country house and finished construction work on the construction of the walls of the bath, perfectly knows about the most difficult stage in the construction of the bathroom. This is a very responsible stage, but if you correctly approach this issue, sort out the nuances, the internal decoration of the bath can be performed quite possibly.
Content
Under the phrase "Interior decoration of the bath" is associated with many stages of work: the execution of the decoration indoors, the covering of the outer walls, the installation of benches, other furniture for the bath and much more. All works on the decoration of the bath are conditionally divided into such steps:
- Performing internal works.
- Perform finishing work.
Each of the stages includes consistent execution of both internal and work on the trim.
Choose materials
After the construction of the walls, it came a turn to perform work on the decoration of the walls. To do this, you will need a tree. But you should not limit your choice on one wood breed - if you combine several wood breeds, the aroma in the room will be indescribable.
The most popular materials for the interior trim are oak, linden and aspen. They give a pleasant fragrance when heated, but most importantly - these breeds do not give the resin and do not have a sharp smell. When operating in the bath, both breeds of wood are not very hot, which is a significant plus for decoration of the walls in the bath.
Some bath lovers note that they like them more when the walls of the bath inside are covered with coniferous rocks of the tree, for example - pine. But this will not be a faithful solution, since when heated pine gives the resin, which can decompose at a strong heat and give toxins into the room.
An ideal option, as described earlier, will shelter the walls inside the bath, as well as to build shelves in a wage from linden or aspen. But, if you insist on what material will be the most ideal for the bath, connoisseurs in the construction of the bath will answer - the Abashi tree, which grows exclusively in Africa. It is it that does not heat up, is the thermal resistant and durable.
When choosing wood to finish a bath, you need to pay attention to such characteristics:
- strength;
- resistance to moisture;
- high temperature resistance.
Every novice amateur of the bathhouse should be prepared for the fact that the wooden interior decoration in the bath can manifest itself from the best side. Threats for wood:
- rot;
- the appearance of mold;
- easy flammability.
To avoid this, it is necessary to observe the correct temperature regime and comply with the necessary percentage of humidity. Also on the quality of the tree during operation affects the observance of the rules of laying gender, its insulation, waterproofing and ventilation.
For the interior decoration in the bath (except for the steam room), in which there will be no sudden drops of temperature and humidity, the walls can be sewn. This tree breed has a low price, the board is easy to process and it has a beautiful cut.
In the washing department and in the pointer for wall decoration, Lipa is used, which will keep its color for a long time and even at a temperature plus 100 degrees, the tree will remain barely warm and the person will never get a burn.
Floor laying
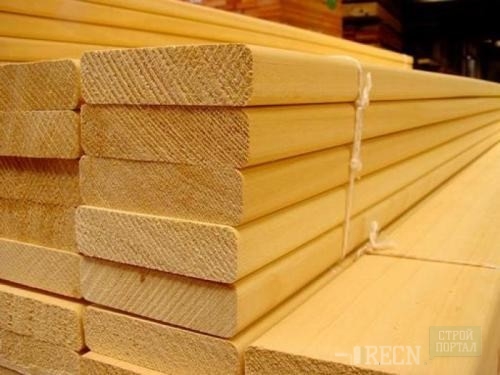
First of all, after the construction of the walls of the bath and the choice of the necessary finishing materials, the floor is laid. For the floor you need a board, be sure to be low, thick 25 millimeters.
Required floor laying tools:
- hammer;
- nails, brackets, kleimers;
- level;
- planer or electrolovka;
- antiseptic for wood;
- tassel.
Before you choose the boards, you need to prepare rakes (lags) and install concrete columns. But before installing the columns, you first need to pour a layer of sand or soil. Thickness in 20 centimeters will be enough.
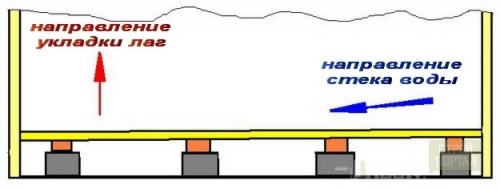
Lags must be installed on the floor in parallel, at a distance of at least half a meter every ray from each other. Staying the rails from the angle of the room, bonding nails, corners or kleimers. The size of the REC is 200 per 200 centimeters or 250 per 250 centimeters. Place the rails at a distance near the meter from each other. This distance is quite enough, since in the bath to the floor load is expected not strong.
After installing the frame, the tree needs to be covered with any antisptic for wood to avoid the reproduction of mold and fungus. And only after that you can start laying the board on the frame (lags).
Helpful advice: To keep heat in a steam room, the floor must be stacked above (150 millimeters) than the floor level in the shower room.
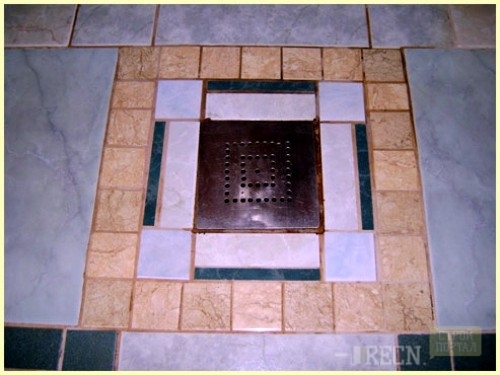
By the way, for the floor in the steam room and the shower tree will not fit. In such facilities with elevated levels of humidity for the floor, a ceramic tile is applied. It is placed on a concrete mix or special glue. The tile is laid with a slight bias in the place where water drain is provided.
So that the legs do not slide on the tile, you can put a special tile with a rough surface or install wooden grilles on top of the tile. After using the bath, the lattices must be taken into the air or put in the steam room so that they dry.
It is not necessary to fear that the high temperature in the bath will contribute to the heating of the ceramic floor in the shower and the steam room - at the floor level will be preserved a comfortable temperature for the legs.
Wall sheat and ceiling
When finishing the bath with your own hands, only natural materials should be used, namely the tree. There should be no wood-chipboard in the bath room due to the fact that when heated, they can easily ignite and highlight toxins. Covering with paint and varnish materials, the ceiling and floor in the bath can not be due to the fact that when heated again, poisonous substances will evaporate.
Walls with a tree after they are insulated with a layer of Minvati and cover the aluminum foil. You can also use the foil analogue - heat controlled process. It, as foil and minvat, contribute to the preservation of heat in the room.
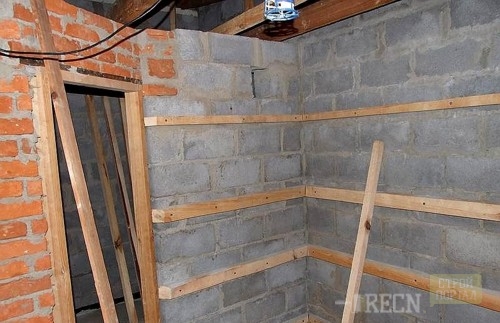
When installing the lining, it must be borne in mind that it should not be very tightly fit to foil or, directly, the insulation itself. Between each layer you need to leave a small gap so that the air is circulated. It is not difficult to perform it - after insulation, on each wall with a hammer and nails, a wooden frame is stuffed, on which the wooden boards are mounted.
To arrange the ceiling in the bath, there are such ways:
- method of stitching board;
- flooring;
- ceiling from panels.
The best and safe is the ceiling made by the method of stitching wooden boards. It is distinguished by increased strength and does not need to spend a lot of strength and materials.
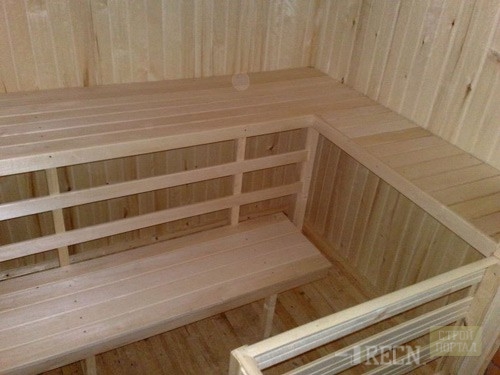
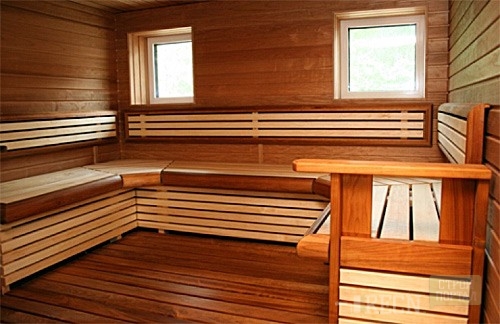
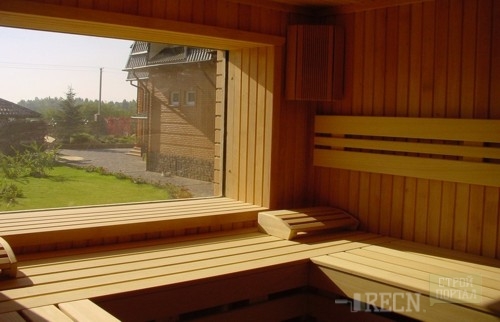
Shelves in the steam room
In each bath must be attended by the shelves. They are installed in the steam room. Serve shelves in order to sit and lie on them, so they should be safe, comfortable and look beautiful. The most important requirement that is presented to the shelves for the wage - they must have high strength. Also, the shelves should be reliable - do not creak and do not fumble during operation at the same time several people.
The material for the manufacture of shelves is a soft breed wood that does not contain resin and has a pleasant light smell. The shelves can be found ready-made in a specialized store, and do it yourself.
To finish the bath inside the steam, it is necessary to prepare a tree. The lining is predeforeced to carefully open, clean and polish so that there is no bitch and irregularities on the future shelf.
The size of the shelf will depend on the size of the steam room. The average size of the room is from two meters long to a meter wide. Therefore, the shelves have, depending on the size of the room. But it is necessary to adhere to the rules:
- From the bottom to the middle shelf there should be a distance from 40 to 60 centimeters.
- The distance between the latter, the upper shelf and the ceiling should be a meter or a little more than a meter.
In this photo, you can see in detail at what distance the shelves are attached:
There are several ways to locate shelves in the steam room:
- Step - in two or three tiers.
- In the form of the letter "G" - two steps along the wide walls are located, along the second wall - one.
- "Coupe", when one shelf is placed on another, as in the train.
Shelves in the steam room are attached both directly to the wall itself and on the pre-installed wooden columns. So that the moisture does not accumulate on the shelves, the boards nourish with a small gap. This will allow the tree well to dry.
To minimize the risk of burning burns, special wooden "nails-pegs" use as fasteners. If ordinary nails are used, their caps should be deeply "drowning" into the tree, and wooden plugs are installed on top of them.
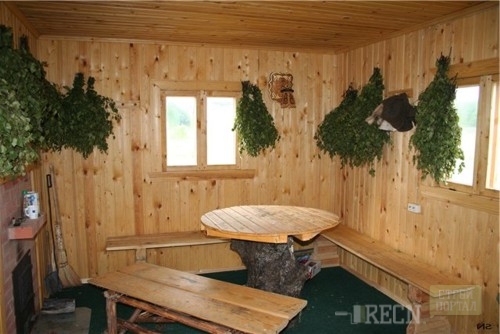
Also, instead of the shelves in an indoor room for breaking the body, you can install ordinary wooden benches. You can buy them in the store or make yourself. For the manufacture of the bench, as well as for the manufacture of wooden shelves, you will need a grinding machine, wooden peasants, boards. Each element of the future bench is carefully cleaned and the construction assembly is made.
Shower or washing
The decoration of the bath from the inside for the washing compartment provides a stronger and resistant material. The most acceptable finishing material for the shower in the bath will be a ceramic tile. It is facing both walls and gender.
For work, such materials and tools are needed:
- ceramic tile;
- ceramic coo tile for floor;
- ceramic plinth for finishing;
- special glue mix;
- level;
- putty knife;
- capacity for mixing the mixture.
Before starting the tile laying on the wall, you need to clean it from dust, roughness. Make small notches on plaster. If the walls are made of wood material, then on top it is necessary to lay a layer of rubberoid and only then shut down the wall. Putting the tile on the cement solution using a mesh, the thickness of the solution should be at least 15 millimeters.
Cement mortar should have increased strength: one part of the sand and six parts of the cement.
Putting the tile in the bath in different ways:
- Bog into the joint.
- In the dispersion.
- Diagonally.
The main rule when laying tiles for a bath - work should be started from the floor and gradually move up.
Bath trim options can be seen in the photo:
http: // http: //www.youtube.com/watch? V \u003d R1_CYQVKJPO


