Plastic Wagon Finishing: Step-by-step instructions Walls
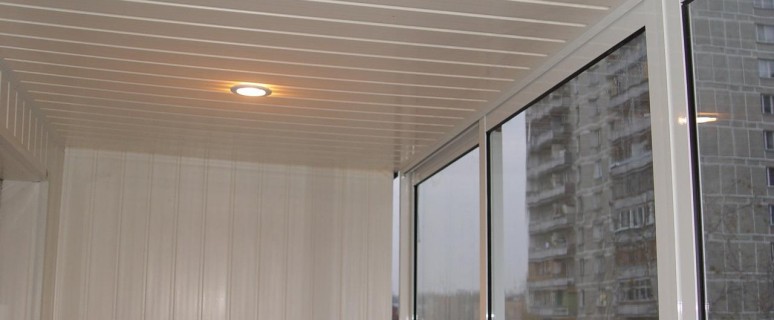
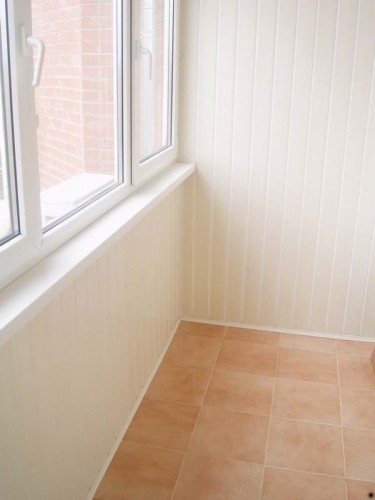
To create a beautiful and practical surface, various modern materials are applied. One of them is plastic lining. In most cases, the ceilings, the inside of the balconies and the outside of houses occur with this material.
Content
Main characteristics of material
The basis for the manufacture of plastic lining is polyvinyl chloride. Therefore, the finishing material has all the properties characteristic of PVC:
- inconsistency of rotting;
- refractory;
- moisture resistance;
- long operational period;
- preservation of the initial type throughout the service life;
- resistant to the effects of temperature differences, precipitation and ultraviolet rays;
- ease of installation and maintenance of the material;
- acceptable cost.
Due to the presence of honeycomb, the lining has excellent sound insulation characteristics. The smooth surface of the material allows it to not process or heave the special composition (as provided for wood panels).
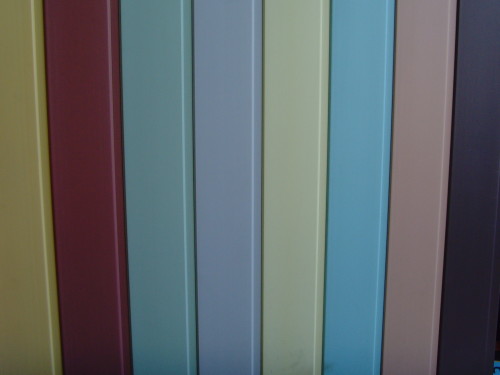
A large range of color scheme makes it possible to implement any design solutions to the reality. You can purchase plastic lining under the tree, thereby replacing wood more practical and durable coating. The same applies to plastic lining for a bathroom, which can replace tile or other finishing material.
But the sphere of application of plastic lining is not limited to the interior of the premises. The material is suitable for facing the outside of the house. The only nuance is that the outer plastic lining should contain components that make it more resistant to negative temperature and atmospheric precipitation.
The disadvantage of PVC lining is instability to mechanical exposure. It does not withstand the load more than 1.5 kg. A large pressure on the material can lead to the appearance of a dentin or spoil. Due to the low strength, the installation of plastic lining is carried out in places with a minimum number of people.
Preparatory stage
Before proceeding with such a process, how to shelter the plastic wall wall (or ceiling), follows:
- calculate the need for materials;
- prepare a surface.
Calculation of need
There are the following standard dimensions of plastic lining:
- panel length - 3-6 m (facade), 3 m (for interior decoration);
- width - 10-25 cm.
Based on the size of the panel, and the procured material is determined. For example, if the ceiling dimensions are 4 * 3 m, then the minimum will need 16 three-meter panels with a width of 25 cm. Experts recommend buying a 15-20% material. In our case, it should add 3 more pieces to 16 panels.
Installation of plastic lining occurs on the frame. For its manufacture, a wooden beam is used by a cross section of 4 * 2 cm. To calculate the required amount of timber, the step of its attachment is taken into account. Usually adjacent bars are mounted at a distance of 0.8-1 m from each other. Thus, for the ceiling of 4 * 3 m, 7-9 bars with a length of 2 m will be required.
Surface preparation
This stage involves the removal of an old coating, if it interferes with the device of the crate, and leveling the base.
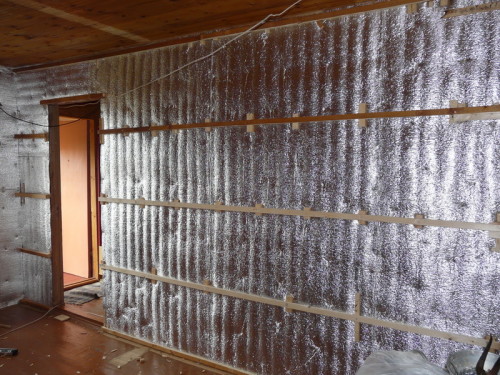
Next, the installation of vapor barrier material (polyethylene film or runner) is carried out. Fastening of vaporizolation is carried out using a 2-3 width rail. Small holes are made in the upper and lower part, which improve ventilation.
Frame device
To carry out high-quality installation of plastic lining for internal work, a doomle made of wooden plates. The use of this material will contribute:
- wall alignment;
- the appearance of the ventilation gap between the facing and the wall.
If there is a strong uneven wall, you will have to use linings or a thicker timber, which is stacked under the frame racks. As lining can be:
- plywood;
- pieces of a wooden bar;
- installation wedges.
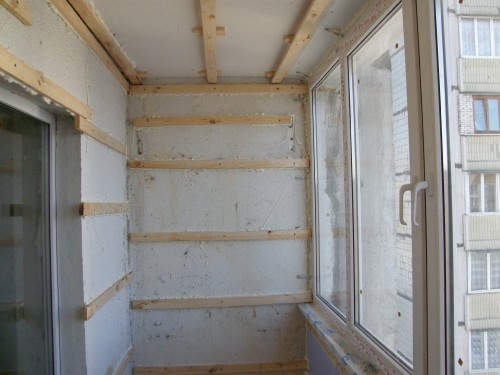
Dowel-nails are used to fix timber bars. The lower rails should be located at a distance of 5-6 cm from the floor (for fastening the floor basement), the upper - at a similar distance from the ceiling (for the ceiling plinth). Also, the frame is created near door and window openings.
The direction of fastening of the bar for the crate depends on the location of the rivers, with the help of which the vapor insulation material was recorded. If the railproof rails are vertically, then the frame for the frame will be mounted horizontally (and vice versa). Long screws are used to fix the crate to the rakes of vaporizolation.
Surface thermal insulation
After the arrangement of the crate in the resulting space between the rails, laying of thermal insulation material is made. Usually used mineral wool, for reliable fixation of which is used polypropylene twine with a construction stapler.
When finishing a plastic bathroom car room over the thermal insulation material, another layer of vaporizolation occurs. After that, you can engage in the shearing room with finishing coating.
Optional is the use of insulation when the warm room is lined with clapboard. In this case, the space between the finishing material and the wall can be laid elements of communication systems.
Mounting work
Now directly to how to fix plastic lining. Work begins with the angle of the room. To make easier screws screwed, under the fasteners it is advised to make holes. For these purposes, a thin drill is applied.
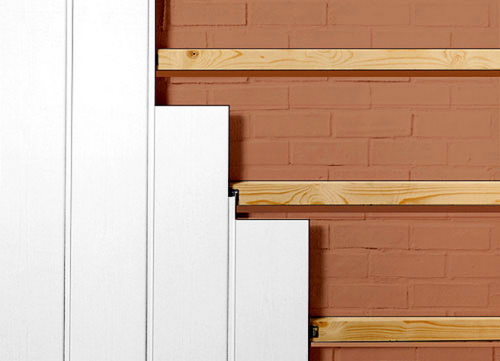
Immediately there is a mounting of the starting plastic profile (molding). After that, the lining panel harvested in size is mounted in the molding that side where the spike is located. Be sure to check the correct location of the panel in the vertical / horizontal plane. Only after such a check, the final fixation of the panel is performed.
In addition to using screws, you can also use:
- construction stapler with brackets;
- fasteners intended for laminate;
- liquid nails.
Despite such a variety, the use of screws will be the best option.
The technology of fastening the following panels will not cause difficulties:
- appropriate measurements are made;
- with the help of the knife, the desired piece of material is cut off;
- the sliced \u200b\u200bpanel is inserted with a spike in the groove of the already laid out lining;
- snaps over the entire length of the panel;
- the opposite side of the panel is fixed to the frame of the carcass with self-draws.
The last panel is inserted with one side in the corner molding, and the second is in the groove of the previous wallboard. In the same way, not only walls, but also the surface near the doors and windows is facing. The finishing finish of the cropped parts of the material occurs with the help of a decorative profile. The installation of panels is carried out perpendicular to the crawl brush.
In the process of facing the room with plastic clapboard, it is necessary to provide holes for communications. To a greater extent it concerns the laying of wiring. If lamps or chandeliers are subsequently mounted, the lamp should be strengthened with additional planks.
Mounting video plastic lining:


