How to cut the corners of the ceiling plinth Ceilings
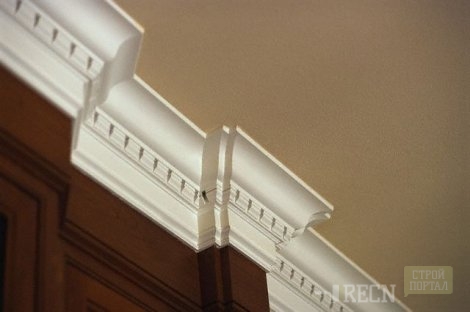
Correct the corners of the ceiling plinth is very important: this element finishes is always in sight. Bad docking can spoil the impression of repair. But it's not a simple thing: cutting the plinth under 45 degrees, you will not get the desired result (the gaps will remain). To your attention the advice of a specialist about how to pack the corner of the ceiling plinth.
Content
How to cut the corners of the ceiling plinth: general rules
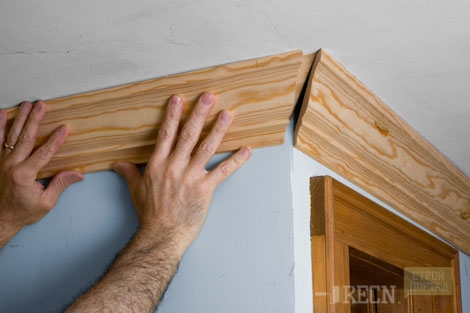
Pruning should be carried out at the outer edge of the plinth, as well as with the inner (when forming an external angle) or the front side (for inner docking). If everything is done correctly, the texture of the eaves will not be broken. At home is most often used finishing materials from foam. The technology of docking elements is as follows.
- With the help of the transporter, the angle between the walls is measured. In the event that it is strictly equal to 90 °, it is necessary to cut the edges at 45 °. The action is performed with both elements.
- If the jokes between the ceiling and walls are not even, the radius of the angle should be divided by half. At the same time, the baguette, which will be attached on the left side, is cut into the right, and the right element, respectively, to the left.
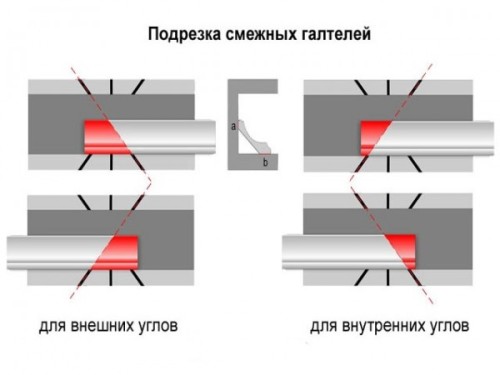
- The edges of the inner corner details are cut so that the upper part is shorter than the bottom. The edges of the outer angle are formed differently: the lower part of them is shorter than the top.
- Unlike foaming plinths, wooden parts need to be accurately customized to each other and to adjacent surfaces, applying and trimming along the adjunct line.
Ceiling plinth (angles): Photo shows trimming and docking elements:
What tools can be used for cutting angles
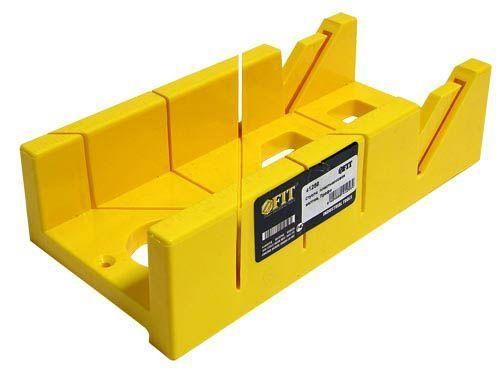
- It is convenient to cut the angles using a stouch and tracing electroopers. Small volumes of work can be performed by manual hacksaw with small teeth.
- If it is necessary to change the direction of cutting, an electrolybiz is used.
- Crop the narrow plinth from the foam can be used using a building knife or hacksaw for metal.
- Marking on the plinth is applied by a simple pencil, traces of which erased after installation.
We cut the ceiling plinth (outer angle): Videos with explanations will be a good help to the novice master.
How to cut the plinth without stus
Suppose it urgently needs to stick the ceiling plinth. How to make an angle without a stub? This is possible, although you have to spend more time. Act should be in that order.
- Both pieces of the plinth are trimmed at the beginning at right angles.
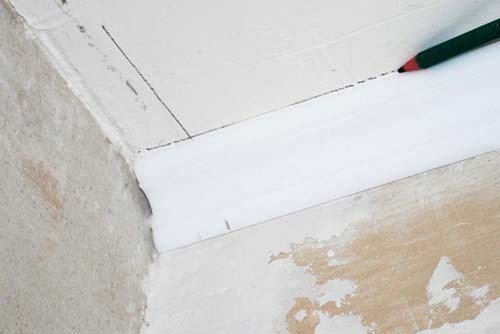
- Marking of the position of the elements on the wall is performed and the line of their docking is applied. As a result, we will see two intersecting lines. The point of their intersection is projected directly on the plinth details.
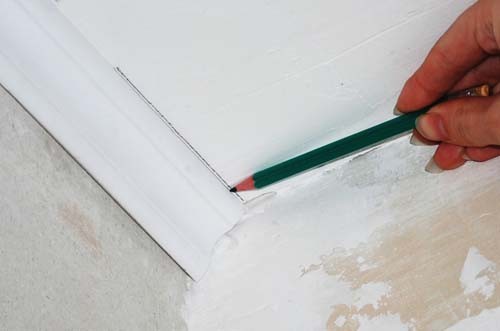
- The plinth is applied to the ceiling and draws the line of the cut from one edge to another.
- The refinement of parts is performed by a stationery or construction knife.
- On paper, a virtual stubbling with lines under the desired angles is depicted. Plinth cartors are applied to such a stub and cutting (while the blade knives should be kept vertically).
How to cut the corner of the ceiling plinth: video with specialist comments will help to deal with this problem.
Advice! Since it does not always have an ideal form of an internal or outer angle, the ceiling plinth will have noticeable slots in the docking grounds. So that they are less noticeable, before sticking the plinth on its ends, you should apply a gypsum putty. After docking the elements, the excess putty is cleaned with a rubber spatula. All slots will be filled and the connection site will be less noticeable.
Not just to glue and correctly dock the cartel cartridges. How to do in that case? The answer will tell you the video.
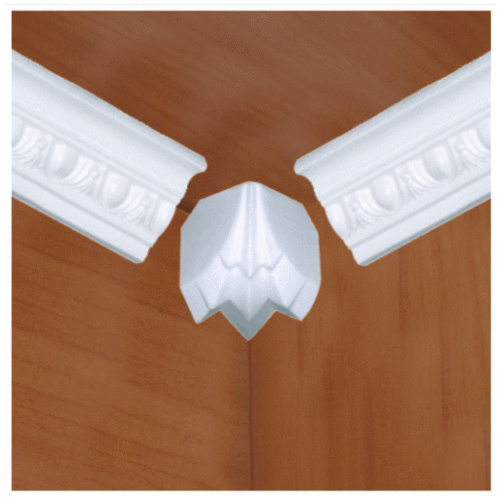
Plinth docking with decorative corners
In the event that the walls are perfectly prepared, and the external and internal angles are 90 °, it is possible to use special decorative elements for docking the blocking of the plinth. The advantages of this method:
- easy installation: there is no need to "fue your hand", improving the technique of trimming the plinth parts;
- save time: To dock the elements, they need to just trim at right angles and attach the decorative part.
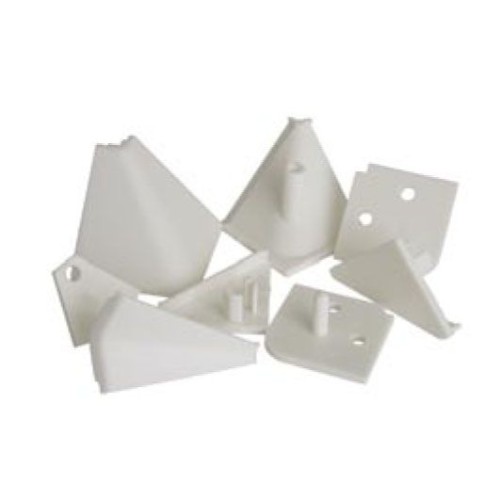
The decorative parts for the docking of the cartel are designed:
- for internal angular compounds;
- for external (outer) angular compounds;
- for connecting direct parts.
This method of compound is the only option in the case of the installation of a plastic plinth, the trimming of which is not possible without cracking.
Magnification of the joints of ceiling plinths
No matter how carefully work was performed, the joints between the Plinth cartarers will be noticeable. This defect can be eliminated as follows.
- A glue is applied to the joints of the plinth.
- After connecting the elements of the glue excess, removed with a clean cloth. Do it after complete drying of glue.
- The gaps between the plinth, the ceiling and the wall are maintained by a mixture of plaster putty and water-level paint with a rubber spatula.
This method is suitable for masking defects when connecting wooden plinths, as well as pile of polyurethane foam, foam, expanded polystyrene. In some cases, you can use white sealant.
Taking advantage of the tips and necessary tools set forth in the article, you can cut it yourself and docile ceiling plinth cartarers.


