Coat plaster do it yourself Building materials

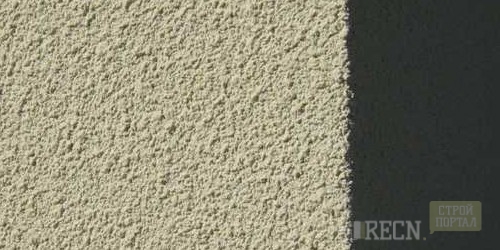
One of the most common types of finishing facades of buildings is the coat of "fur coat". About this decorative decoration of the outer part of the house was known one hundred years ago. Then people actively used this method and called it "house with a fur coat."
Content
The technology of plastering allows you to quickly, simply, and most importantly, cheap work and get a good result.
Watching the surface "under a fur coat" represents a determined solution by the "splashing" method on the surface of the structure. The solution includes cement, sand and water. Certain with the task may even be the uninitiated man in the construction wisdom.
On the advantages
Required building materials and tools for applying coat plaster:
- a container for the solution;
- water;
- sand (pre-sift through a sieve);
- cement;
- master OK;
- wooden or plastic stick (plastics should be durable. You can use the PVC pipe segment);
- broom.
This type of solution is light, and at first glance it seems difficult. By the time of "fur coat" put not long, if you compare with other finishes of surfaces and facades. In addition, plaster on the "fur coat" principle is not the cost, the necessary acquisition is sand, solution and tool. If you wish, you can add the coloring pigment to the solution to get a more "alive" hue of the facade of the building from boring gray.
If you worked with an ordinary solution, then after complete drying, you can separately paint the facade in any color you like. If you wish, you can draw patterns or insert pieces of multicolored glass into the crude "fur coat", according to the principle of mosaic.
Advantages and disadvantages of plaster
The indisputable advantages of coat plaster are:
- availability of materials;
- low price;
- ease of application;
- good defending properties;
- good warmth and sound insulation.
The following should be said about the disadvantages: such a type of plaster will not approach "garden style" - High-tech. In addition, the fur coat will be a kind of collector of dust and garbage, because it has a bug stem.
Stages of applying plaster
Popular buildings that are subject to finishing "fur coat" include:
- summer kitchens;
- residential buildings;
- garages;
- brick fences and buildings;
- nozpostroy.
Sustainably work on the application of the mortar of plaster is divided into such steps:
- Preparation of the surface.
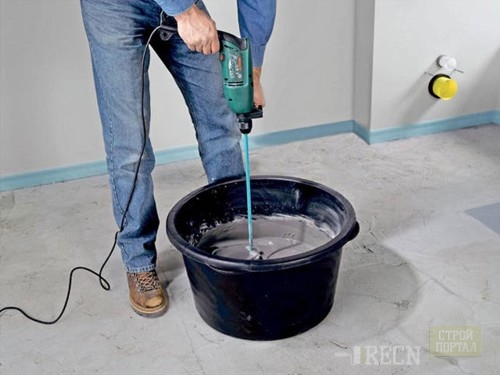
- Preparation of cement mortar.
- Applying the first layer.
- Apply plaster.
- Decoration.
Consider each other from the steps.
- Preparing the walls to apply plaster. We do not forget that the works need to be started at a comfortable air temperature - from five to twenty seven degrees of heat. If the temperature is lower or vice versa, above - then the result may disappoint you and you will have to completely redo everything again.
From the surface, the old layer is removed, the residues of the paint and another finishing material. To quickly cope with the task, you need to go through the surface with a chisel or hammer so that small jar remains in the wall. Dust removed from the purified wall. Then the surface is processed by the primer mixture. The primer is necessary for better clutch of the solution with the surface. It is enough to walk along the wall with a roller or brush, then leave up to full absorption by 8-10 hours. Also for the processing of large areas, special sprayers often use the primer mixture.
- Preparation of the solution. There are two types of solution: from cement with sand and gypsum solution. Everyone has a number of shortcomings and advantages. The gypsum solution dries faster, but is not resistant to moisture. Therefore, the most optimal option is a solution prepared from one part of cement and three parts of the sand.
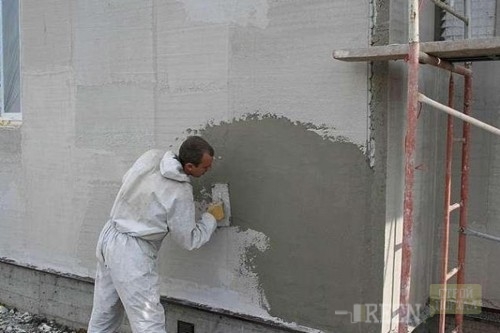
- Applying the first layer. The resulting solution "throws up" on the wall with sharp shots, and then aligned with a board and a trowel.
- The main layer of plaster is prepared by the same recipe or make it a little thick.
- The decorative surface finish is performed by another solution, which is prepared from a mixture of putty and paint (enamel). The more in the mixture of putty, the greater the "grain" will have a fur coat.
How to apply
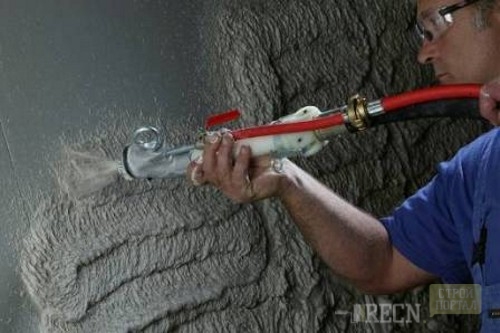
There are several ways to apply: with the help of a special machine that throws out the solution evenly. With the compressor turned on, the solution is emanated. Moreover, the pipe must be directed perpendicular to the wall so that strong splashes are not formed. The solution is applied consistently, and you should go on top of the lines and apply it to "Vansel".
To avoid splashing solution, the surface is covered with a construction film. Also, if the work for a while is suspended, the treated surface is covered with a film so that cracks are not formed on the wall.
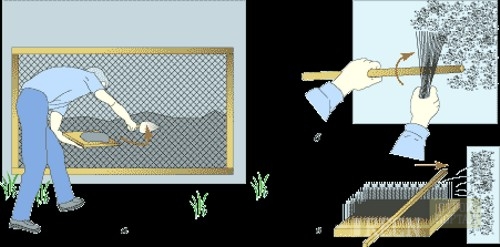
The second method of applying - manually. This method is tested by decades. The fur coat can be obtained in such ways:
- Using an ordinary stick and broom.
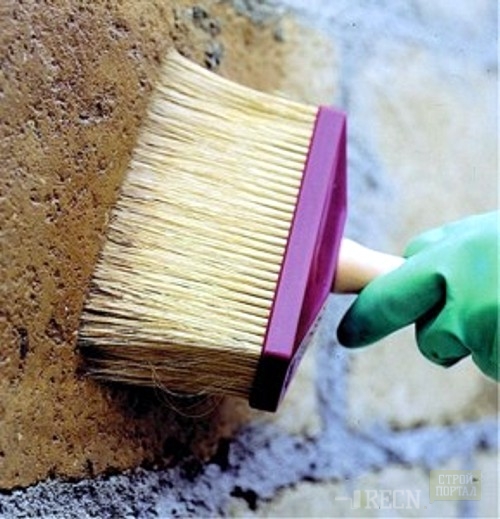
- Using the brush.
- Using the grid.
The broom will be necessary in each case. The broom is dipped into a container with a solution, and in another hand take a stick and fit to the wall. The broom beat on the stick so that the splashes of the solution lay on the wall. In this case, the impact force is important, as the energetic strikes are, the better the solution will fall.
Applying a solution with a brush is as follows. For work we need a brush and a wooden board. The brush must be immersed in a container with a solution, near the wall brush turns over, and the board presses to the brush ("on itself"). In this case, the solution splashes on the surface of the building, and a beautiful plaster is obtained - a decorative fur coat.
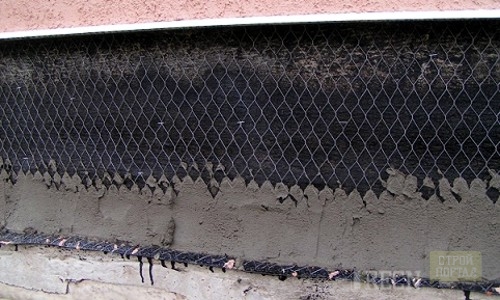
The application of the solution with a metal mesh looks like this: in front of the surface to which the solution will be applied to the mesh (it is placed on the frame of wooden plates). With the wrong side of the mesh frame to avoid stretching and deformation of the grid around the perimeter, a thick wire is fixed. Then, using the tool - the spatula is pounce. After completion of work - the device is removed.
Basic rules of application
So that the coating "fur coat" decorated your building many dozen years, it is necessary to approach this issue responsibly. If you decide to invite specialists, prepare for the shub plaster has a standard price. It is calculated based on the square meter of the surface area.
If your task is to make a fur coat yourself, you need to read these tips:
- It is necessary to operate with a solution at a temperature not higher than 27 degrees and not lower than five degrees.
- Make sure that the raw solution does not get straight sun rays. Therefore, it is desirable to work on a cloudy day. Exception is rain and snow.
- Each layer (there are only three of them) sequentially, and you need to give time to dry each layer.
- Do not save on the primer mixture! It must be applied to the surface of the building.
- If you decide to paint the solution, then use special mineral pigment powders: white - asbestos, red - Zheleznyak or manganese, black - crawled coal and so on. Powders are added to the solution when stirring cement with sand and water.
- Do not make a thick solution, it should not be rare. The optimal solution does not "peel" from the wall.
- To get the best grain surface, it is better to work with a grid or a broom and a stick. If you wish to get a fine-grained wall, then you need to use the brush.
About solutions
As already described earlier, the solution can be prepared manually or purchase a ready-made mixture. The construction market presents ready-made dry mixes for plaster, including "fur coats". Each dry mixture differs in composition, fraction and drawing.
Such a consistency should be a finished solution.
Popularity in the construction market has won a dry plaster mixture of "Coroed". It significantly exceeds the cement-sand mix and has different fractions.
How to apply coat coat on this video:


