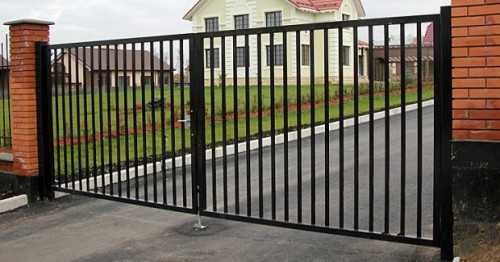
Put the profile gate at the cottage Construction,Plot.
One of the first priorities before the construction of a particular structure on the site is to install a fence and gate. There are many options and species of these structures. If the fence is made of the professional flooring, it will be a faithful solution to select profiled sheets as a material for the gate. When specially hired experts are engaged in the installation and production of the gate, then the budget option should not be hoped. An excellent solution will be a profile gate, manufactured and installed by their own hands. In this article we tried to reveal all the difficulties, nuances and features when installing the gate from the profile pipe.
Content
Features of the design of the profile gate
To begin with, it is worth disassembling the features of the design and the types of installation of the profile gate. One of the main attributes of such gates are sash. They can be opened in a horizontal plane both inside and out. The framework for them in each individual case is profile pipes. On the perimeter of the sash is strengthened with a metal corner of 50x50 mm. It gives the design additional rigidity and passionism. To strengthen the inner part of the frame, the proftrubube smaller is used.
To determine the size of the gate, it is enough to know which type of transport will enter the territory of the site. If it is a small minibus, an SUV or simply passenger car, then the width of the gate of 4 m for this type of transport will be quite enough. If the entrance is necessary for a truck, it will take a turn width of 5-6 m.
Varieties of profile gates
There are different types of gates from the professional flooring. Some allow you to simplify the process of opening and closing the design, others are more compact. However, they all serve as an additional protection of your site or cottage.
Next, we will analyze in detail each of the varieties:
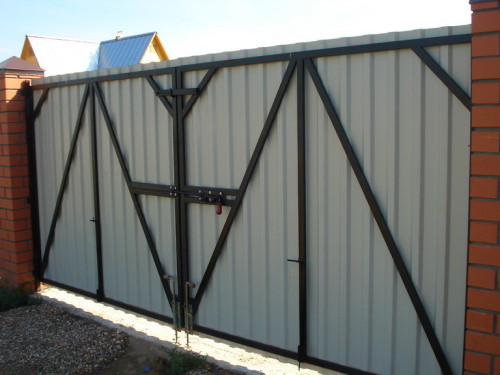
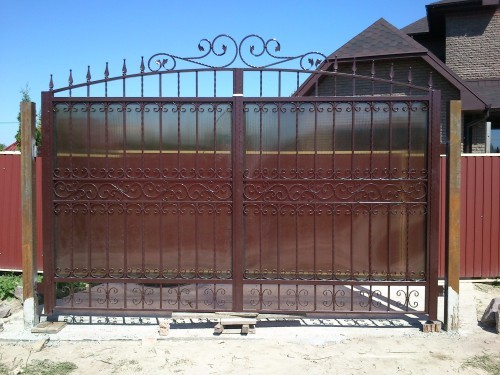
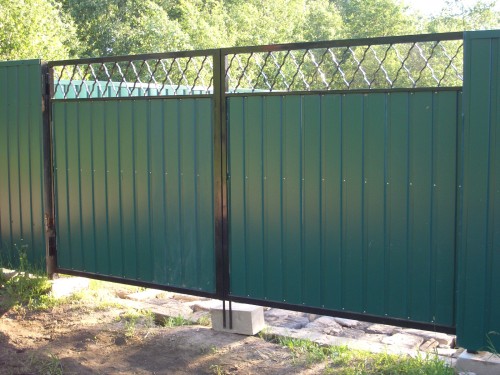
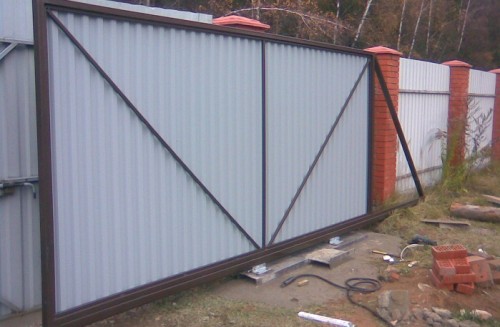
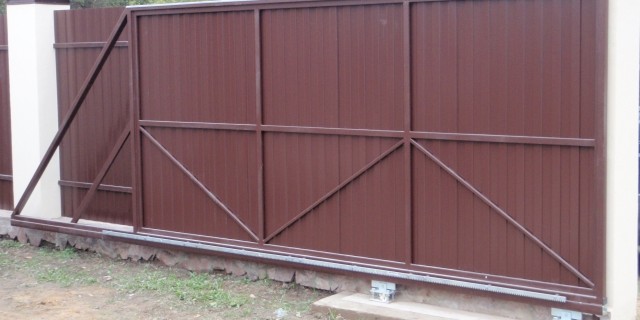
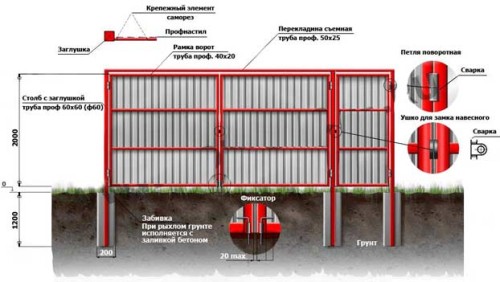
- the gate of the usual (swing) type is one of the most sought-after and popular types of design. They are also divided into one and two-sided. This type of gate is not inherent in electrical elements and complex mechanisms. To create a swollen gate, it is enough to make a metal frame consisting of two identical parts. The metal profile is cut depending on the required dimensions, and weld into the lattice. To give the rigidity of such a design, the disclosures that are made from exactly the same profiles are used. They are welded diagonally, after which in the places of welds are cleaned with a special grinding nozzle, which is used in working with a grinder. Then the remaining accessories is fixed to the frame;
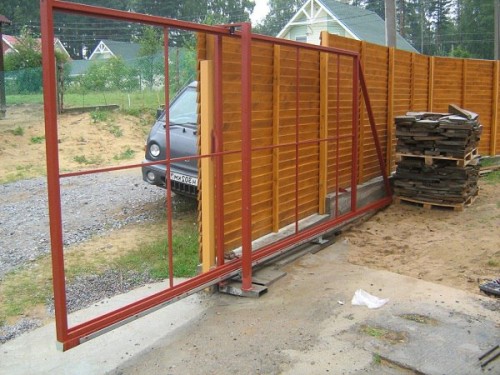
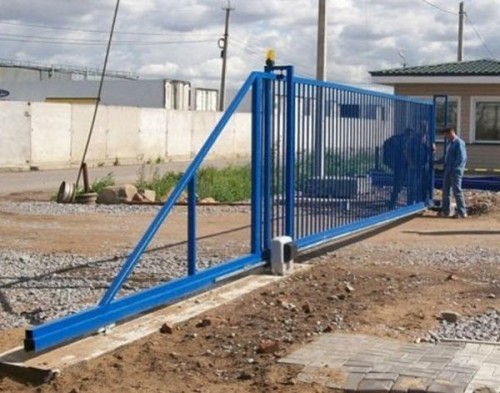
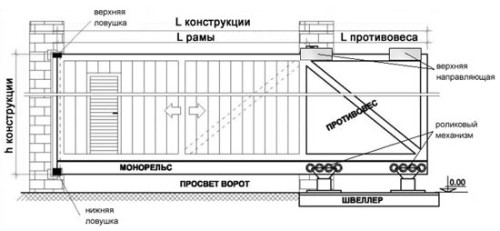
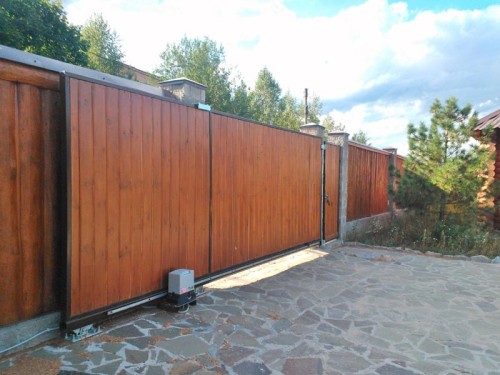
- the gate of the tight type - in this design framework is made of the same metal profile. Moreover, only one sash is made, and the guide is welded to the bottom profile of the frame. Thus, the design of the gate moves on special rollers installed on a metal beam. The beam is usually combined into concrete during the creation of a foundation for the gate. On the pillars that hold the entire design, the additional elements fixing the sash in two positions: extreme open and extremely closed. Open the sliding gate can be both using an electric motor and manually;
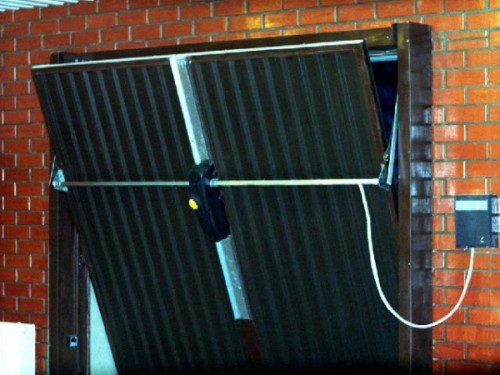
- the lifting type gate is usually installed on the garages, as they are practical and saved excess space. In order to bring the design in motion, it is enough to use the electrical mechanism. It is installed above the level of the gate, allowing you to raise the gate without much effort using the strained cable system. But it is worth considering that such a system has its drawbacks. In case of disconnection of electricity, additional efforts will be required to raise the gate;
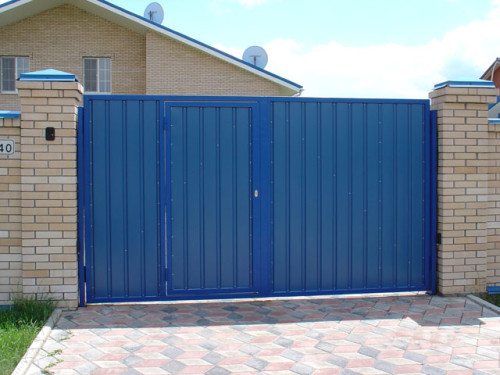
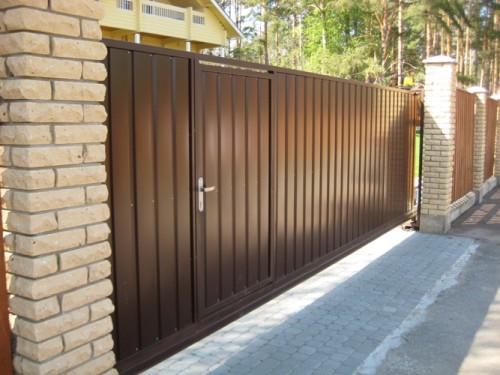
- the gate with the gate is made similar to the design of the swing type. A distinctive feature of such a gate is the presence of additional profiles used in the frame. In that part of the gate, where the wicket will be, the additional frame is mounted. It places the frame for the door and weld the necessary accessories (valve, loop). The width of the proof in this case is standard and leaves: in a width of 90-100 cm, a height of 200 cm;
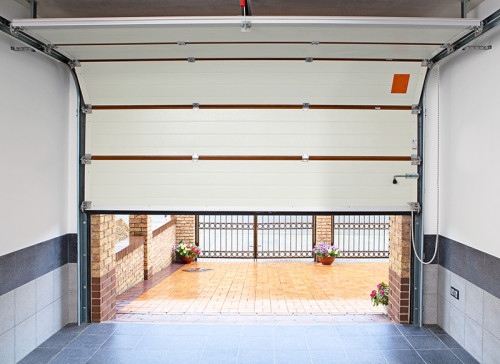
- sectional type gate allows you to enter or leave the transport of various overall sizes. To do this, set several sections. For example: three sections for passenger, and two for trucks. Such structures are sufficiently lightweight and have a hard framework, which allows you to work with them manually without any special difficulty.
Professional Council: Getting Started Making a Gate from the profile pipe with your own hands, be sure to draw a scheme. In it exactly, specify all the dimensions that describe the lengths of the details, the angles of sections and other additional measurements. Proper preparation will relieve you from additional actions and adjustments at the end of the installation.
Required tools and materials
Make a profile gate to the country under the power of any hardworking owner, if it will use the right auxiliary tools. Fortunately, this work does not require anything specific.
For the manufacture of the profile gate, the following is necessary:
- power tools (Bulgarian, shock drill, screwdriver, welding machine, pneumatic);
- hand tools (bayonet shovel, shoulder, capacitance for the kneading solution, earthwood, Kirk);
- measuring tools (roulette, level, foot, tilter);
- consumables (electrodes, cutting and grinding discs for metal, construction marker, pieces of timber, greasy tape, bath, brush).
Sketch of profile gates
As mentioned above, the drawing of the gate from the profile pipe will serve as an excellent crib and will significantly simplify the installation process.
When creating a sketch, it should be considered as follows:
- frame size and thicker professional;
- partitions inside the frame, designed to increase the stiffness coefficient;
- place to set the wicket (if necessary);
- the locations of the fittings and their installation;
- additional framework for viewing window or tracking cameras;
- points where limiters will be installed;
- the height of the ribs of the professional flooring.
All this will make installation and manufacturing profile gates most accurately, as well as calculate the amount of the required material.
Algorithm Installation Gate from Profile
Deciding with the place in which the design will be mounted, the first thing should be installed vertical racks. They are placed in one row with already standing intricate pillars.
For this you need:
- Three pit holes (depth up to 100 cm, diameter 20 cm) and install the racks in them (two for the gate and one for the wicket). With this task is much easier and faster will cope with garden borrow.
- In each hole at a depth of 10-15 cm, fall asleep the crushed stone of the middle faction and the tamper. It is necessary to create a support pillow, which will allow fixing the racks at the initial stage. Now you can go to the stage of the fill of the concrete base.
- To create a solution from concrete, you will need: 4 bag of rubble or gravel, 2 sand bag (river or marine) and 1 cement bag. It is advisable to use the grade cement not lower than M400, you can also additionally use a frost-resistant plasticizer for a stronger and durable fixation of the base. Since the volume of work at this stage is small, then the entire kneading can be carried out by itself, without the use of concrete mixer.
- Sequentially set the support racks. The profiled tube with a size of 80x80 mm is best suitable as a line of racks. To set the vertical racks using the construction level. In order for all racks strictly in a straight line, use a strained thread. All holes pour with concrete solution. For 2-3 days, depending on the temperature and weather conditions, the flooded concrete should be drunk and grab.
Professional advice: To more firmly fix the racks, you can additionally strengthen them at the base, welding several metal elements. For this purpose, trimming of reinforcement, channel, tubes or corners are perfect.
- Fit the gate rack to the support racks. Install the sash on the stand or pre-prepared pieces of timber and set analogy with the support pillars. It should stand exactly both in the vertical and in the horizontal plane. It is possible to avoid the deformation of the entire gate design to determine the deformation of the entire gate design. When the sash is exhibited, it is necessary to note the point in which one of the loops will be welded. You can do it by putting a loop to the sash and with the help of a ruler and a construction marker to transfer the point to the pipe. The marked place should be denoted by the lower part of the loop. The size and thickness of the metal loops is chosen depending on the weight of the structure. Similar procedures are carried out for the second sash and wicket, if any.
Professional advice: In order for the design to be more reliable and tougher, you can additionally welcome the extreme rack of the gate to the beginning of the fence, using all the same cutting of the metal. If the gate is designed to enter only passenger transport, then the upper parts of the supporting racks can also be combined with each other, welding horizontally proftrubube or channel. But do not forget that the height from the floor to the upper horizontal plank should be a little more car height. Otherwise, additional costs of roof repair can not be avoided.
- The surface treatment of the framework will significantly increase the life of the structure, protecting it from corrosion and climate change. To protect the frame, it should be completely losing special soil-paint. Since in the warm time of the year, the metal has an expanding property, and in the cold - narrowed, it is worth taking care of the choice of paint in advance. Moreover, it is worth considering that the colors of the gate should coincide with the color of the fence. To fulfill all the necessary actions need a painting brush and bath. When the paint dried, and the whole design has acquired a more pleasant appearance, the last stage has come.
- Racks are ready, frame and wicket are mounted, it's time to start installing accessories. Carefully examining the drawing, we begin training seats, fasteners and holes for the subsequent installation. If accessories need to be installed inside the sash frame of the gate sash, then first should be mounted a locking mechanism and loops. When the design provides installation on the installation on top of the professional flooring, the locking locations should be noted on the visible part of the frame. In this case, the lock is fixed on the screw connections after mounting the proflist.
- Installation of corrugated flooring can be performed using self-tapping screws. First, sheets are customized under the size of the gate sash and then in the places of further attachment begin to drill holes in the profile and on a straightened. The self-tapping screw should be with a drill and a special rubber washer. The choice of this type of fastener will avoid moisture from entering the place of attachment and will increase the service life. The length of the self-press must be selected, given the thickness of the profile and professional flooring. Sheets are fastening a mustache using a surface relief for a more dense connection. In places docking use special ripples that are not screwed into profile, and only serve to hold the connection.
We hope we helped learn how to make a frame to weld, as well as mount the door from the profile tube with their own hands. At first glance, the installation technology may seem rather simple and uncomplicated. In order for the work to be done on conscience, it is necessary to accurately adhere to the sequence of rules and actions, then installing the profile gate you will pass in the dacha.


