Technology installation of slopes on the windows Window
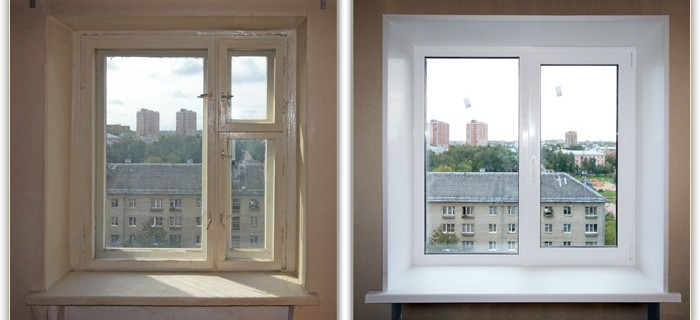
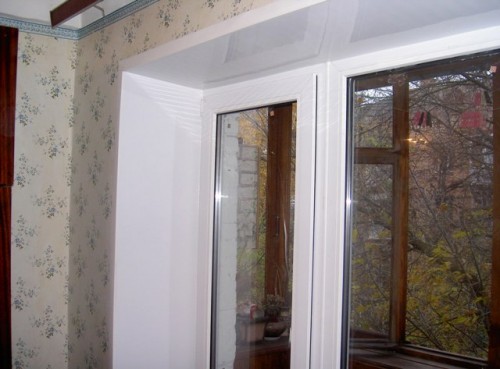
When installing new windows, attention should be paid to not only the quality of profiles and reliability of the design, but also appearance. Even the best window system can spoil the interior of the room if you do not install the slopes on the windows.
As a rule, this work is performed by installer professionals. However, in the presence of skills with a hand tool and construction materials, it is possible to give the window a noble appearance independently.
Content
Installing slopes on plastic windows
Installing the slopes of plastic windows (the video of the process is attached to the article) - an important stage of installation.
The profile of windows from PVC profile is much narrower than that of a wooden frame, as a result, after a replacement, it remains no closed space throughout the perimeter. Sucks after installing plastic windows are just necessary in order to eliminate this disadvantage, as well as increase thermal insulation.
Installing PVC slopes The window can be performed in various ways. Traditionally, plaster is used for this, but with the help of plastic it can be done faster and easier. This is a material with a homogeneous structure with a profile of windows structure and therefore it is suitable for the aesthetic design of the elements of the window opening. You can get a perfectly smooth and smooth surface, which will be easy to care: it's enough time from time to a damp cloth.
Tools and materials for installing slopes
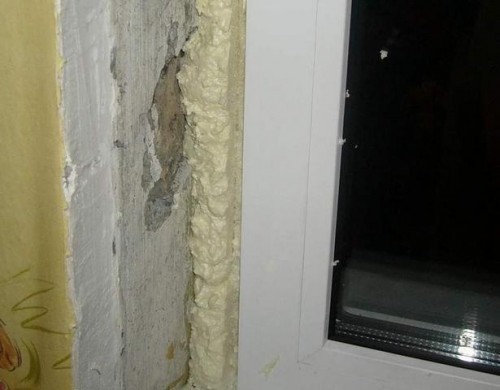
The technology for installing the slopes of plastic windows provides for the execution of this work the day after the installation of the window block. The mounting foam by that time already fully harvested and its surplus on the edges can be cut off with a sharp knife. In addition to this tool, you will need:
- - plastic lining with 8 mm thick - for one window you need 6 m;
- - plastic P-shaped starting strip and F-ka - special profile strip for edge design;
- - Wooden rail 10-15 mm thick;
- - insulation (sheet of extruded polystyrene foam, mineral wool slab or other material);
- - construction level, roulette;
- - perforator with a drill function and a screwdriver;
- - self-tapping screws of various lengths (usually 4.5 and 95 mm);
- - construction stapler, metal scissors;
- - White silicone.
Phased performance
- Mounting along the perimeter of the slopes of wooden plates with long self-tapping and plastic fillers is performed. The edge of the rail should not be over the angle formed by the slope and the inside of the wall. All rails on each side must lie in the same plane: it must be controlled by level.
- From the side of the window, the P-shaped starting strip is attached: for this you will need short screws. In order for the starting bands well in the corners, it is necessary to cut their corners.
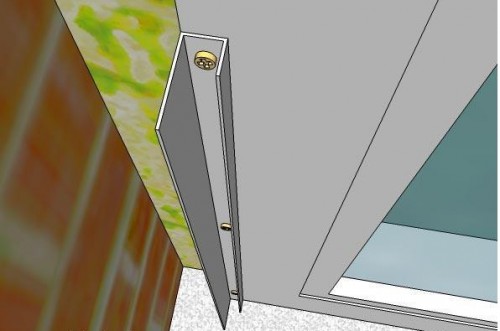
- F-ka is attached opposite the starting strip, from the other edge of the slope. The groove should be located opposite the groove of the starting strip. Excess areas are trimmed with metal scissors so that all the details are well docked. F-profile attached to the rail with a construction stapler. If necessary, the F-profile can be replaced with a plastic corner.
- Strip of plastic is cut and inserted into the grooves of the starting strip and F-ki, but after the insulation will be laid between the rails. Some drawbacks are hidden by white silicone.
Installing slopes on wooden windows
The design of the window opening after installing wooden windows requires a different approach. Plastic is not recommended: it is not combined with natural texture of wood. Eliminate all flaws of the surface with the help of plaster or use slopes made of wood. But this method is quite expensive, and in addition, wood processing should provide for drying with strict compliance with technology (the material should not "lead" due to dampness and temperature drop) and treatment with antiseptic composition.
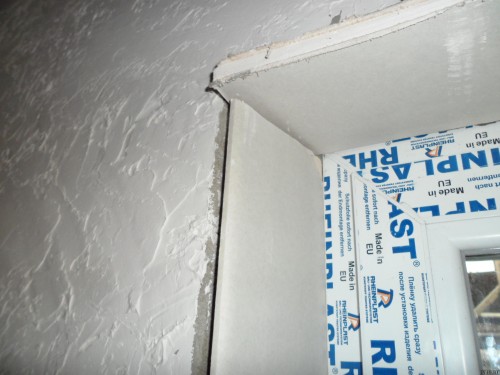
Rational use moisture resistant plasterboard.
The technology of installation of slopes on the windows using this material is simple (the video "Installing the slopes on the window" clearly displays the process).
Initially, the side surface of the window opening is cleaned from dust, carefully processed by its primer. The measurements are made and the required parts are cut from drywall. Cutting this material is simple: on the drawn line the sharp knife is performed, and then the sheet is sharply bent, leaning on the edge of the table.
Installation of plasterboard slopes
The mounting of drywall to the separated planes is performed by a special glue, for the preparation of which a dry mixture with water is mixed in bulk tank. Next - on points.
- The mixture is set about 10 minutes (the guide for cooking should be on the package).
- Details made of drywall approach and customize at the place.
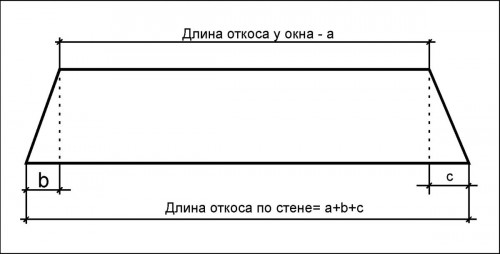
- Finished glue spatula is applied on the wall: closer to the window - a thicker layer than from the outside. This is necessary so that the slope plane has some bias: control is carried out using a construction level.
- Details cut from drywall are applied to installation places and tightly pressed. After the glue dries, drywall, as well as all the slots and the corners are aligned with putty, after which the water paint is applied into two or three layers.


