Laying the wooden floor with their own hands Floors
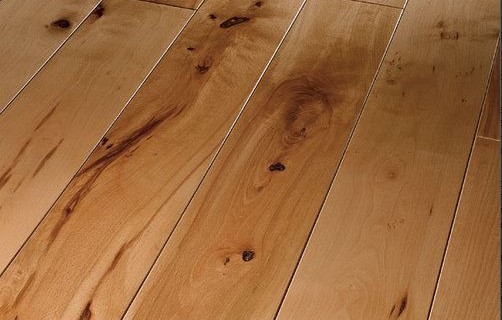
Floors independently of the materials used, should be durable, smooth, smooth, without cracks and gaps on the joints. Natural wood floors, not only look great in the interior, but also create a comfortable microclimate. Yes, and we live at such times when everything is natural appreciated.
Content
If you are at least a little familiar with carpentry tools, then there is no difficulty in laying a wooden floor with your own hands. This is a rather simple process. With certain skills and knowledge, it will not be much difficult for you. It is only important to take into account some moments and subtleties that can be studied before the start of work. You can learn about them in this article and even see how the wooden floor laying is made, the video is attached.
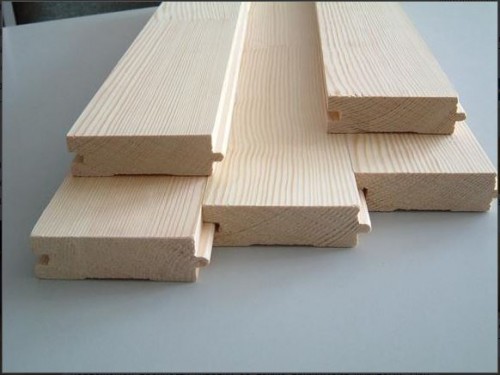
Best of all, work on floor laying is carried out in a dry and warm course of the year. Summer is perfect for this suitable. This is associated with the humidity of the external environment and the influence of it on wood. It is very undesirable that the boards prepared for floor covering absorb moisture. Poorly dried wood or mooring, after installation, it has a bad property - to breed or show the effect of "screw". In order to avoid a similar defect, choose a properly dried board and store it in a dry room. Boards and lags, impregnate with antiseptic or antiprem.
Floor arrangement materials
• edged or unedged board, coniferous or hardwood wood;
• plywood, chipboard, OSB suitable thickness and quality;
• Folded or glued timber board.
More often used board made of coniferous wood, such as: pine, larch, cedar. Also, deciduous species of wood - beech, maple or oak. Sometimes it is necessary to perform draft flooring. For this, materials are used from the first two positions of the list. For the finishing flooring, materials are used from the last position.
Foundation preparation technology
- If you decide to run the laying of a wooden floor with your own hands, and you have a primer base, then for starters, remove the soil for 20 - 25 cm below the floor level. The base is falling asleep by layers of sand and rubble alternately and wetted with water. Then, carefully compacted and tamper.
- From the brick, set the support columns for lags. As a rule, their reference area is two bricks. They are exhibited around the perimeter of the room, but if necessary, intermediate columns are made.
- According to floor laying technology, if the lags exceed three meters in length, the intermediate column is added. With the help of a laser level, the height of the columns is adjusted. Correction can be carried out with the help of a fishing line, twine and an ordinary water level.
- For the residential room, it is enough to choose lags with a cross section of 100 x 50mm. Set them with intervals of approximately 600mm. On the columns for waterproofing, put the ruleroid.
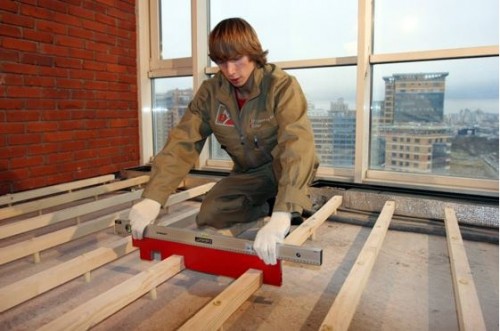
- On the installed, on the columns, wooden dies, a width of 2 - 3 cm, the lags themselves are attached directly with anchors. First of all, set two lags in opposite ends of the room and output them into a single plane. Lags are adjustable in height by wooden plates, and the single plane is controlled by Waterpas or laser level.
- Lags securely secure, as they will serve beacons. All further work on floor laying will be oriented with these two lags. Try to refer to their installation extremely carefully.
Hydro and heat insulation
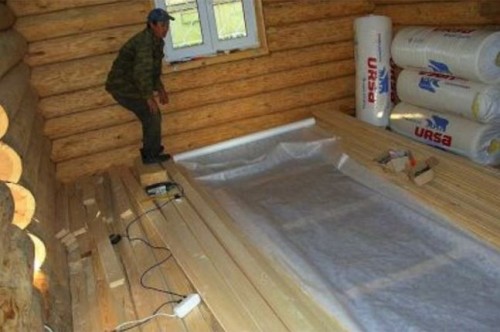
- To create a comfortable and warm room, take care of waterproofing and floor insulation. To do this, in the intermediate sinuses, the insulation is placed between beams and lags.
- In this capacity, clamzit, mineral wool, basalt plates and similar materials used as insulation are used.
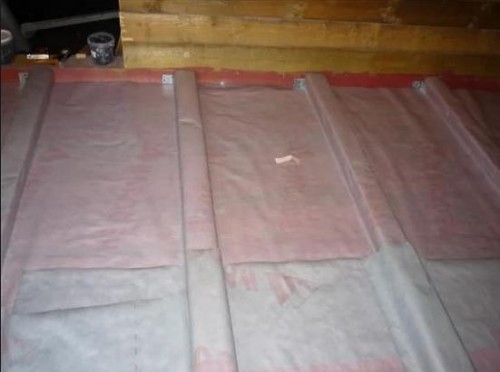
- The surface is aligned and covered with a plastic film or rubberoid, to create a hydrober.
Floor arrangement work
- On prepared and exposed in the level joists can be laid wood floor price flooring directly depends on the quality of the material used. Usually, the first board is fixed to the wall opposite the entrance. Stepping back from the wall 10 to 15 mm, the board is nailed or screwed with screws.
- Screws, need to be two and a half times longer than the thickness of the board, and nails 4 - 5 times. Nails need to score at an angle to each lag or slot. Having laid, so two - three rows of planks, logs attached bracket. It can be a conventional metal, but there is also a special bracket Smolyakova. Wedge in between the bracket and the floor boards, securely fix the structure and do not allow the boards to disperse.
- So, gradually spreading all over the floor. If the floor boards should be cut, the connecting seam to do better on the center of the room.
- At the final stage nailed skirting. Plinth, will hide the gaps in the walls and the floor will give a finished look.
- In order to determine the cost of laying wooden floor boards, consider the thickness and type of wood. The thinner the board, the more put the cross beam. For example, for 35mm, step boards is allowed from 50 to 90cm. For 25mm board recommended a step about 50cm. The frequency step depends on the value of the work of laying the wood floor.
- In that case, when you are setting up the floors of the sheet material, the joists reinforced cross beam. So, what would you have turned a checkered wooden lattice with a mesh of about 50x50 cm. The features in the fixture sheet no. Usually it is attached with screws or nails.
- Well, the last thing you need - scraping and painting the floor. To do this, thoroughly clean and degrease the surface of the floor.


