Cerambulant flooring device Tile,Floors
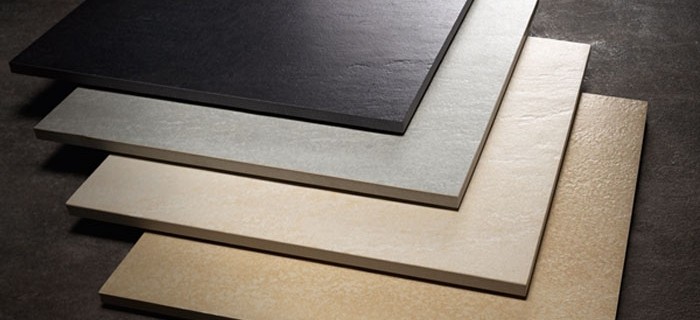
Among the many building materials should be selected for floors for the floor: this material is distinguished by strength, wear resistance, resistant to chemically active substances, hygienicness. It is similar to natural stone. Porcelain stoneware is perfectly combined with other materials for finishing the interior, due to the manifold of colors and textures. It is important to choose the tile correctly, given the feature of the room.
Content
How to choose a ceramographic
Porcelain stoneware (floor tile) should be selected in accordance with the following rules.
- For premises with high humidity, such as bathroom, tile is recommended with a not glossy surface, matte.
- It is important to check whether the tile caliber is complied with packages. All tiles must be the same size with an accuracy of a millimeter. Otherwise, laying tiles in a seamless way will be impossible.
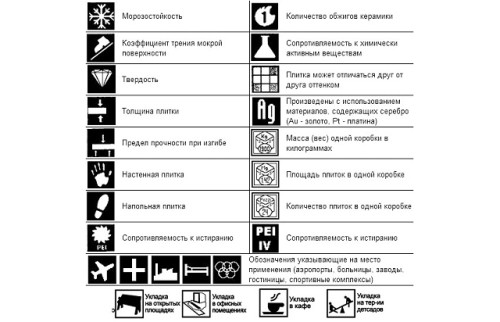
- Floor porcelain stoneware (see photo below) is marked with special characters on the package. According to them, it is possible to determine, for example, whether the tile has frost resistance, to know its thickness, hardness, purpose (floor or for wall cladding) and other characteristics.
- Acquire the tile follows with a margin and from one batch, otherwise it may differ by tone.
It is important to know the tile-producer country. Spanish porcelain stoneware is characterized by proper quality. A rich choice of color scheme allows you to choose a tile so that it is combined with other interior finish materials.
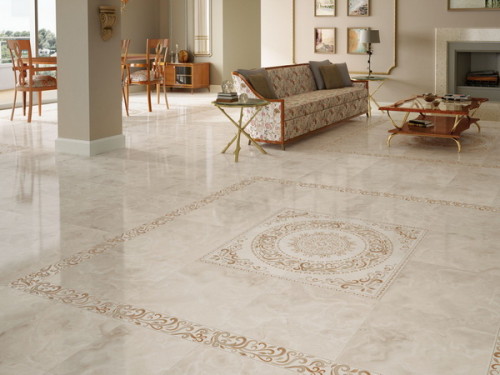
Floor Pattern (Spain)
Not inferior to Spanish porcelain stoneware from Italy. In this country, this material was created for the first time. Italians have learned how to create a tile, imitating the surface of the metal, natural stone and wood. The design of the floor lined with such a stoneware will be sophisticated and grace.
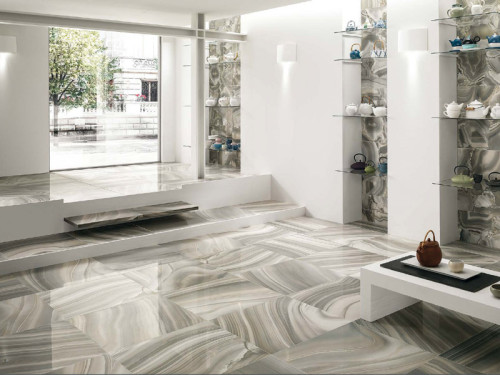
Floor Strain (Italy)
On which surface can be stamped: preparatory work
The device of floors from porcelain is possible on any smooth and hard surface. Such requirements are more responsible for a concrete inter-storey overlap or cement-sand screed.
Preparation of concrete base for styling of porcelain stoneware
In the event that a concrete base that is often an inter-fitted overlap plate requires alignment, it is necessary to perform a cement-sand tie. The process involves the following actions (phased description).
- The surface of the plate is cleaned of garbage and dust, processed by primer.
- The highest point is determined, beacon profiles are set. They are "fought" cement-sand cakes. It is important that the screed thickness is at least 50 mm.
- A cement-sand mixture is prepared, which is poured and distributed to the rule so as to fill the volume limited by beacons. Excess the mixture are removed.
- A few days ago, the bead profiles are removed, the seams are filled with cement-sandy mortar.
- With the help of a grater and cement-sandy solution, the surface is finally leveling, cracks are eliminated.
- To prevent cracking of the screed for a time of complete curing (for this it is necessary to 28 days) the floor is covered with a polyethylene film.
- Processing the surface of the primer of deep penetration.
- After hardening the solution on the tile glue put porcelain tiles.
Tip: If there is enough screed with a thickness of 2-3 mm to equalize the base, you can use self-leveling mixtures. For this, there is no need to use beacons, and the time of frozen is significantly reduced.
Preparation of wooden base before laying a porcelain stoneware
Under some conditions, laying of porcelain is possible on a wooden base. To do this, you need to do the following.
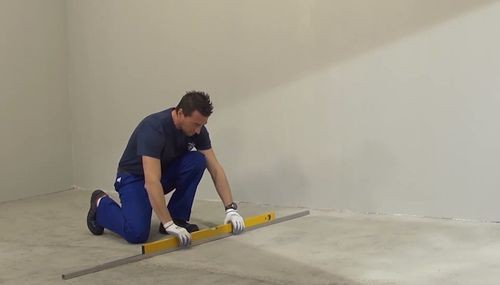
- We check the condition of the floor: it should not be fucked, and the surface curvature should not exceed 3 mm per 1 m. Check is carried out using a construction level, as a corner and rules.
- In the event that the floorboards begging, additional lags should be put or replaced the boards to thicker (40 mm).
- We change the boards with signs of rotting and excessively worn out. To prevent damage to the boards in the future, we put the waterproofing film over the base.
- Align the base using OSB plates with a thickness of at least 12 mm. The number of layers is 2 or more. Cement-chips, moisture-proof chipboard or plywood are also suitable.
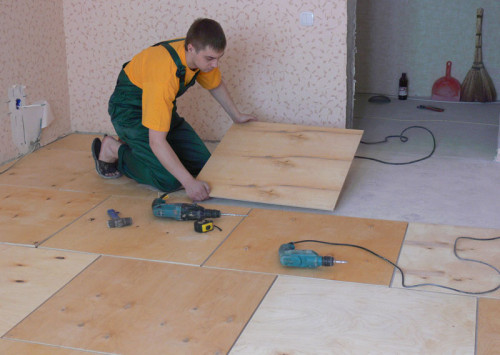
- Sheet material fix the self-drawing. Between the plates and walls around the perimeter of the room, it is necessary to leave a compensation gap with a width of 5-7 mm. Subsequently, it will close the plinth, which is attached to the walls.
- We remove garbage and dust, we apply two layers of primer.
- With the help of special glue (mastic), we put the porcelain stoneware. After complete drying of the glue, the floor can be loaded.
Important: Choosing glue, you need to pay attention to its composition. It should have a significant amount of polymer additives, due to which the mastic becomes more elastic and resistant to temperature drops.
How stacked porcelain stoneware: Step-by-step instructions
After completing the preparation of the surface of the floor to laying the porcelain stoneware, proceed to the main job. For this you need to have at your disposal:
- the mixer is a construction for the preparation of the adhesive mixture (when laying on a concrete and cement-sand surface);
- construction level;
- spatula gear and smooth;
- rubber hammer;
- platecores and Bulgarian with a circle around a stone;
- plastic crosses.
The gluing tiles is performed as follows.
- Mark the central line, conducted along the long sides of the room. Symmetrically this line will fit the porcelain stoneware.
- According to the instructions specified on the package, adhesive weight is prepared. Consistency of glue should be sour cream.
- The adhesive mixture is applied to the back side of the tile and is evenly distributed to the toothed spatula.
- The porcelain tile is stacked on a place intended for it, tightly pressed with hands and tapping rubber hammer. The position of the tile is controlled by the construction level. Purify the seams from the excess glue.
- Between the tiles, plastic crosses are inserted, limiting the width of the seam between adjacent elements.
- After drying the glue, the seams between the tiles are filled with moisture-resistant griming mass, selected in color. Surplus mass is cleaned with a spatula and dry rag.
- After drying, the grouts perform wet cleaning. You can load the floor in three days.
How to perform the grout of the seams
For grouting seams, plastic mass is used, the main component of which is a dry mixture of cement and polymers. Until readiness, it is adjusted by the addition of water. Fill the gaps between tiles with a rubber spatula. It is important to consider the following:
- The application and distribution of the rapid masses of light tones is performed using a rally made of white rubber. Accordingly, with dark grinding mass work with black rubber. Otherwise there may be contrasting strips.
- For external use (for example, when finishing the terrace), low-temperatures resistant to low temperatures are suitable.
- For porcelain stoneware, it is recommended to use quick-conchive grout: it can fill the seams with a depth of 20 mm.
- The seams of floor tiles are better to close the mastic not marking, gray tones.
- Full drying of the grout mass occurs in 15-20 minutes.
Floor porcelain stoneware: laying price
Professional laying of ceramographic
The cost of work is estimated at several parameters:
- professionalism of Tiler: High-quality work is estimated expensive;
- volume of work: Work on a large order involves some discounts;
- region of the country and the level of competition;
- the presence of additional and associated work.
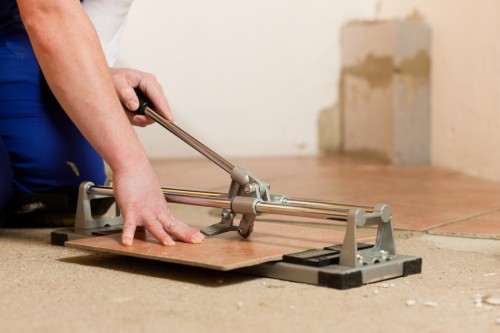
Tools and methods for cutting porcelain stoneware a
Porcelain stoneware is as a rule, in the premises of a large area. Despite this, without a "trim" it is impossible to do. It is impossible to perform this work using glass cutter. If necessary, use the following tool:
- professional tiles;
- machine with additional water cooling of the cutting disk;
- bulgarian with a circle around the stone.
Drill holes in the tile using special crowns with diamond attacks and a perforator. The operation is performed with an unstressed way.
It should be borne in mind: the highest quality, smooth edge can be obtained only with stoveturis. When cutting, the grinders and the machine are formed by chips.
In conclusion, we propose to familiarize yourself with the video process of laying a ceramographic seamless method.


